Welcome to your essential companion for creating homemade pizzas that taste like they’ve been delivered straight from an Italian pizzeria!
This guide contains 15 invaluable pizza tips tailored for both novices venturing into the world of pizza-making for the first time and seasoned home cooks seeking to refine their techniques.
We will cover everything from perfecting your dough to selecting and preparing mouth-watering toppings all the way through to the art of baking.
Each tip unlocks another layer of the pizza-making process, ensuring you’ll create masterpieces that will impress family and friends.
So, continue reading, and let’s transform your kitchen into the best pizzeria in town!
Let’s get started!
Here’s What You Will Find:
PIZZA TIPS
Pizza Tip #1
Use The Best Ingredients
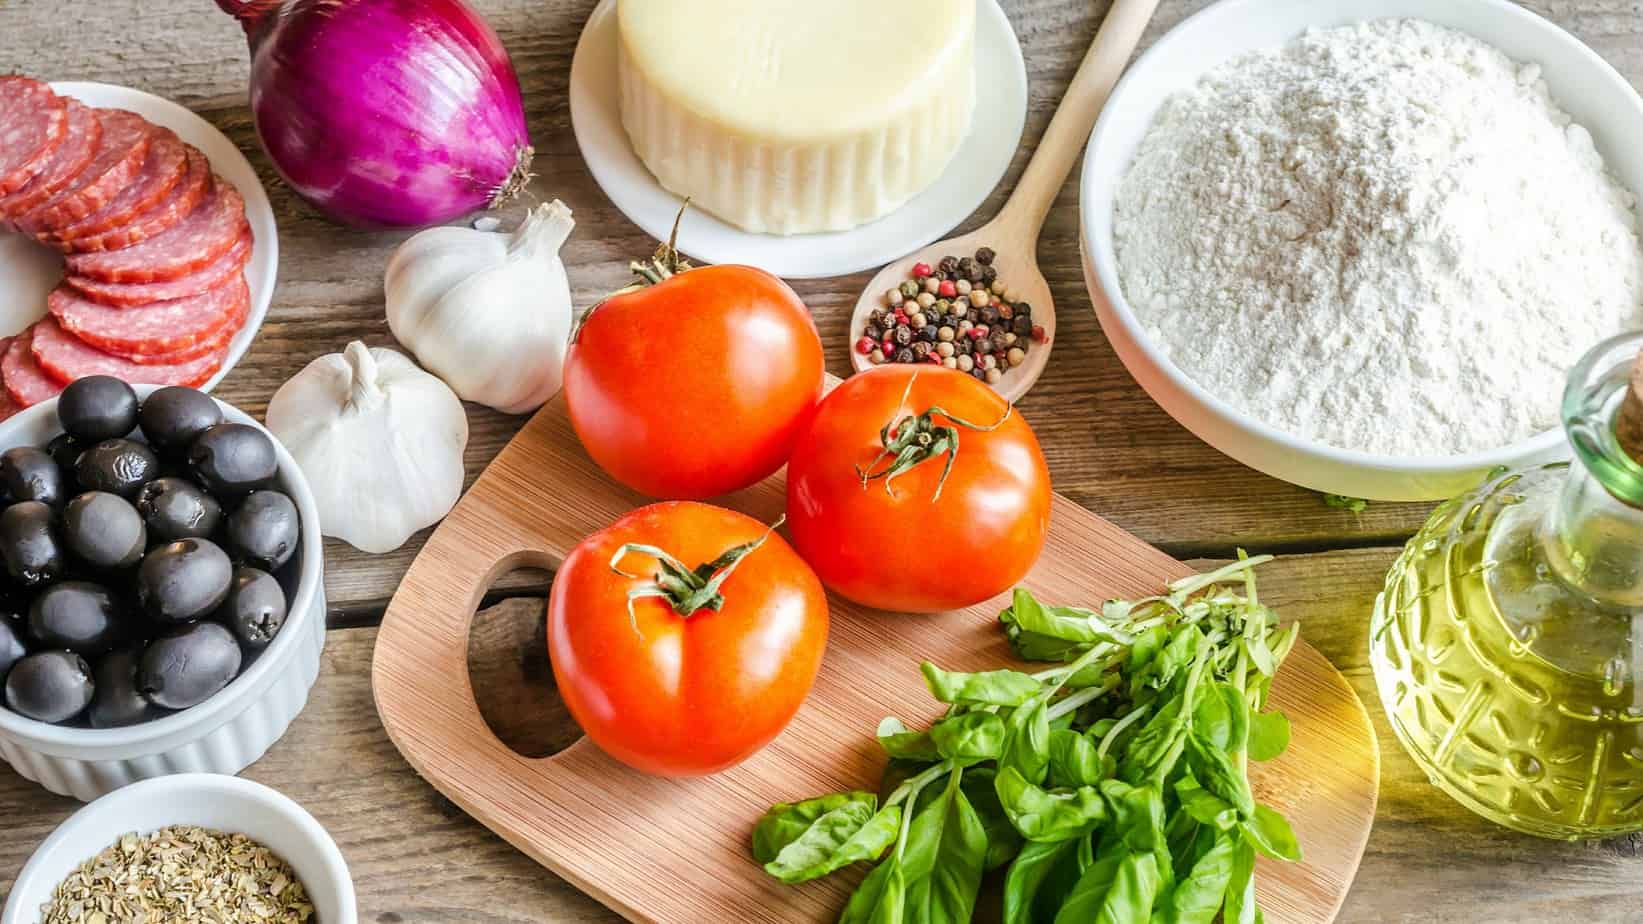
Quality ingredients can elevate your pizza from being simply good to truly exceptional. The flavors, textures, and overall quality of your pizza are directly influenced by the components you use.
Therefore, it’s important to source and use the best ingredients possible to ensure a delectable outcome.
Here are a few tips:
- Flour: The base of your pizza starts with flour. Opt for high-quality flour like Italian ’00’ or bread flour for the best results. These flours have a higher protein content, which aids in gluten development, providing your crust with a nice chewy texture.
- Yeast: Fresh yeast can significantly impact the taste and texture of your pizza crust. Opt for fresh baker’s yeast if possible, though good quality active dry or instant yeast also works well.
- Water: The quality of the water used in your dough can affect the taste of your pizza. If your tap water has a strong flavor or is heavily chlorinated, you might want to use filtered or bottled water.
- Tomatoes: Good-quality tomatoes are essential for making a classic red pizza sauce. San Marzano tomatoes are widely recognized as some of the best pizza sauces due to their sweet flavor and low acidity.
- Cheese: Opt for fresh, high-quality mozzarella cheese. Fresh mozzarella has a superior taste and texture compared to pre-shredded cheese. For an even more indulgent pizza, consider using a blend of cheeses, such as mozzarella and provolone, or adding a touch of Parmigiano Reggiano for a nutty, salty note.
- Olive Oil: A good-quality extra virgin olive oil can be drizzled over the pizza before baking to add richness and depth of flavor. It can also be used after the pizza is cooked for an extra burst of freshness.
- Toppings: Fresh, quality toppings make all the difference. Fresh vegetables will taste sweeter and more vibrant, high-quality meats will add more flavor, and fresh herbs will give your pizza a delightful aroma.
- Seasonings: Don’t forget about herbs and spices. Fresh basil, oregano, and crushed red pepper can add a lot of personality to your pizza. If possible, use fresh herbs and high-quality spices for the most impact.
By paying attention to the quality of your ingredients, you can create a pizza that will be delightfully savory, satisfyingly crispy, and loaded with flavor in every bite.
Remember, a pizza is only as good as its ingredients. Premium ingredients can create a gourmet experience even with the simplest Margherita pizza.
Pizza Tip #2
Don’t Use Store-Bought Materials
While it can be tempting to use store-bought materials for convenience, making your own pizza ingredients from scratch can significantly elevate the quality and taste of your homemade pizza.
Here’s why:
- Dough: Store-bought pizza dough often lacks the flavor and texture of homemade dough. By making your own, you control every aspect of the dough, from the quality and type of flour you use to the fermentation time. The homemade dough also allows you to experiment with variations like whole wheat, sourdough, or even gluten-free pizza dough. Plus, the satisfaction of crafting your own dough is part of the joy of homemade pizza.
- Sauce: Store-bought pizza sauces can contain sugar, preservatives, and artificial flavorings. Making your own sauce allows you to control the flavor and the ingredients, ensuring a fresh and healthy result. A simple sauce made from high-quality canned tomatoes, garlic, olive oil, and herbs can be made quickly and will often outshine anything bought in a store.
- Cheese: Pre-shredded cheese often contains anti-caking agents and doesn’t melt as well as freshly grated cheese. Buying whole blocks of cheese, such as mozzarella, and grating it yourself ensures a better texture and melt. Plus, you can experiment with various kinds of cheese to enhance your pizza’s flavor.
- Toppings: Fresh toppings will always taste better than canned or pre-packaged options. Fresh vegetables are crisper, meat is more flavorful, and herbs are more aromatic. Preparing your own toppings also means you can customize your pizza exactly to your liking.
- Pizza Stone/Steel: While you can certainly bake a pizza on a baking sheet, investing in a pizza stone or steel can significantly improve the crust of your pizza by mimicking the high heat of a traditional pizza oven. Store-bought “pizza pans” don’t have the same heat retention and conductivity properties, which can result in a less crispy crust.
By preparing your own materials and ingredients, you improve the taste and quality of your pizza and gain a deeper understanding and appreciation of the pizza-making process. You get to control every aspect, tailoring each pizza exactly to your preferences.
This can be a more time-consuming process, but the superior results are well worth the extra effort.
Pizza Tip #3
Don’t Overwork the Dough
Pizza dough is a delicate balance of gluten, yeast, water, and flour. The way you handle it can make or break your pizza.
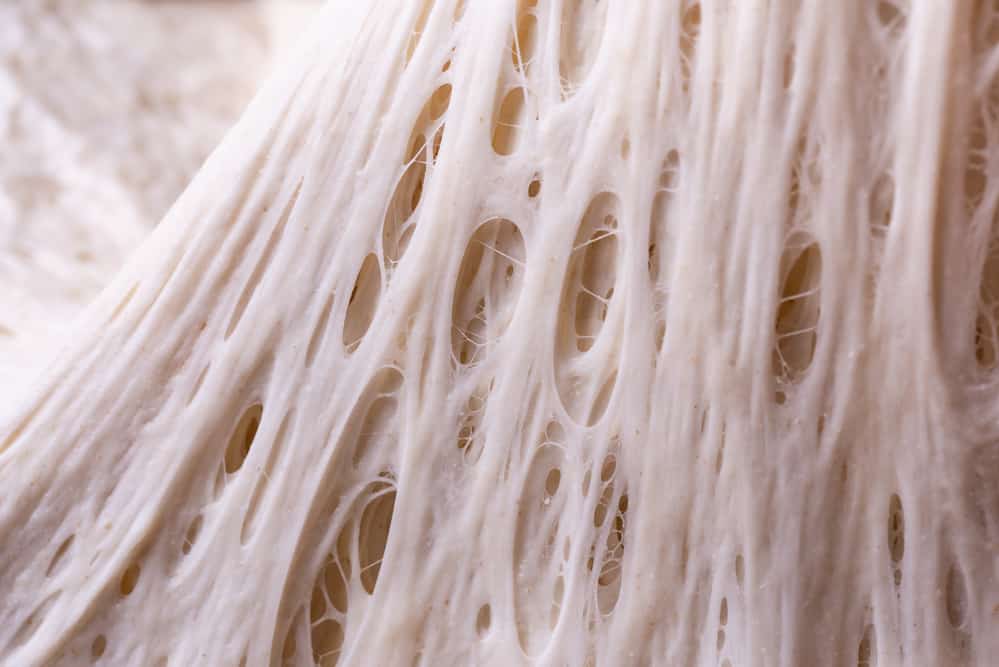
Overworking or over-kneading your dough can lead to a pizza crust that’s too tough, chewy, and dense rather than light, crisp, and airy as you would ideally want it to be.
- Understanding Gluten: Gluten is a protein found in wheat that provides elasticity and strength to your dough. As you knead your dough, you’re essentially working the gluten, allowing the dough to stretch without tearing. However, too much kneading strengthens the gluten network to a point where it becomes too tight, resulting in a tough crust.
- Be Gentle: While it’s important to knead your dough enough to activate the gluten and yeast, doing so too much can cause it to become tight and difficult to shape. Try to knead the dough just enough to come together into a smooth ball. This should usually take around 7-10 minutes.
- Rest is Key: After kneading, allow the dough to rest. The gluten will relax during this time, making it easier to shape your dough. A well-rested dough will be more pliable and will stretch easily without shrinking back.
- Look for Signs: One way to tell if you’ve kneaded enough but not too much is by performing a windowpane test. Take a small piece of dough and stretch it out gently. If it can stretch thin enough to let light pass through without tearing, then your dough is ready.
- Temperature Matters: Remember that the dough’s warmer, the faster the yeast works. If you’re kneading by hand, the heat from your hands can warm up the dough. This makes the dough rise quicker but can also lead to over-kneading if you’re not careful. Try to work quickly and efficiently.
- Less is More with Toppings: A dough that has been overworked can be further aggravated by the weight of too many toppings. If your dough has been worked more than ideal, compensate by going lighter on the toppings. This allows the dough to cook evenly and thoroughly.
By understanding and respecting the nature of your pizza dough, you can ensure that you get a perfectly crisp, light, and delicious crust. Just remember – when in doubt, less is often more when it comes to working your dough.
Pizza Tip #4
Make Your Sauce
Creating your own pizza sauce allows you to fine-tune the flavors to your liking, resulting in a more personal and potentially more flavorful pizza.
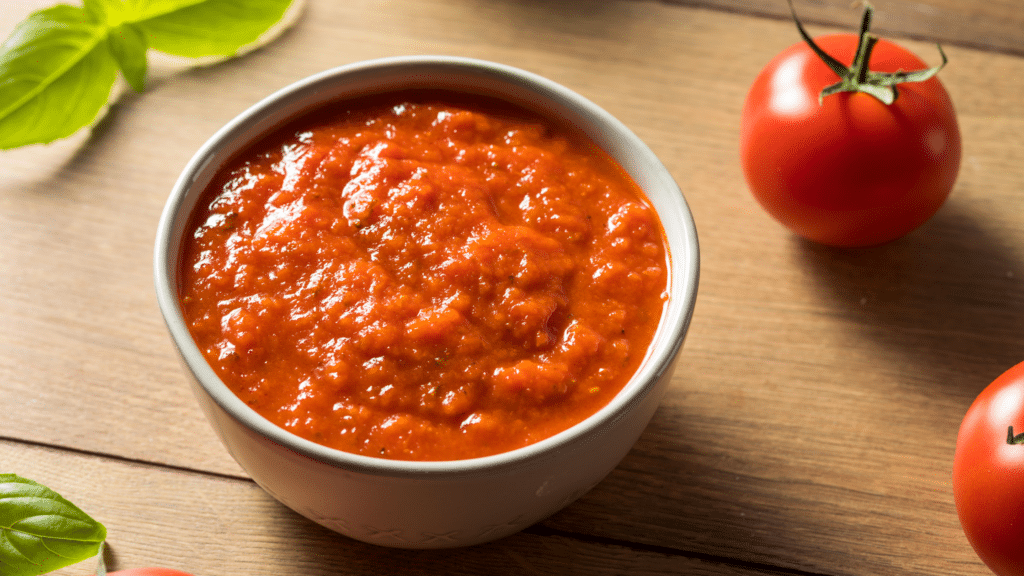
Homemade sauce tends to be fresher and less processed than store-bought versions.
Here are some key considerations when making your own pizza sauce:
- Tomatoes: Your sauce’s base, tomatoes, should be of high quality. Canned San Marzano tomatoes are popular due to their rich, sweet, and less acidic flavor. If you prefer a fresher option, ripe, in-season tomatoes can also be used; just remember to remove the skins and seeds.
- Flavor Enhancers: Onions, garlic, and herbs are typical additions that boost the sauce’s flavor profile. Onions and garlic should be finely chopped and sautéed until translucent before adding the tomatoes. For herbs, classics include basil, oregano, and thyme. Remember, if you’re using dried herbs, they have a more concentrated flavor, so use them sparingly.
- Cooking: Simmering the sauce allows the flavors to meld together. Cook it until it has thickened to your preferred consistency. A good pizza sauce should be thick enough to spread but not so thick that it makes the pizza dough soggy.
- Seasoning: Don’t forget to season your sauce. Salt is crucial to bring out the flavors of the tomatoes and other ingredients. A bit of sugar can help balance the acidity of the tomatoes, but use it sparingly, especially if your tomatoes are already quite sweet.
- Blending: Blend the sauce to your desired texture after it cools. Some prefer a completely smooth sauce, while others like to leave it a bit chunky for added texture.
- Taste and Adjust: Always taste your sauce before spreading it on your pizza. Depending on your preference, you might want to add more herbs, a dash of pepper, or even a splash of olive oil for richness.
Remember, making your pizza sauce should be creative and rewarding. Feel free to experiment with different ingredients and ratios until you find the perfect blend that suits your taste buds.
Pizza Tip #5
Stretch the Dough by Hand
Stretching pizza dough by hand is a skill that can greatly enhance the quality of your homemade pizza.
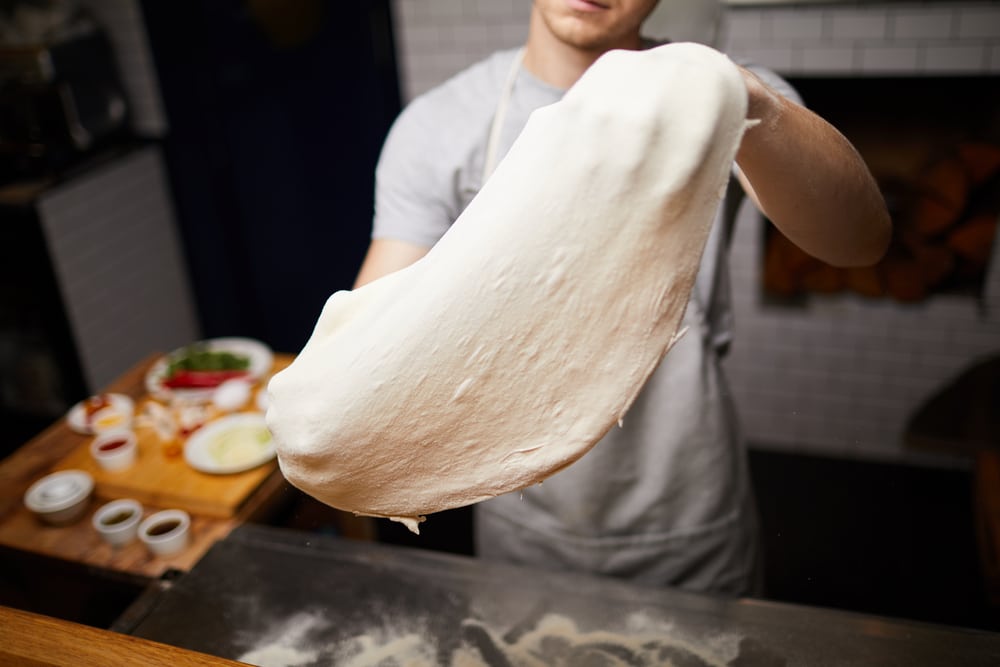
It’s a traditional technique used by pizzaiolos (pizza makers) worldwide to achieve a thin and light crust in the center but thick and bubbly around the edges. Here’s how to do it:
- Prepare: After your dough has risen and rested, dust your working surface and your hands with flour. Begin by pressing down on the dough with your fingertips to flatten it into a small disk. Keep the center thin and leave a thicker edge for the crust.
- Stretch: Pick up the disk of dough, and place your hands in the center of the disk. Let gravity do its work, allowing the dough to stretch while you rotate it, ensuring an even stretch. As you’re doing this, keep your hands closer to the edge, rather than the very center, to maintain that thicker crust.
- Perfect the Shape: If you’re comfortable doing so, you can use your knuckles to stretch the dough further. Drape the dough over your fists and gently stretch it by extending your hands. Keep rotating the dough for an even stretch.
- Respect the Dough: Be gentle and patient with your dough. If it’s tearing, it could be due to overstretching or the dough being too cold. If this happens, allow the dough to rest for a few minutes before resuming the stretch.
- Final Touches: When your dough reaches the desired size and thickness, you can fine-tune the shape on your floured surface. The goal is to achieve a thin, even base with a slightly thicker edge.
Stretching dough by hand can take some practice, but the benefits are worth it. It gives you complete control over the thickness of your crust and maintains the dough’s air bubbles, contributing to a final texture that is light and airy in the middle with a beautiful, bubbly crust.
The key is being patient, gentle, and receptive to what the dough tells you.
Pizza Tip #6
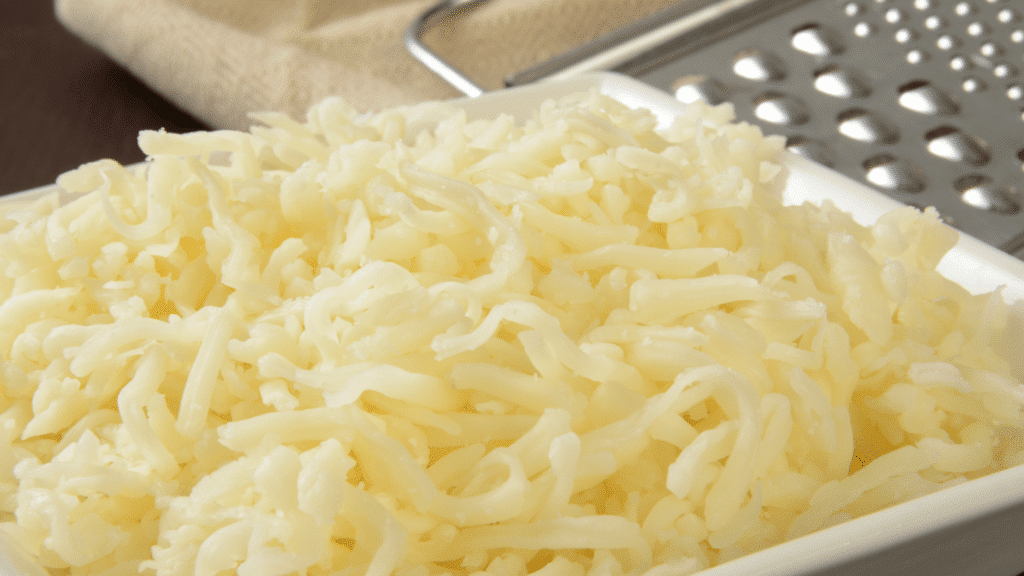
Use Low-Moisture Cheese
The type of cheese you use on your pizza can greatly affect the final product, and low-moisture cheese, particularly mozzarella, is often a top choice for pizza makers. Here’s why:
- Melting Properties: Low-moisture mozzarella has excellent melting properties, resulting in that gooey, stretchy texture we associate with great pizza. It melts evenly and consistently, covering your pizza with a perfect layer of melted cheese.
- Less Moisture Content: As the name suggests, low-moisture cheese has less water content than its fresh counterparts. This is particularly important for pizza because extra moisture can lead to a soggy crust. Low-moisture mozzarella releases less water as it melts, helping to maintain a crispy, firm crust.
- Flavor: Low-moisture mozzarella has a more concentrated flavor than fresh mozzarella. Its flavor profile is creamy, milky, and slightly salty, complementing the other pizza ingredients well. Moreover, the longer aging process also gives low-moisture cheese a slightly tangier taste than fresh cheese.
- Shelf Life: Low-moisture cheese has a longer shelf life than fresh cheese due to its lower water content, making it more convenient for home pizza whenever the mood strikes.
To use low-moisture cheese on your pizza, follow these tips:
- Grate Your Cheese: Instead of slicing, it’s better to grate your low-moisture mozzarella. Grated cheese melts more evenly and quickly, ensuring a uniformly covered pizza.
- Spread Evenly: Spread the grated cheese evenly across the pizza, leaving a small border for the crust. The amount of cheese is up to your preference, but remember, more cheese doesn’t always mean better. Too much can make your pizza heavy and greasy.
- Combine Cheeses: Consider combining low-moisture mozzarella with other cheeses for additional flavor. Some popular choices include Parmesan, Gorgonzola, or Fontina.
Remember, the best pizza caters to your preferences, so while low-moisture cheese is often recommended, don’t be afraid to experiment with other types of cheese until you find your perfect match.
Pizza Tip #7
Avoid Too Many Toppings
When it comes to pizza toppings, sometimes less is more. The urge to load up your pizza with various toppings can be strong, especially when you’re making it at home and have many ingredients at your disposal.
However, there are several reasons why you might want to limit the number of toppings:
- Balance of Flavors: Each topping brings its own unique flavor, and if you have too many, they can compete with rather than complement each other, resulting in a muddled taste. Limiting the number of toppings can ensure a better balance of flavors where each ingredient shines.
- Perfect Cooking: Overloading a pizza with toppings can result in uneven cooking. The crust might be perfectly done while the toppings are still undercooked, or the crust may be overdone when the toppings are cooked. A moderate amount of toppings will cook more evenly.
- Texture: Too many toppings, especially wet ones, can result in a soggy pizza. The moisture from the ingredients can seep into the crust, making it less crisp. A less-loaded pizza will maintain the crispness of the crust better.
- Ease of Eating: A pizza with too many toppings can be difficult to eat. Toppings could fall off, making it a less enjoyable experience.

Here’s a guide on how to select your toppings wisely:
- Choose Quality over Quantity: Instead of going for many toppings, select a few high-quality ingredients to add more flavor to your pizza.
- Balance Flavors: Make sure the flavors of your toppings complement each other. Combine ingredients that have different characteristics—for example, something salty (like olives or capers), something sweet (like caramelized onions), and something fresh (like basil or arugula).
- Precook when Necessary: Some toppings, such as certain vegetables or meats, may need to be precooked to ensure they are done at the same time as your pizza.
- Spread Evenly: When you’re adding your toppings, spread them out evenly so every bite will have a good mix of flavors.
Remember, the goal is to create a pizza where all the components—crust, sauce, cheese, and toppings—work harmoniously. Too many toppings can disturb this balance.
As the old adage goes, “Less Is More,” which certainly applies to pizza toppings!
Pizza Tip #8
Add Complimentary Flavors
Creating a delicious pizza is an exercise in balancing flavors. By choosing toppings that complement each other, you can achieve a harmony of tastes that elevates your pizza from good to outstanding. Here are some tips on how to add complementary flavors to your pizza:
- Contrast Tastes: Balancing different taste profiles can make your pizza more complex and enjoyable. Consider combining sweet, sour, salty, bitter, and umami flavors. For instance, the sweetness of caramelized onions can contrast nicely with the saltiness of olives or capers.
- Play with Textures: The texture of your toppings can also influence how flavors are perceived. A mix of textures, such as the crunch of bell peppers with the softness of fresh mozzarella or the crispiness of bacon with the creaminess of ricotta, can make each bite interesting.
- Consider Aromatics: Aromatics such as garlic, onions, and fresh herbs can significantly boost the flavor profile of your pizza. Adding fresh basil or a drizzle of garlic-infused olive oil after the pizza is out of the oven can provide a flavorful finishing touch.
- Use Quality Ingredients: High-quality ingredients tend to offer richer and more nuanced flavors. Whether it’s a good-quality canned tomato for your sauce, a well-aged cheese, or fresh, locally sourced vegetables, the quality of ingredients can make a noticeable difference in taste.
- Experiment with Global Flavors: Don’t limit yourself to traditional Italian flavors. Feel free to draw inspiration from different cuisines. For instance, a BBQ Chicken pizza could benefit from the tangy and sweet flavors of barbeque sauce, smoked gouda, and red onion, while a Greek-inspired pizza might feature feta, olives, and a hint of fresh dill.
- Pairing Cheese and Toppings: Different cheeses pair well with different toppings. For instance, tangy goat cheese goes well with sweet toppings like roasted beets or caramelized onions, while the creamy flavor of fresh mozzarella pairs well with basil and tomatoes.
- Add Heat: If you like a bit of spice, consider adding toppings like jalapenos, red pepper flakes, or a drizzle of spicy oil. The heat can be a great counterpoint to richer toppings.
Remember, creating the perfect pizza is a personal journey. Don’t be afraid to experiment with different flavor combinations and find what you enjoy the most. After all, one of the greatest joys of homemade pizza is that you get to tailor every aspect to your liking.
Pizza Tip #9
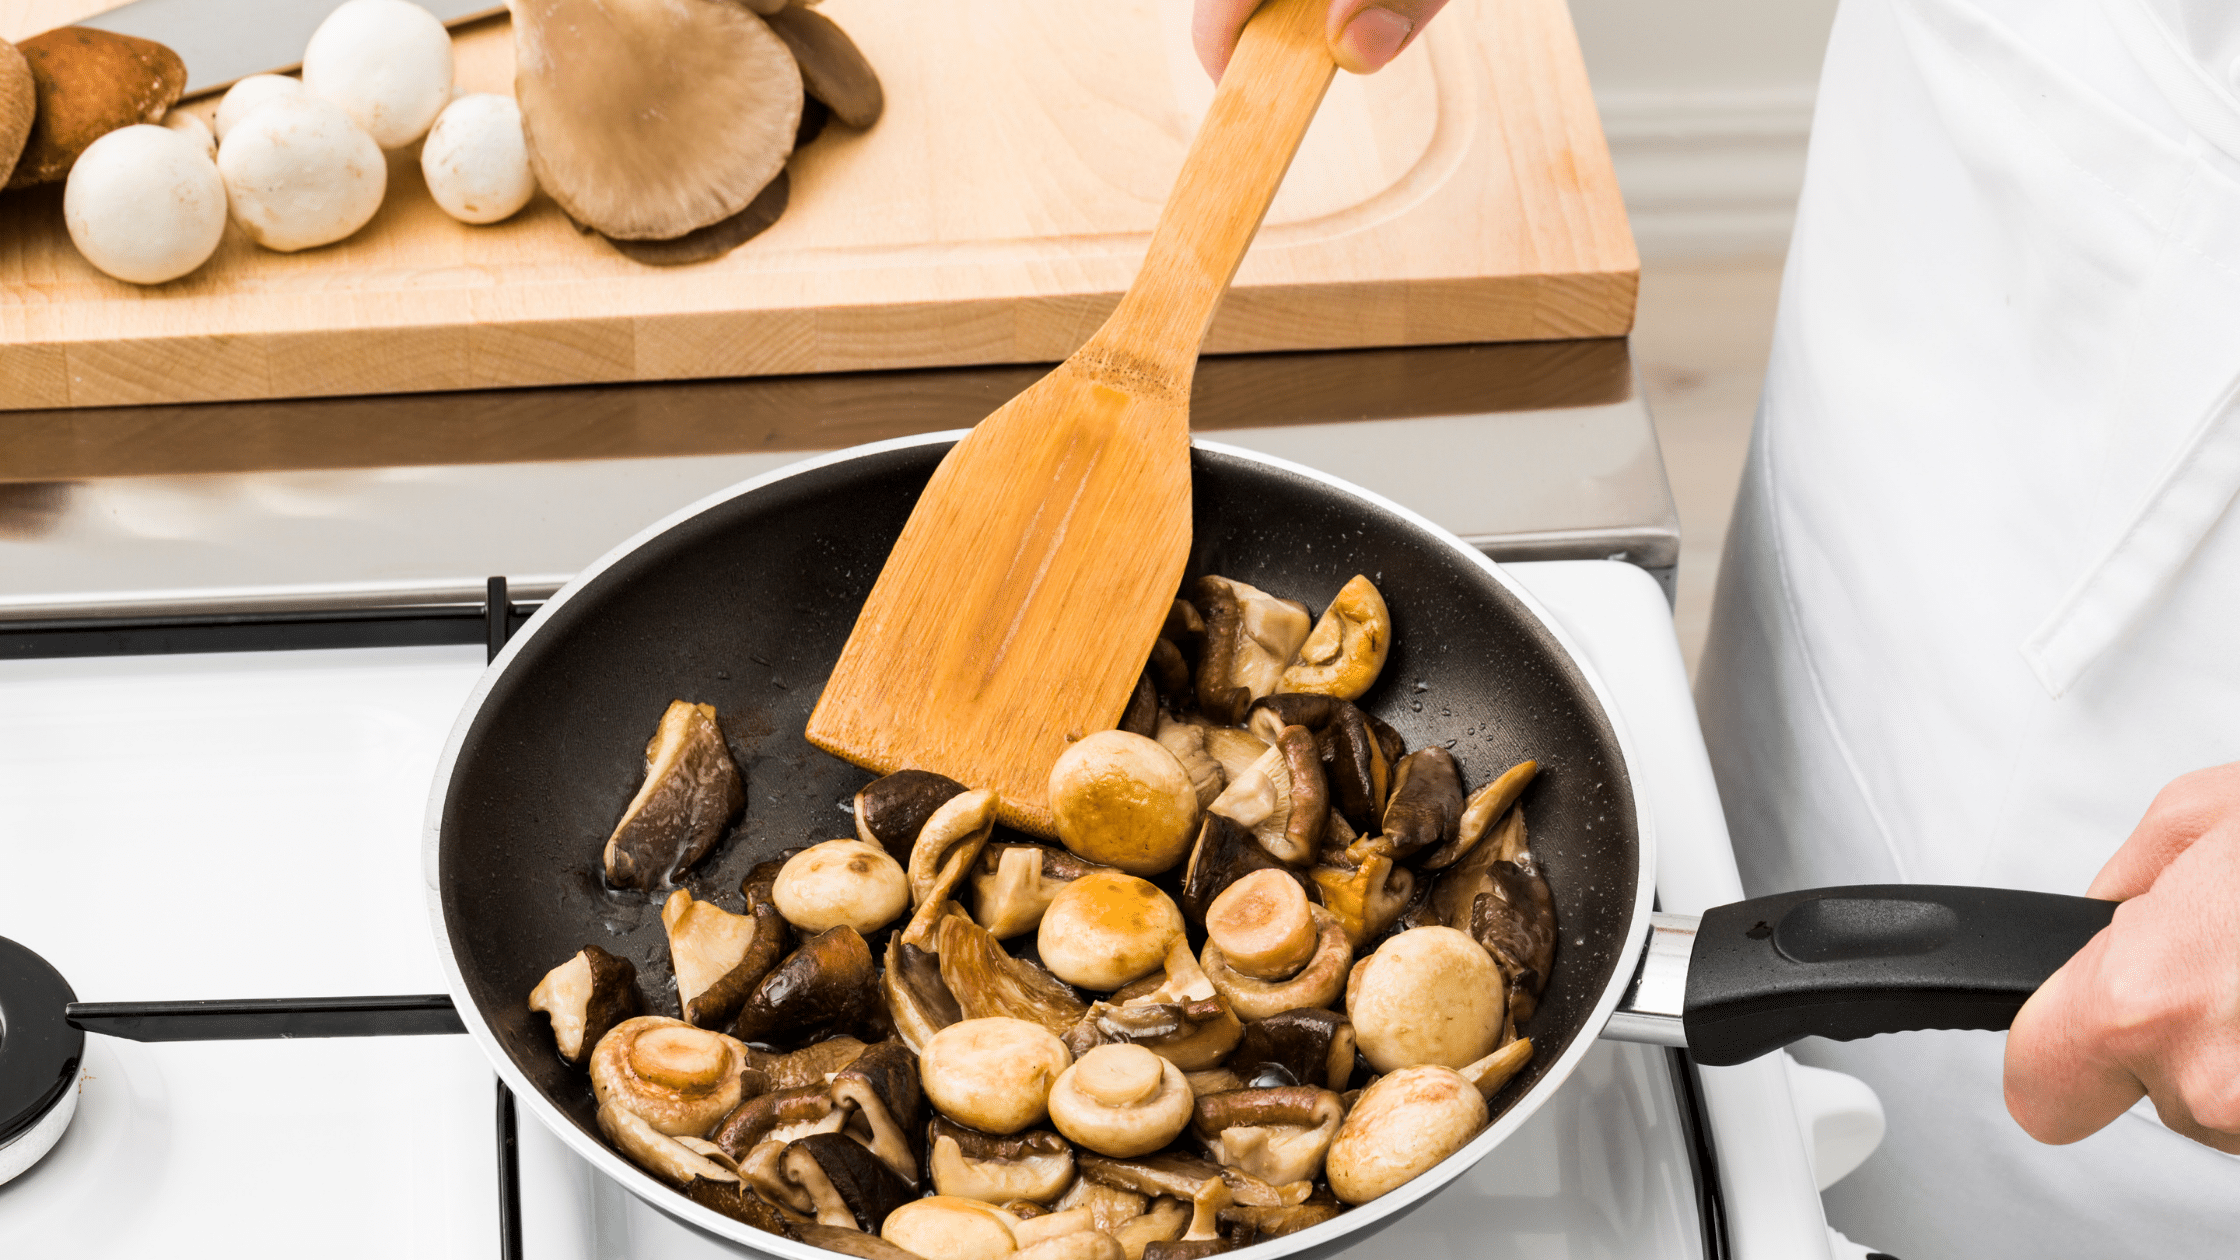
Pre-cook Your Toppings
Pre-cooking certain toppings can greatly enhance the final outcome of your homemade pizza. Here’s why and how you should consider doing it:
- Releases Moisture: Some toppings, particularly vegetables like mushrooms, onions, and bell peppers, contain a lot of water. Putting these toppings on your pizza raw can release their water content onto the pizza as they cook, making your crust soggy. Pre-cooking these veggies helps to release and evaporate that excess water, preventing a soggy pizza.
- Enhances Flavor: Pre-cooking can also enhance the flavor of your toppings. Sautéing vegetables like onions and mushrooms can caramelize them, releasing their natural sweetness and adding a depth of flavor that raw vegetables don’t provide. Similarly, pre-cooking meats like sausage or bacon ensure they are cooked thoroughly and enhance their flavor and texture.
- Adjusts Cooking Time: Pizza cooks very quickly, and some toppings won’t cook completely when a pizza is in the oven. Pre-cooking these ensures that all your toppings are perfectly cooked when the pizza is done.
Here are a few tips on pre-cooking various types of toppings:
- Vegetables: For vegetables like mushrooms, bell peppers, or onions, sauté them over medium heat until they are softened and have released their water. For thicker vegetables like zucchini or eggplant, consider grilling or roasting them before adding to the pizza.
- Meat: For raw meats like sausage or certain types of ham, pre-cook them until they are fully cooked. For bacon, pre-cook it until it’s partially cooked but not crispy, as it will crisp up in the oven.
- Seafood: Most types of seafood should be pre-cooked as they can release a lot of water and may not fully cook when it takes to bake the pizza.
Remember, not all toppings need to be pre-cooked. Some ingredients, like olives, canned artichokes, or fresh herbs, can be added directly to the pizza before it goes into the oven.
The key is to think about how each topping will behave in the oven and prepare it accordingly.
Pizza Tip #10
Brush with Olive Oil
Brushing your pizza with olive oil can be a game-changer. This simple yet powerful step can enhance your pizza’s flavor, texture, and appearance.
Here’s why and how to do it:
- Enhances Flavor: Olive oil has a distinctive, fruity flavor that complements the other ingredients on a pizza very well. It adds a rich, aromatic quality to your pizza that is undeniably delicious. High-quality extra virgin olive oil is recommended for the best flavor.
- Improves Texture: Brushing olive oil on the crust before baking can produce a beautifully crisp and slightly chewy crust. It helps prevent the dough from drying out in the oven’s high heat and assists in achieving that desirable golden-brown color.
- Adds a Glossy Finish: A light brushing of olive oil gives your pizza a professional, glossy finish. It adds a subtle sheen that makes your homemade pizza look as good as it tastes.
Here are the steps to effectively brush your pizza with olive oil:
- Prepare the Dough: Roll out your pizza dough and place it on your cooking surface. Ensure the surface is slightly floured or covered with cornmeal to prevent sticking.
- Brush the Dough: Before adding your sauce and toppings, lightly brush the surface of your dough with olive oil. Be sure to brush the edges of the dough well, as this will create a beautifully golden and slightly crispy crust.
- Add Toppings: After brushing with olive oil, proceed to add your sauce, cheese, and other toppings.
- Final Brushing: Just before placing your pizza in the oven, give the edges one more light brush of olive oil. This will enhance the crust’s color and texture.
- Post-Baking Brush: For an added touch, consider brushing the cooked pizza crust with a bit more olive oil right when it comes out of the oven. This will give it an extra layer of flavor and a beautiful glossy finish.
Brushing your pizza with olive oil is a small step that can significantly elevate your homemade pizza, making it look, taste, and feel like it was professionally made.
Pizza Tip #11
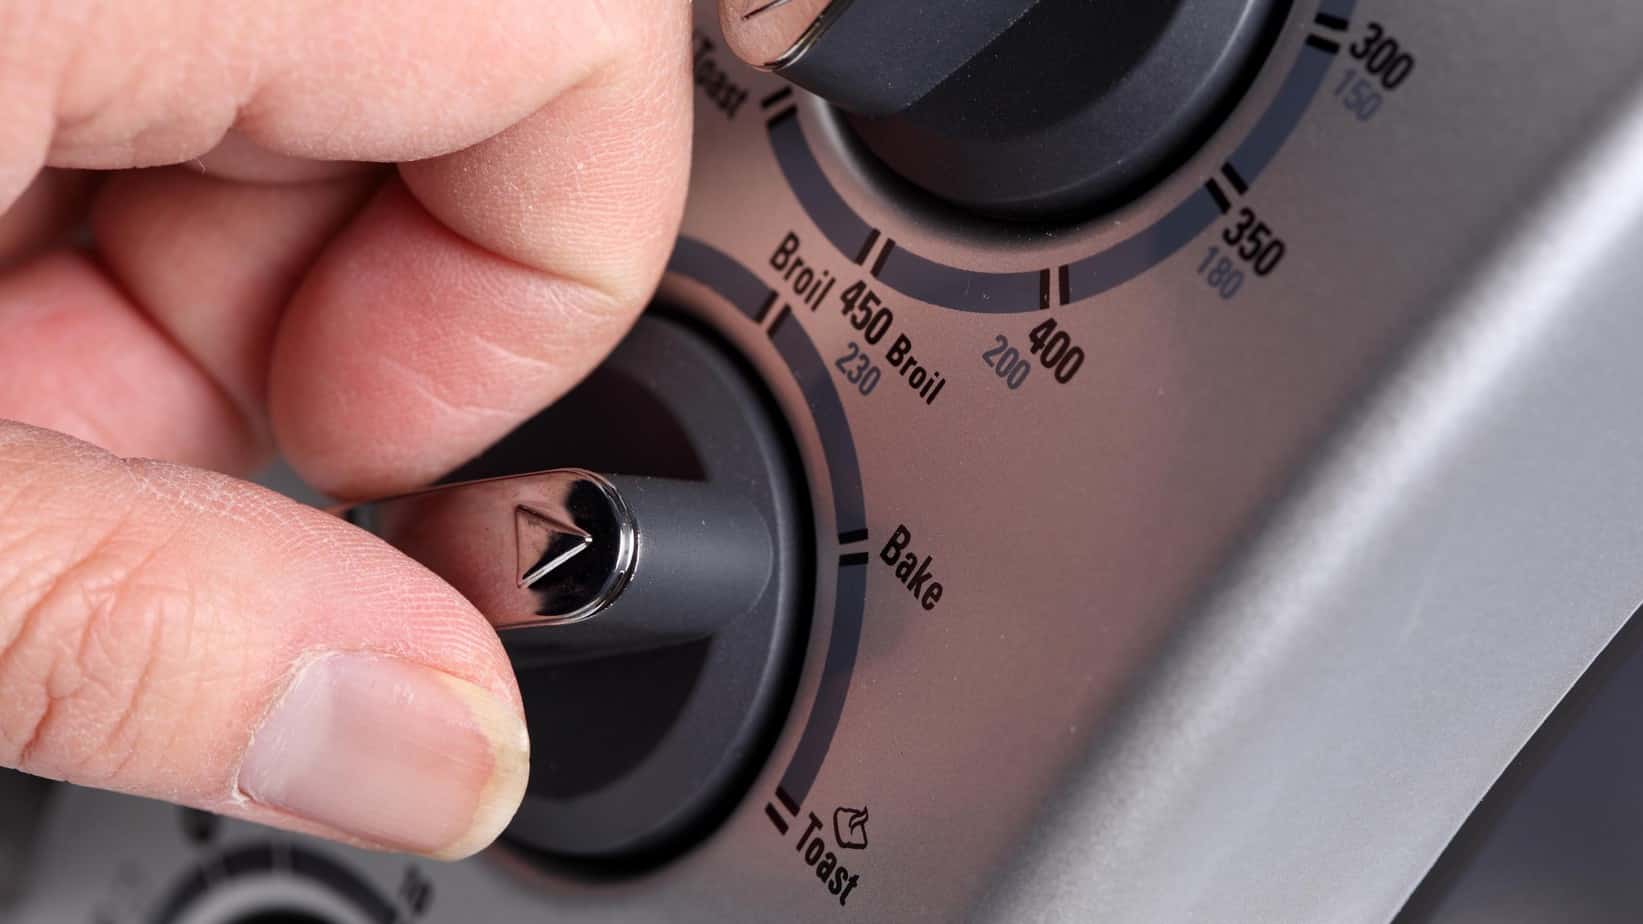
Pre-heat Your Oven
Preheating your oven is a critical step in pizza baking. It can make a world of difference in the outcome of your pizza, impacting everything from the crust’s texture to the cheese’s meltiness.
Here’s why it’s important and how to do it correctly:
- Why Preheating is Important: Pizza needs a high temperature to cook quickly and evenly. Preheating the oven ensures that it cooks properly when your pizza goes in. It helps achieve a crispy, well-browned crust, and perfectly melted cheese. Placing a pizza in a cold oven that slowly heats can result in uneven cooking and a doughy or tough crust.
- Ideal Temperature: Most recipes recommend preheating your oven to its highest temperature, usually between 450-500°F (230-260°C) for conventional home ovens. Pizza is traditionally cooked at very high temperatures (sometimes well above 700°F/370°C) in wood-fired ovens, so getting your oven as hot as possible will get you closer to that authentic pizzeria-quality pizza.
- Use an Oven Thermometer: To ensure accuracy, consider using an oven thermometer. Ovens can sometimes be off by as much as 50 degrees from what they indicate. An oven thermometer can help you confirm that your oven has reached the desired temperature.
- Preheat Time: Allowing sufficient time for the oven to preheat fully is important. This usually takes around 15-30 minutes, depending on the oven. But for pizza baking, especially if you’re using a pizza stone or steel, you want the oven to stay at the desired temperature for a longer period to ensure the stone or steel is evenly heated. That’s why most pizza recipes suggest preheating for at least an hour.
- Position of the Rack: If you’re using a pizza stone, steel, or just a baking sheet, position your oven rack in the lower third of the oven before preheating. This location is usually the hottest and will help achieve a nicely browned crust.
Preheating might seem easy to skip or rush, but it’s crucial in making pizza. A properly preheated oven is one of the keys to achieving a professional, pizzeria-like pizza right in your home kitchen.
Pizza Tip #12
Use a Pizza Steel
When it comes to cooking pizza at home, the surface upon which it’s cooked can significantly influence the outcome. While pizza stones have long been recommended for their heat retention and crispy crust results, pizza steels (also known as baking steels) have become a top choice for home pizza chefs.
Here’s why:
- Superior Heat Conduction: Pizza steels are known for their superior heat conduction properties. Steel conducts heat more efficiently than stone, transferring more heat to your pizza in less time. This leads to a wonderfully crisp crust with perfect, quick char on the bottom.
- Heat Retention: Not only does steel heat up faster than stone, but it also retains heat better. This makes pizza steels ideal for cooking multiple pizzas in a row without waiting for the steel to reheat between pizzas.
- Durability: Pizza steels are extremely durable. Unlike pizza stones, they’re not prone to cracking from thermal shock and can handle very high temperatures. This makes them a long-lasting addition to your kitchen arsenal.
- Versatility: Beyond pizzas, a baking steel can be used for various other baked goods. It’s great for getting a hard sear on steaks, baking bread with a perfect crust, or even roasting vegetables.
Here’s what we recommend:
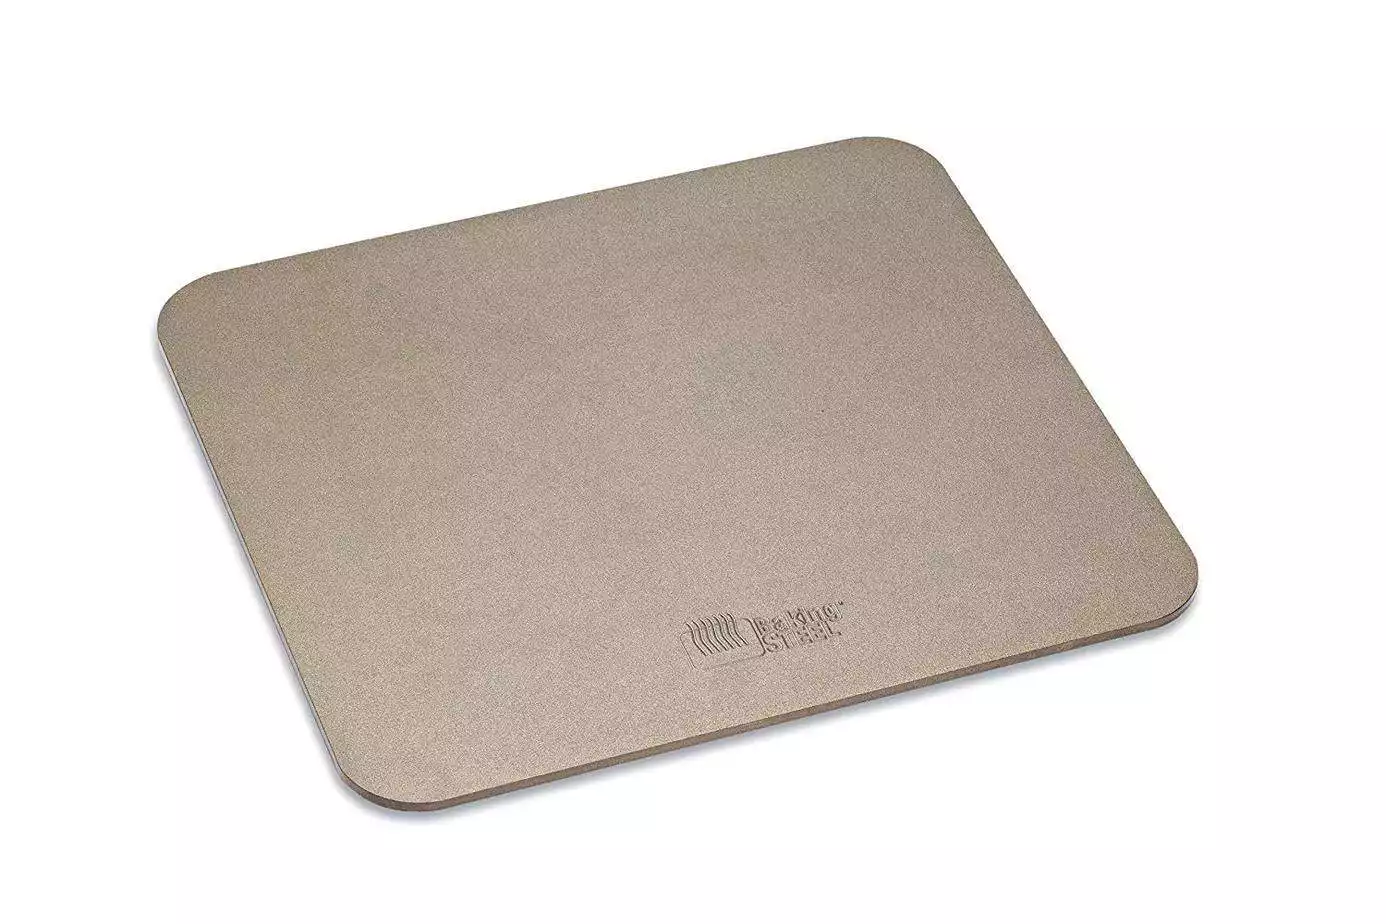
The Original Baking Steel is your secret weapon for recreating pizzeria-quality pizzas right in your home kitchen. Crafted from ultra-conductive steel, this game-changing tool captures and radiates heat with remarkable efficiency, ensuring a perfectly crisp, evenly baked crust every time.
It's not just for pizzas; use it for baking breads, roasting veggies, or even searing meats to culinary perfection. Durable, versatile, and easy to use, the Baking Steel is a true champion of home cooking that will elevate your baking game to professional heights.
Say goodbye to soggy, undercooked crusts and hello to the tantalizing taste of impeccably baked goods with The Original Baking Steel!
Using a pizza steel is straightforward:
- Preheat: Place your pizza steel in the oven before turning it on. Preheat the oven with the steel inside for at least 45 minutes to an hour at the oven’s highest temperature. This ensures the steel is evenly heated.
- Preparation: Prepare your pizza on a separate surface, such as a pizza peel or an inverted baking sheet dusted with flour or cornmeal. This will allow you to slide the pizza onto the hot steel easily.
- Bake: Slide the prepared pizza onto the preheated steel in the oven. Bake until the crust is golden and the cheese is bubbling and slightly browned.
Remember to be careful when handling the pizza steel as it gets extremely hot. Always use oven mitts and give the steel ample time to cool down after removing it from the oven. With a pizza steel, you’re one step closer to achieving pizzeria-quality pizza right in your own kitchen.
Pizza Tip #13
Use Cornmeal
Cornmeal is a secret weapon in the pizza-making process. This coarse flour made from dried corn is often used when preparing and cooking pizza, and it offers several benefits:
- Prevents Sticking: One of the main uses of cornmeal in pizza making is to create a barrier between the pizza dough and the cooking surface (such as a pizza stone or steel). The small, rough grains of cornmeal act like tiny ball bearings, allowing the pizza to slide onto and off of the cooking surface more easily. This is especially helpful if you use a pizza peel to transfer your pizza into the oven.
- Adds Texture: Cornmeal can give the bottom of your pizza crust a slightly crunchy texture. This contrasts the soft and chewy pizza crust and helps make the pizza less soggy by absorbing any excess moisture.
- Enhances Flavor: While it’s subtle, cornmeal can add a light, sweet flavor to your pizza crust that complements the other ingredients.
Here’s how to use cornmeal in your pizza-making process:
- Prepare the Surface: Before placing your rolled-out pizza dough onto your pizza peel or baking sheet, sprinkle a generous amount of cornmeal onto the surface. This will prevent the dough from sticking.
- Transfer with Ease: Once you’ve assembled your pizza on the peel or baking sheet, the cornmeal will allow you to smoothly slide the pizza onto your preheated pizza stone or steel in the oven.
- Check the Bottom: When your pizza is cooked and ready to come out of the oven, the cornmeal should create a nice, crispy texture on the bottom.
Remember, when it comes to using cornmeal, a little goes a long way. Too much could burn in the oven’s high heat and create an unpleasant flavor. Just a sprinkle should do the job!
Pizza Tip #14
Cook for the Appropriate Time
Cooking your pizza for the correct amount of time is crucial to achieving the perfect crust and beautifully melted cheese. Here are some guidelines and considerations:
- Oven Temperature: The higher the temperature, the less time the pizza needs to cook. Most homemade pizzas are cooked in an oven set to the highest temperature, typically around 450-500°F (230-260°C).
- Cooking Time: A standard thin-crust pizza usually takes 10-15 minutes to bake at these high temperatures. However, this guideline can vary based on your specific oven and the thickness of your pizza.
- Preheat: It’s important that the oven reaches the desired temperature and stays there for a while before you put the pizza in. This will ensure a consistent, high heat that cooks the pizza evenly and quickly.
- Thickness of the Crust: Thin crust pizzas will cook much quicker than thicker ones. If you’re making a deep-dish or pan pizza, you must adjust the cooking time accordingly, often requiring 20-30 minutes.
- Toppings: The type and quantity of toppings can also affect the cooking time. Pizzas loaded with many toppings or toppings that contain a lot of moisture (like certain vegetables or fresh mozzarella) may take a little longer to cook.
- Visual Cues: Ultimately, checking it is the best way to know if your pizza is done. The crust should be golden and crispy, the cheese should be melted and bubbly, and the toppings fully cooked. If using a pizza stone or steel, you might want to lift a corner of the pizza with a spatula to check that the bottom of the crust is nicely browned too.
- Rotate If Needed: Depending on your oven, you might find that it cooks unevenly – hotter at the back, for instance. If this is the case, you might need to rotate your pizza partway through cooking to ensure it cooks evenly.
Cooking times can vary, so it’s always better to check your pizza a bit early to ensure it doesn’t overcook.
With practice, you’ll get to know the quirks of your oven and be able to predict the perfect cooking time for your preferred style of pizza.
Pizza Tip #15
Take Your Time
Pizza-making is as much an art as it is a science, and as with any art form, it can’t be rushed. Taking your time in each step of the process ensures you’ll end up with a pizza that’s as delicious as it is satisfying to make. Here’s how patience pays off in pizza-making:
- Dough Preparation: The process starts with the dough. It needs time to rise and develop gluten, which gives pizza its characteristic chewy texture. This process, known as fermentation, also enhances the flavor of the dough. A slow, cold fermentation in the refrigerator for 24-72 hours can produce exceptionally flavorful results.
- Dough Handling: Once your dough is ready, handle it gently and take your time to stretch it out. Rushing this step or using a rolling pin can lead to a dense and tough crust. Allow the dough to rest if it starts to snap back while you’re stretching it.
- Ingredient Selection: Spend time choosing the best ingredients for your pizza. Whether it’s picking ripe, flavorful tomatoes for your sauce or sourcing quality cheese, the time invested in finding the best ingredients will pay off in the flavor of your finished pizza.
- Topping Distribution: Take your time to distribute your toppings evenly across the pizza. This ensures that every bite is balanced and flavorful.
- Oven Preheating: Ensure your oven is thoroughly preheated before baking your pizza. This might take longer than expected, especially if you use a pizza stone or steel. A properly preheated cooking surface will ensure your pizza cooks evenly and gets a nicely browned, crispy crust.
- Cooking and Monitoring: While your pizza is in the oven, keep a close eye on it. Pizza cooks quickly; the difference between perfectly cooked and overcooked can take minutes.
- Resting After Cooking: Even after your pizza is out of the oven, a little patience can enhance the eating experience. Allow it to rest for a couple of minutes before slicing. This rest allows the cheese to set slightly and makes for cleaner slices.
Remember, the joy of making pizza at home is not just in the eating but in the making process itself. Taking your time, appreciating each step, and learning as you go are all part of the satisfying journey of homemade pizza-making.
The Last Slice
Mastering the art of pizza-making at home is a journey that takes a bit of time, patience, and practice. However, with these 15 pizza tips in your culinary toolbox, you’re well on your way to creating flavorful, satisfying pizzas with the perfect balance of a crisp crust, tangy sauce, and delicious toppings.
Whether you’re experimenting with different dough recipes, exploring new topping combinations, or fine-tuning your baking process, remember that each step brings you closer to your ultimate pizza masterpiece.
Happy pizza making!
More Tips

Uncover the Best Kept Secrets of Costco Pizza: [PRO Tips, FAQs, and More]
the PROs
Costco Pizza We recently asked some loyal Costco shoppers what they loved the most about the retail giant – the …
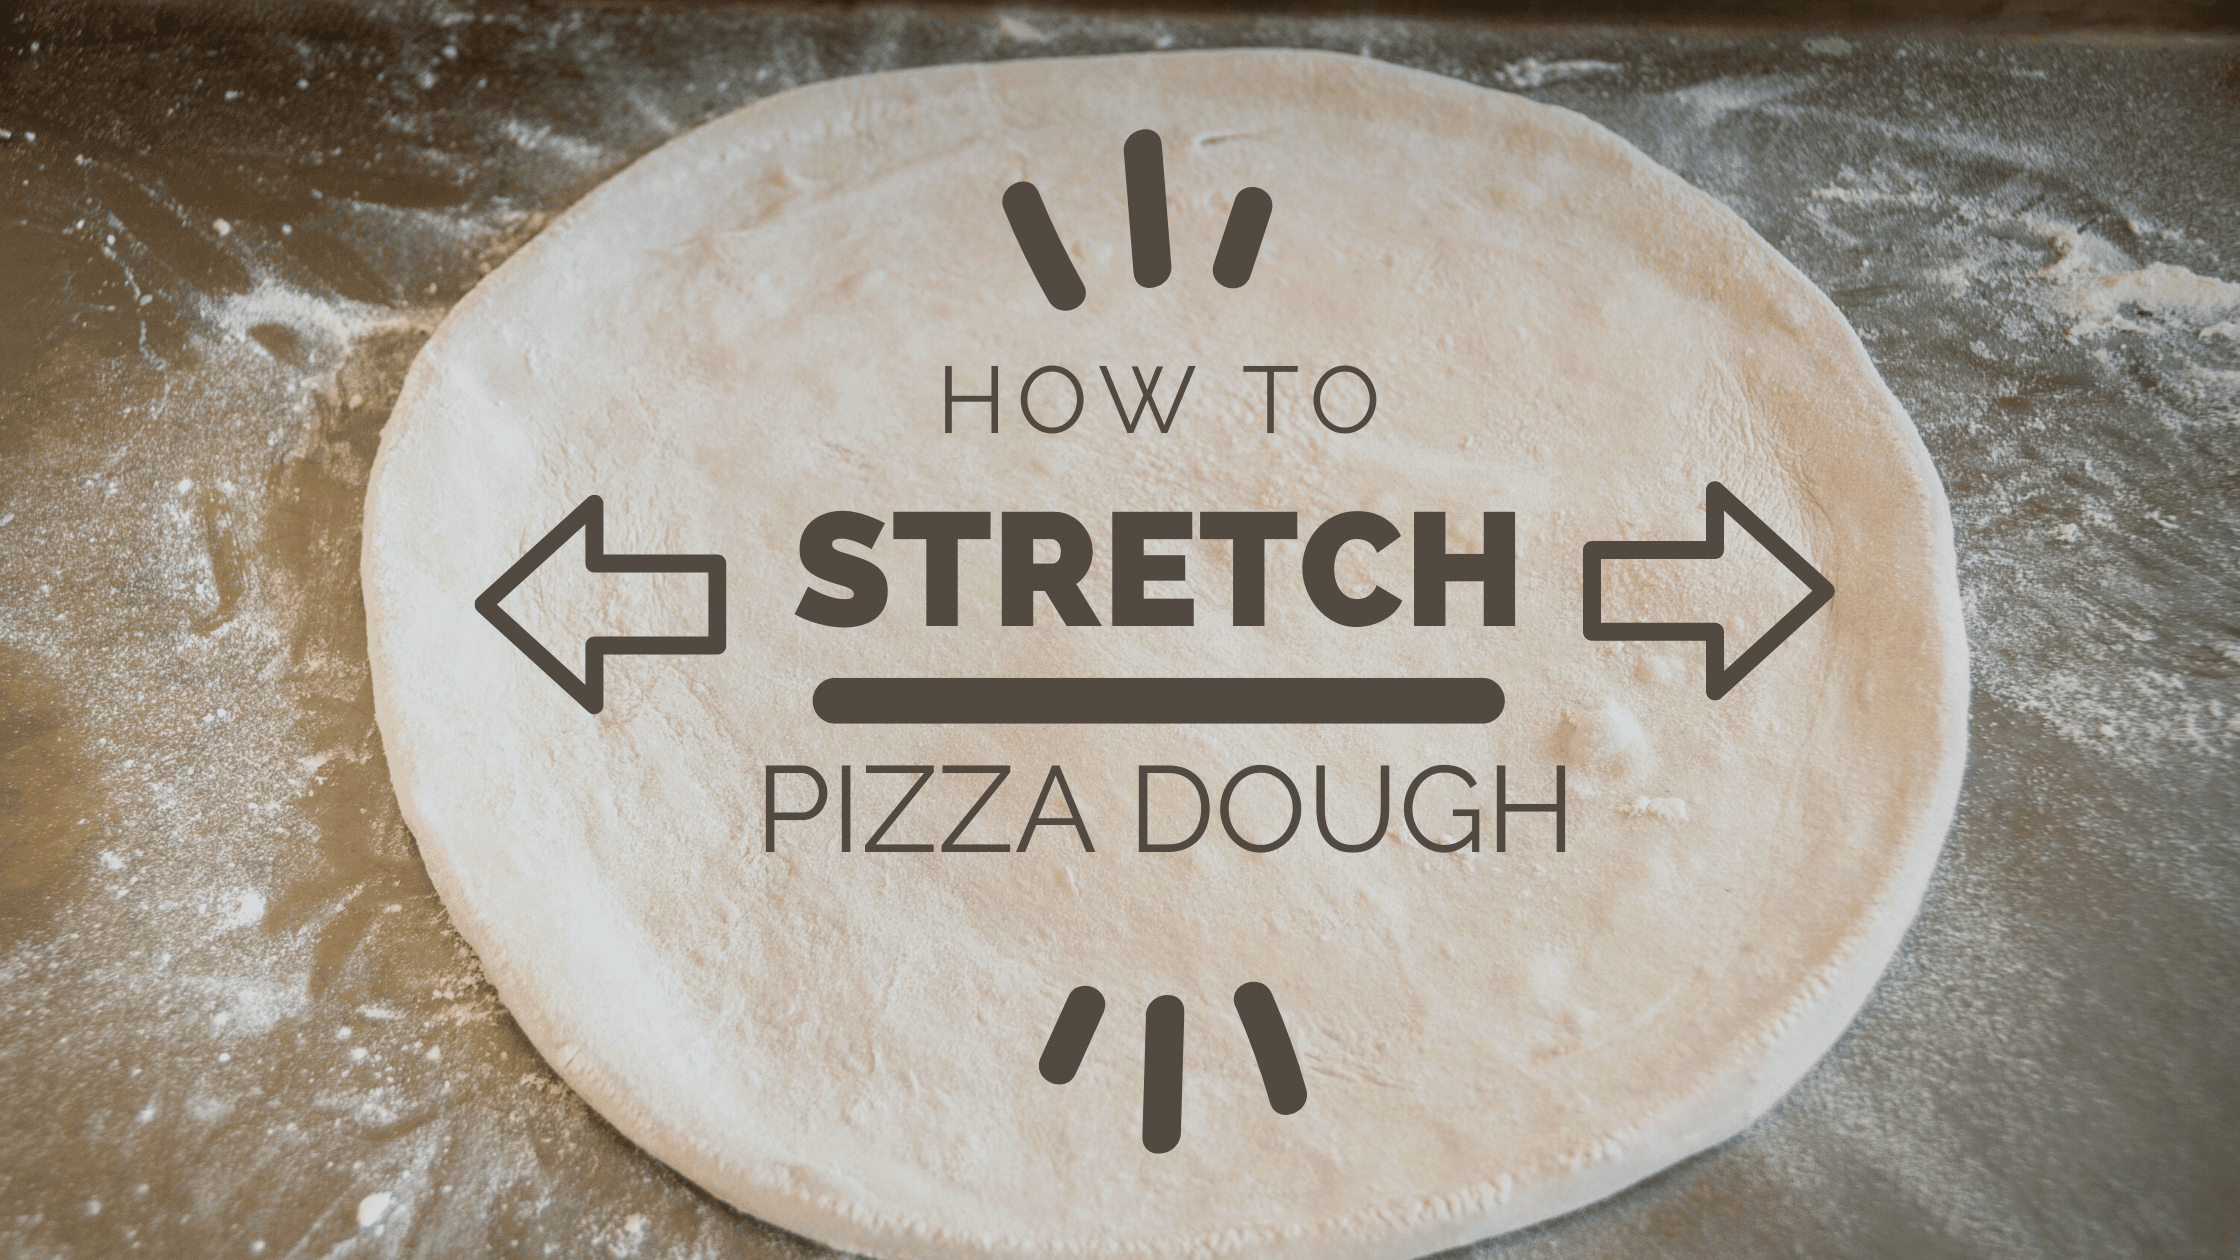
How to Stretch Pizza Dough Like a PRO: Tips and Tricks to Elevate Your Homemade Pizza Game!
the PROs
So you’ve decided to make your pizza but are unsure how to stretch pizza dough to perfection. Well, fear not! …
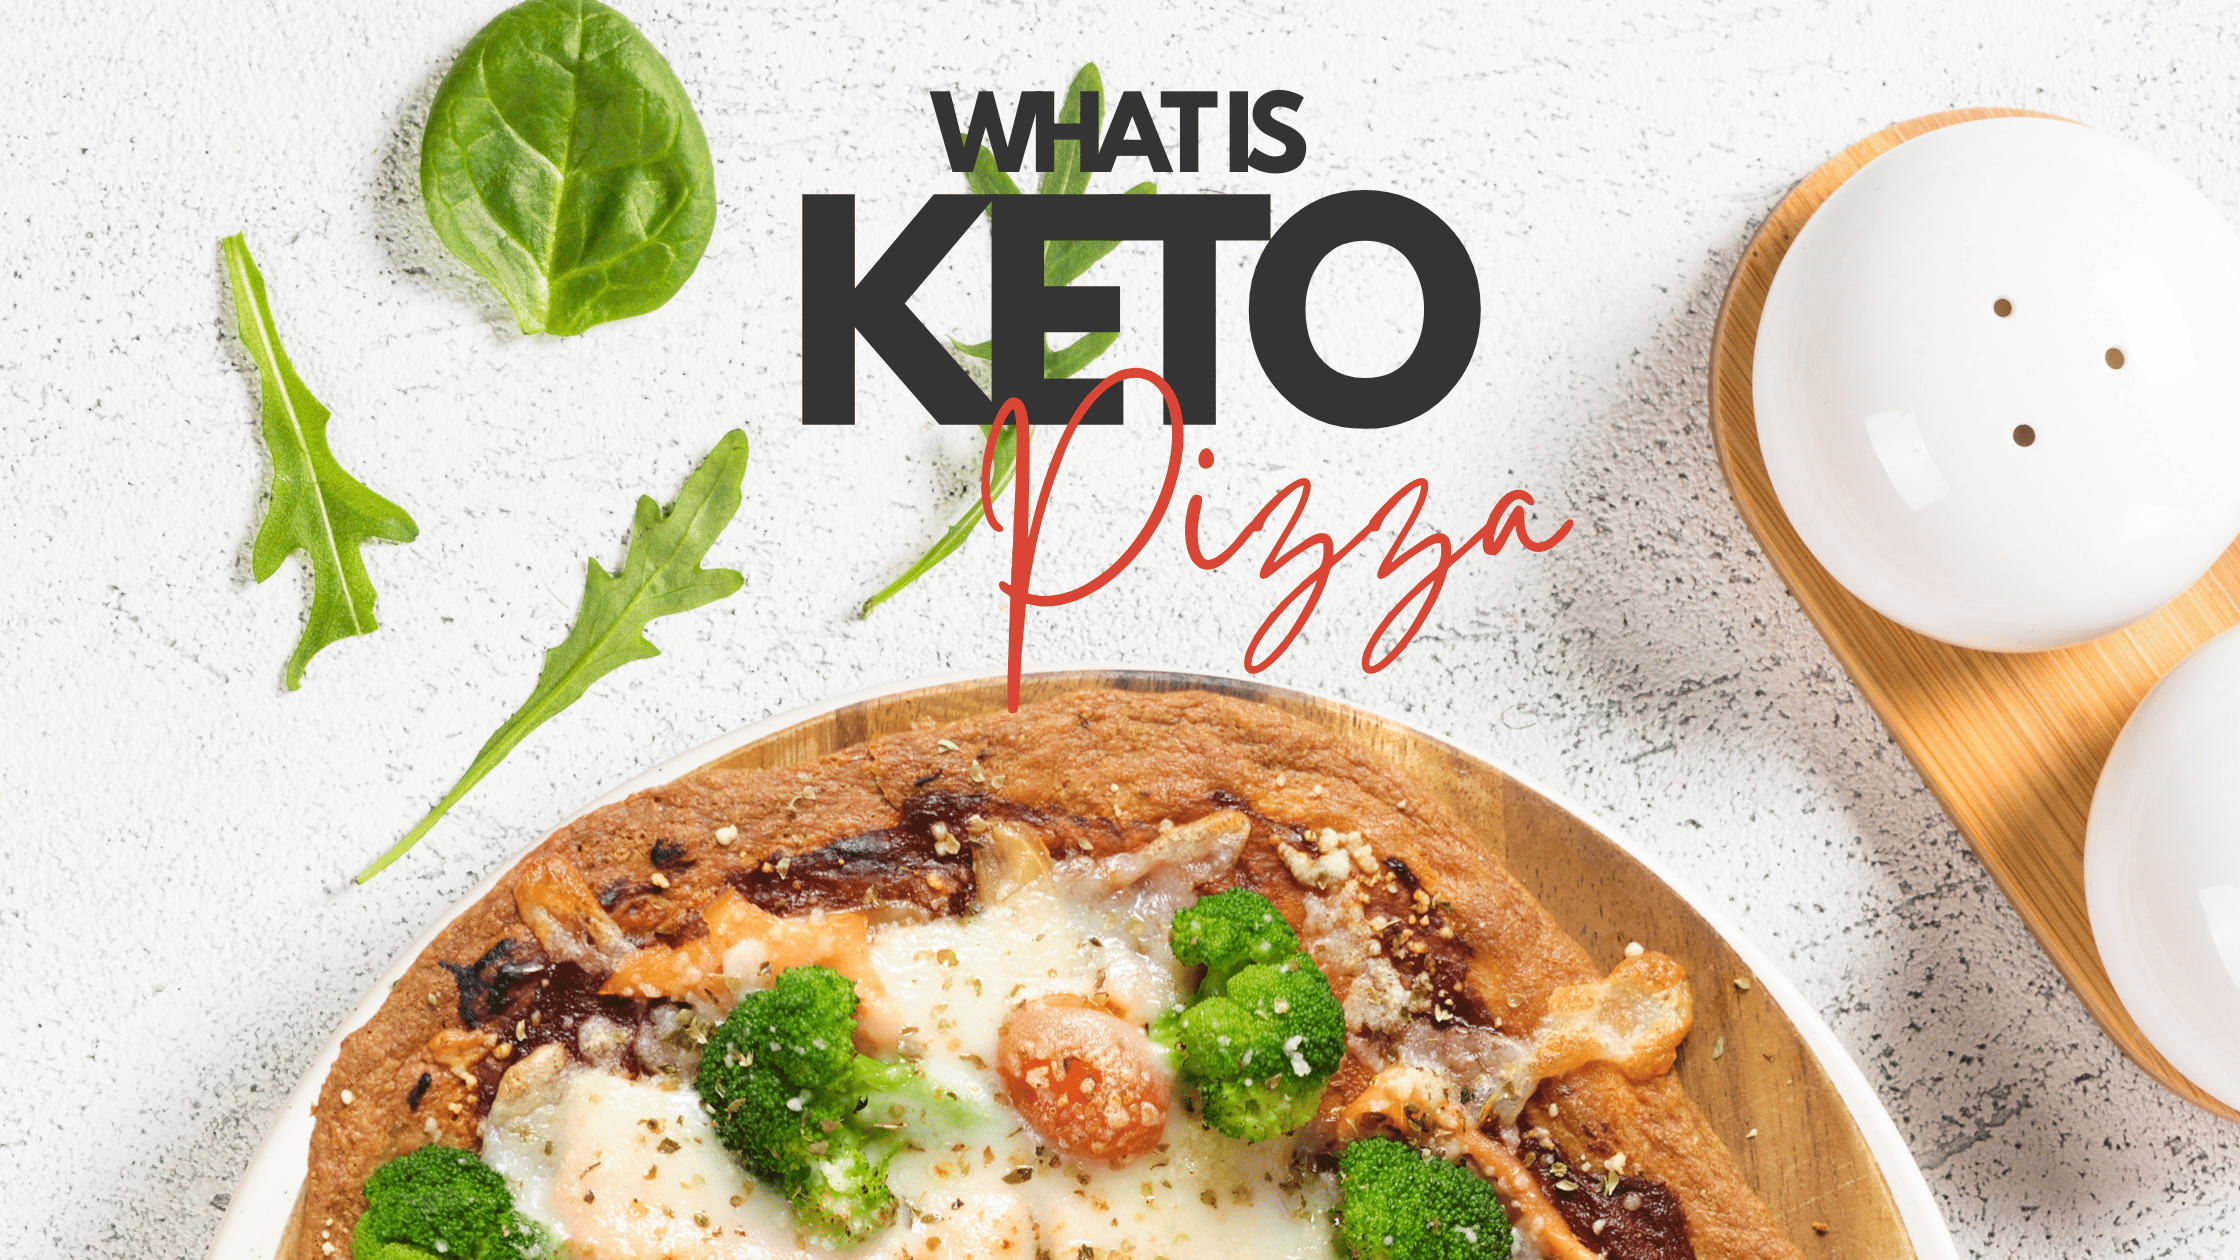
What is Keto Pizza? The Ultimate Guide from Crust to Toppings and Tips on How to Make it at Home
the PROs
Have you ever found yourself dreaming about a juicy, cheesy pizza, but immediately dismissed the thought due to dietary restrictions? …
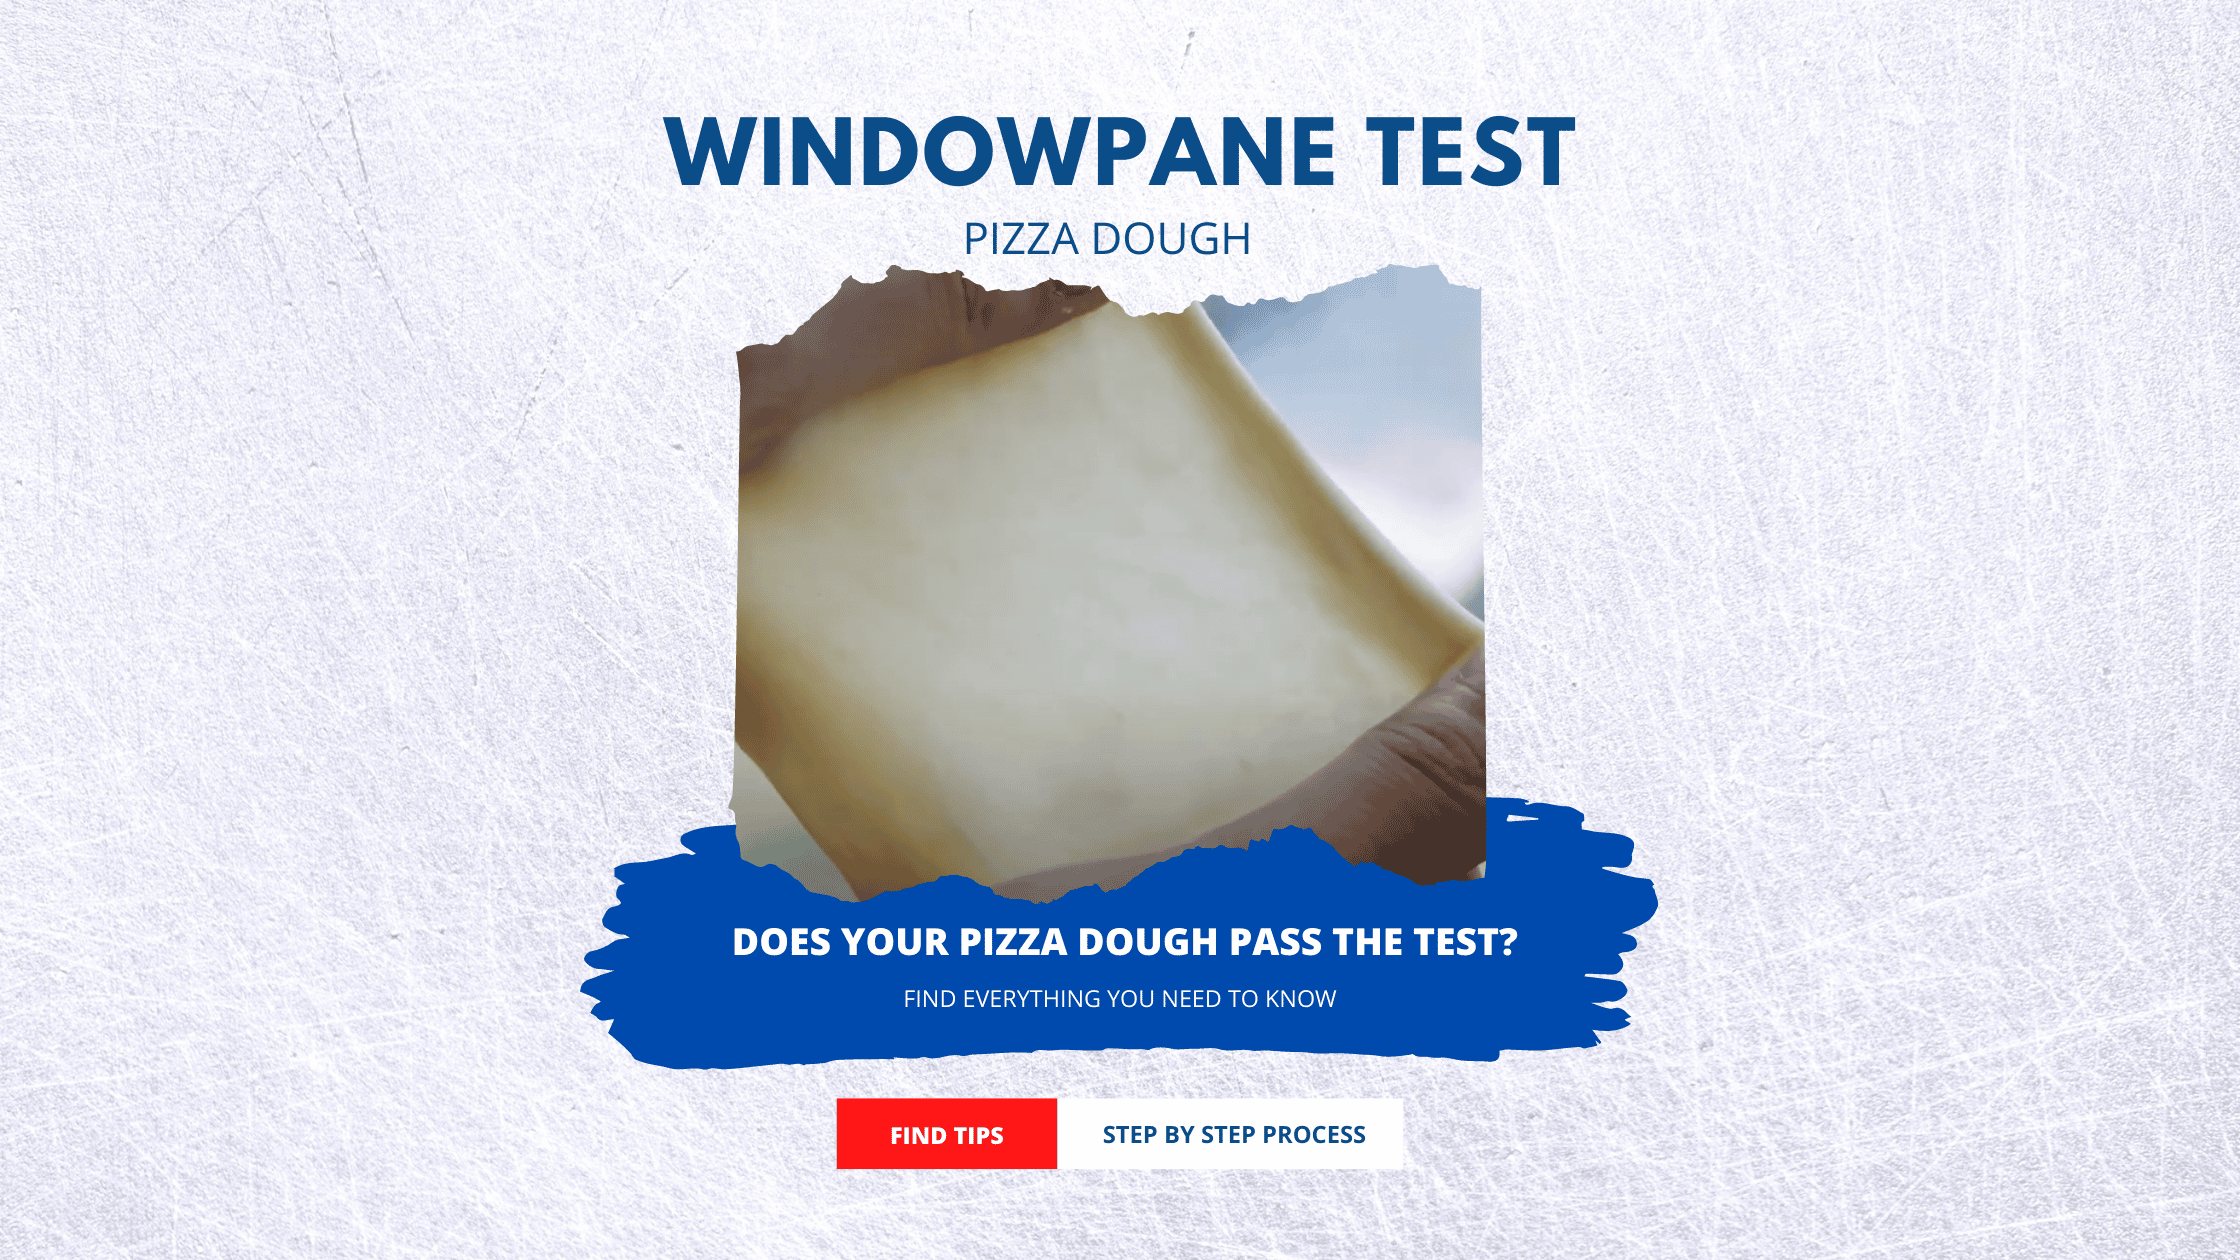
Windowpane Test: (Tips, How-to, and Everything You Need to Know)
the PROs
Pizza Dough Windowpane Test Kneading the dough is probably one of the most complex parts of baking a pizza. You …

Cost to Make Pizza in 2023 (+Tips on How to Save $)
the PROs
How Much Does it Cost to Make Pizza? Are you tired of spending a fortune every time you want to …
Master the Art of Melting Mozzarella Cheese: Tips and Tricks from the Pros
the PROs
Are you ready to embark on an epic journey to transform your homemade pizza game with the ultimate secret to …

10 Amazing Yeast Tips for Pizza Dough You Need to Master
the PROs
Pizza Dough Yeast Tips Are you looking for some pizza dough yeast tips? We’ve got plenty of information for you! …

How Much Yeast is in a Packet? Easy Shortcuts (+Yeast Tips from the PROs)
the PROs
How Much Yeast is in One Package? Are you wondering how much yeast is in a packet? Easy! Each yeast …

Master the Art of Clean Cut Pizza: [+Tips and Tricks for Perfect Slices]
the PROs
What is Clean Cut Pizza? We know you take your pizza game seriously, and we’re here to help elevate it …
Enjoy!
Not a PRO? Not a Problem!
Take a pizza class to bring your pizza skills to the next level,
so you can be a PRO!
Related Posts

Costco Pizza Delivery: Find How You Can Get It Now!
the PROs
People go to Costco’s food court for many different reasons, but the cheesy slice of pizza they serve is among …
Pizza for Beginners: Don’t Buy Pizza, Make It! Here’s How to Get Started!
the PROs
You have this idea that you want to make pizza at home as opposed to ordering it, but where do you start? Don’t worry! Here you will find answers and directions to all your questions.

Pizza Toppings Under Cheese or Over Cheese? [Why the Order Matters]
the PROs
Is Pizza Cheese on Top or Bottom? Hey pizza lovers, are you wondering if you should layer pizza toppings under …

Newsletter
Subscribe to our Recipe of the Week newsletter and receive our partners’ latest recipes, tips, and discount offers.
Keep in Touch!