
“The Proof is in the Dough”
Unlock a world of incredible flavors and tantalizing textures with the magic of pizza dough fermentation! It’s a journey where science meets culinary arts, turning simple ingredients into the foundation of the world’s favorite food – pizza.
Join us as we delve into the captivating process of fermentation that gives pizza dough its remarkable depth of flavor, crispy exterior, and airy crumb. Be ready to transform your homemade pizza from good to outstanding.
So, pull out your flour, water, yeast, and salt, and prepare to unleash the untapped potential of your pizza dough!
Let’s get started!
Here’s What You Will Find:
Welcome to the fascinating world of pizza dough fermentation! This is where the humble ingredients of flour, water, yeast, and salt come together to create a beautiful symphony of flavors and textures that will take your homemade pizza to the next level.
Fermentation, the secret behind the rise and flavor of your pizza dough, is a process shrouded in simplicity yet profound in its impact. As we unravel the science and art behind this technique, you’ll discover how the beauty of fermentation elevates a simple pizza dough, transforming it into a canvas for your pizza masterpiece.
The Science Behind Pizza Dough Fermentation
So, what makes fermentation so critical to the process of making pizza dough? The answer lies in a microscopic organism called yeast. When yeast is mixed with flour and water, it feeds on the sugars present in the flour, which is known as fermentation. The by-products of this process are alcohol and carbon dioxide, the latter being responsible for giving your dough the rise it needs.
During the process of fermentation, the yeast not only helps the dough to rise but also significantly influences the flavor and texture of the pizza. The longer the dough ferments, the more complex its flavor becomes. Fermentation aids in developing a crisp exterior while maintaining an airy and light interior, giving you that perfect bite of pizza we all crave.
The science behind dough fermentation is indeed an intriguing dance between biology and chemistry, all taking place within the confines of your mixing bowl. But it’s not just science; fermentation is an art, too, requiring time, patience, and understanding. In the following sections, we’ll explore different fermentation methods and guide you through the process, so you can perfect the art of making outstanding pizza dough at home.
Different Methods of Pizza Dough Fermentation
Now that we understand the role of fermentation in developing our dough, let’s explore the different methods available. These methods mainly vary based on the time and temperature of fermentation and can significantly impact the flavor and texture of your pizza.
Direct Method (Single Rise)
This is the most straightforward and quickest method, ideal for when you need pizza dough on the same day. In the direct method, all ingredients are mixed together, and the dough can rise once before being shaped into pizza. The fermentation process in the direct method usually takes about 1 to 2 hours, depending on the ambient temperature. While this method may not allow for extensive flavor development, it can still yield a tasty crust with a light and airy crumb.
Indirect Method (Double Rise)
A double-rise method allows for a longer fermentation, resulting in a more flavorful, textured dough. Here, a pre-ferment, or “sponge,” is first prepared by mixing a portion of the flour, water, and yeast and allowing it to ferment for a few hours. The remaining ingredients are then added, and the dough is left to rise a second time before shaping. This method requires more time, often an entire day, but the result is a dough with a more complex flavor and a beautifully developed crumb structure.
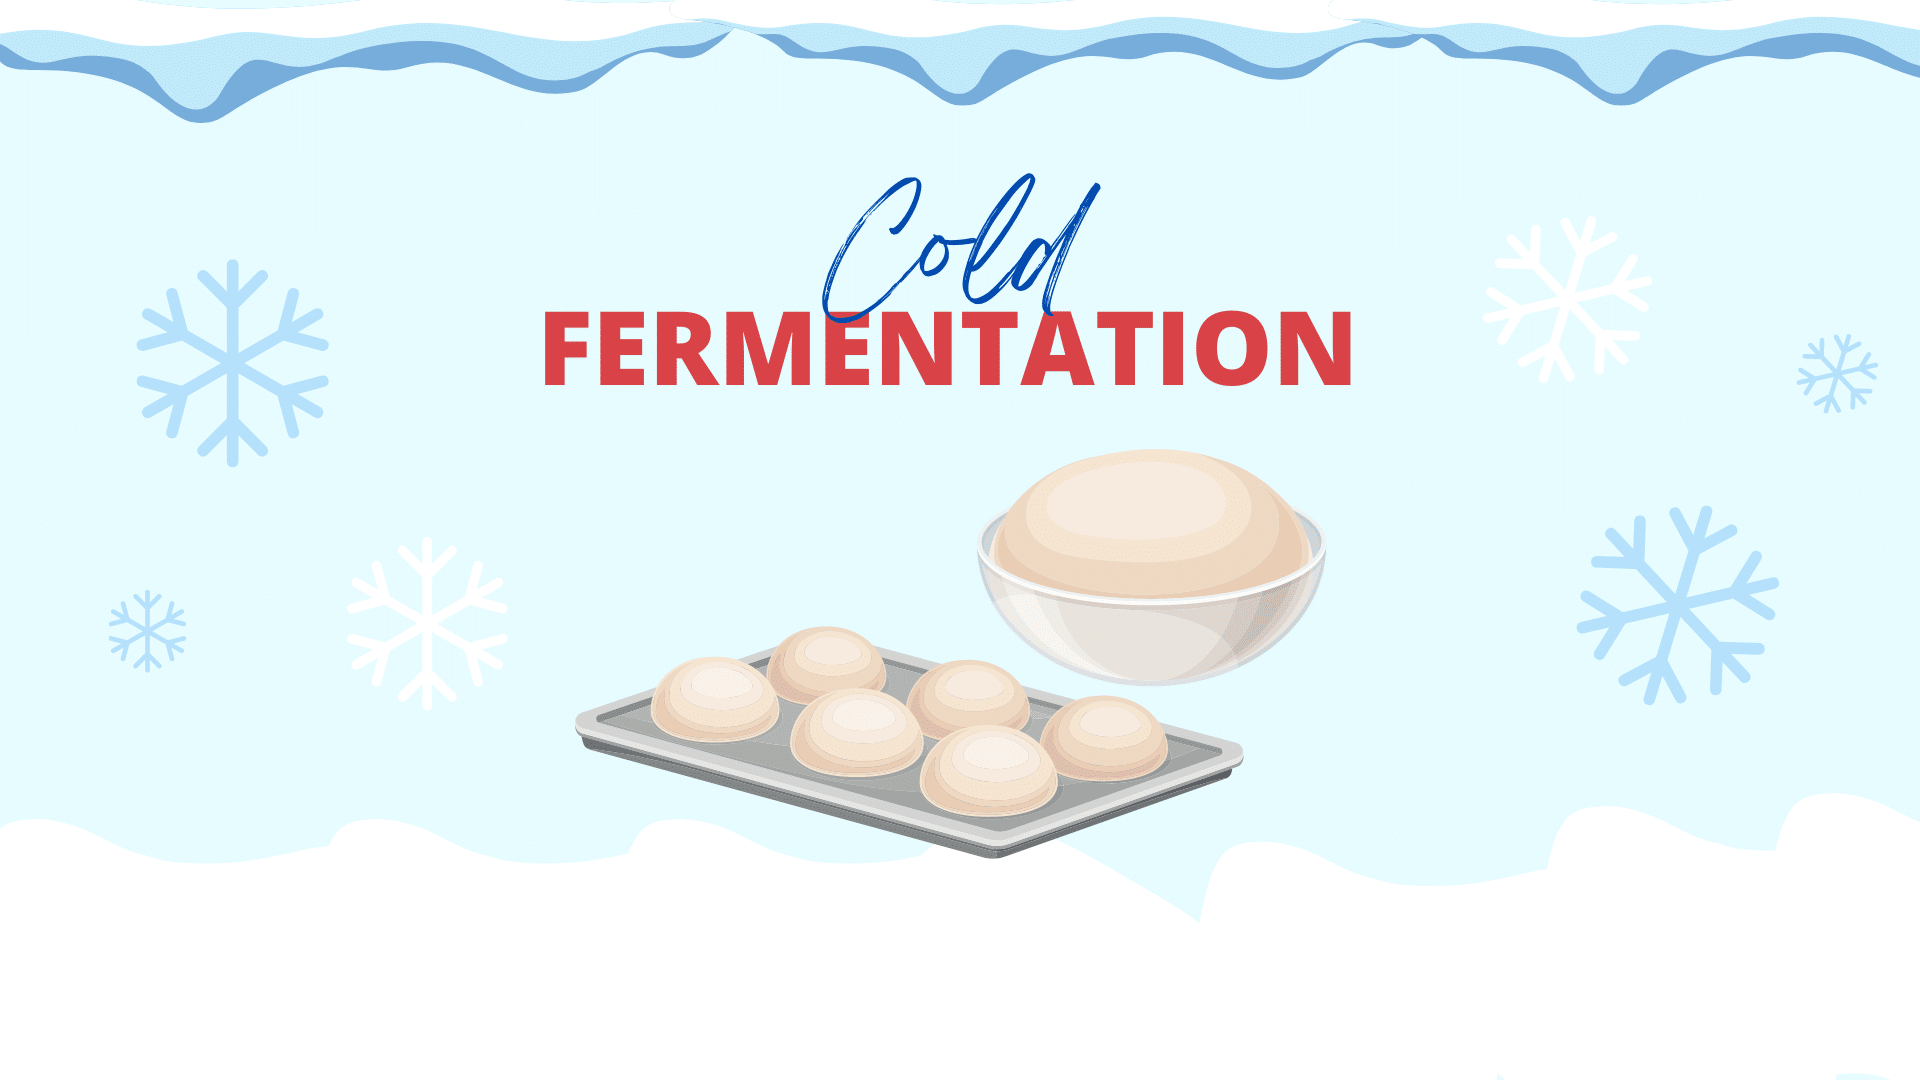
Cold Fermentation
Cold fermentation is a technique that truly elevates the flavor of your pizza to gourmet levels. In this method, the mixed dough is allowed to ferment in the refrigerator for an extended period, usually between 24 to 72 hours, sometimes even longer. The cold environment slows down yeast activity, allowing for the slow development of complex flavors and aromas.
Cold fermented dough yields a crisp crust on the outside, tender and airy on the inside, and packed with nuanced flavors that are unmatched by quicker methods. Plus, this method has the added advantage of flexibility; you can prepare the dough days in advance and have it ready to use when you’re ready to bake.
Choosing a method depends on your time constraints and flavor preferences. If you’re short on time, the direct method is reliable. If you’re aiming for a richer, more complex flavor and have some time to spare, the double rise or the cold fermentation methods are the way to go. As with any culinary technique, practice, and experimentation are key to finding what works best for you. Enjoy the process, and remember, the journey to mastering the perfect pizza dough is as rewarding as the delicious end result!
Pizza-Making Process
Pizza dough fermentation is a critical stage in the pizza-making process, occurring after the dough has been mixed and kneaded but before it’s shaped and baked. The dough can rest and ferment once the dough ingredients are combined and kneaded to develop gluten.
During this fermentation period, yeast consumes the sugars in the flour, producing carbon dioxide gas and alcohol, causing the dough to rise and develop complex flavors. The length of the fermentation period varies depending on the method used and can significantly impact the flavor and texture of the finished pizza crust.
After fermentation, the dough is shaped into pizza bases, topped, and baked to delicious perfection.
If you are starting, we recommend reading our article on how to start making pizza at home.
Check out this presentation on how to make pizza at home.
Step Process to Make Homemade Pizza


Making pizza at home is a multi-step process. This process entails planning, gathering equipment, and the ingredients.
Followed by making and shaping the dough to bake your pizza finally.
Although it might seem a complicated process, it’s not difficult, but it certainly takes dedication and a particular amount of time.
Once you know what you need to do, you will improve and perfect your recipe and skills. You will be more consistent, and the results will be phenomenal.
We will discuss each of the steps in detail, but first, let’s start with figuring out what pizza dough fermentation is.
What is Pizza Dough Fermentation?
Pizza dough fermentation is the biochemical process in which yeast consumes the sugars present in the flour, producing carbon dioxide and alcohol as by-products, resulting in a dough that rises and develops complex flavors and textures, critical to achieving a perfect pizza crust.
The yeast needs oxygen to complete this process, but the oxygen is limited because the container where the dough is placed is covered, so gluten proteins trap the dough’s gas.
These gas bubbles expand inside the mixture, causing it to rise or appear larger.
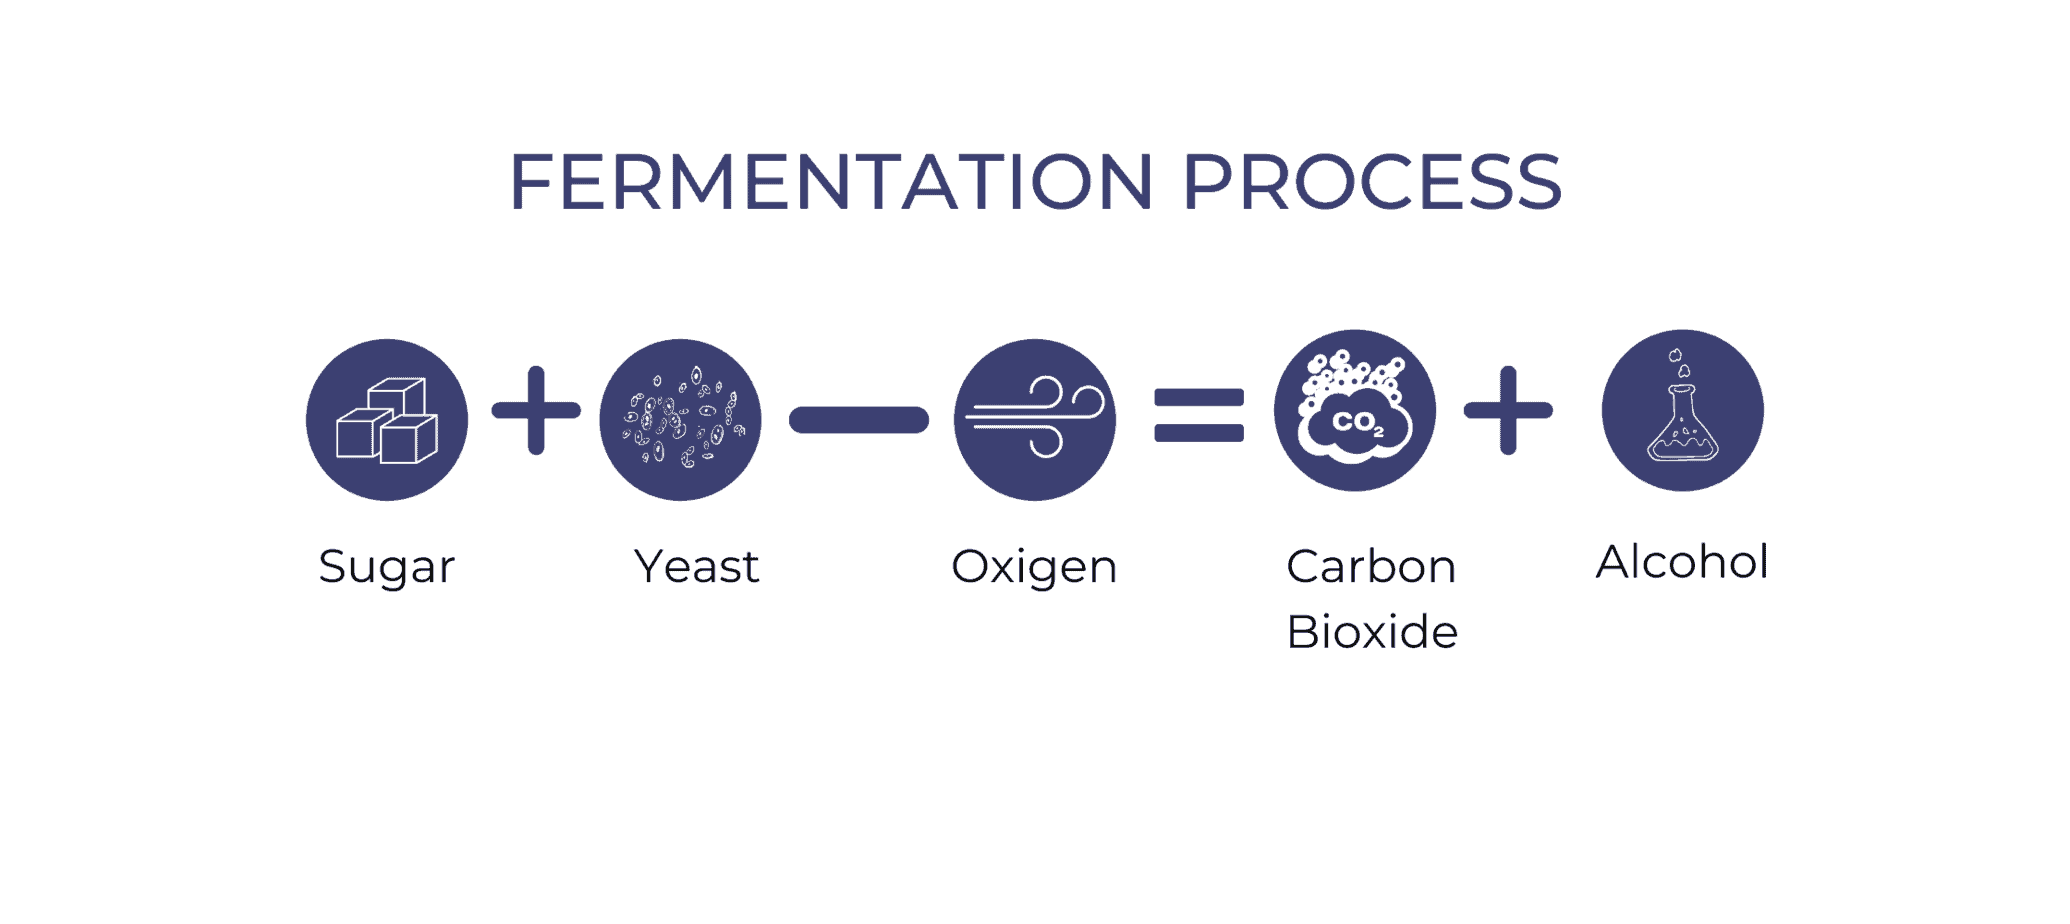
The alcohol produced by the yeast during pizza dough fermentation and other chemicals produced in the process gives the crust its flavor and aroma. The ethanol produced mostly evaporates from the dough during the baking process.
The dough also gains structure as the carbon dioxide inflates the gluten network.
As you can see, the star ingredient of the pizza dough fermentation process is yeast!
Yeast is readily available in supermarkets; fresh, instant, or active dry yeast can be found.
Why Do We Need to Ferment Pizza Dough?
There are two important reasons why you need to ferment pizza dough.
When making pizza, you must build a base to hold the sauce, cheese, and toppings. Given the number of items you will add, this base needs structure to hold all that weight.
Think of it as the foundation of your house; it has rebar and concrete or wood to hold all the weight of the house. In pizza, that base is what we call the “crust.”
You need that base to taste good or even better than the toppings you will be adding. So, we need to build flavor to accomplish this task. Fermentation will help us reach these two goals.
A Step-by-Step Guide to Pizza Dough Fermentation
Now that we have understood the science behind dough fermentation and explored different methods, it’s time to get hands-on. Below is a detailed step-by-step guide on how to ferment your pizza dough using the direct method. Let’s begin our exciting journey from a simple dough to a flavorful pizza base!
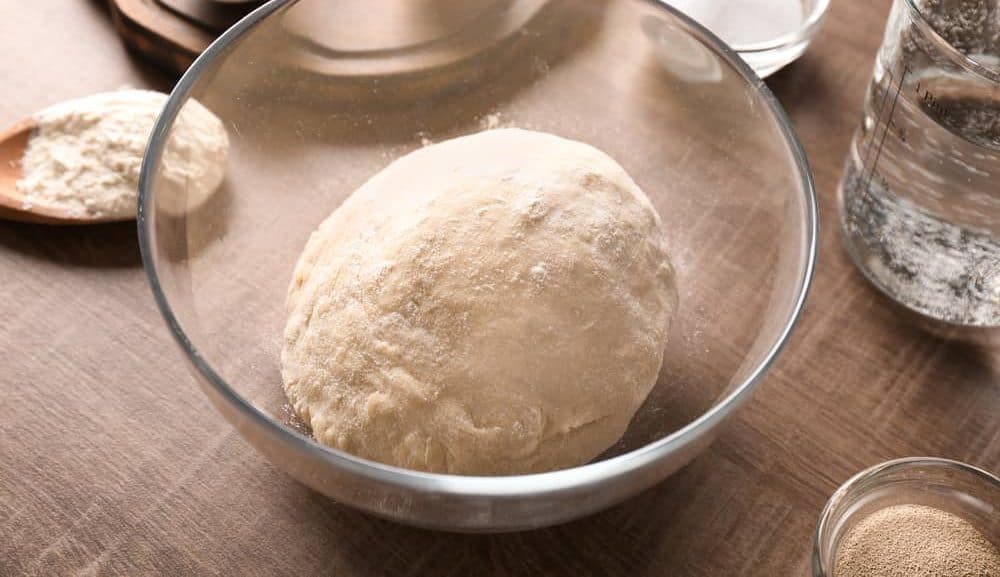
- Gather Your Ingredients: For basic pizza dough, you’ll need four main ingredients: flour, water, yeast, and salt. Depending on your recipe, you may also need sugar (to kick the yeast) and olive oil (for flavor and to make the dough easier to handle). Make sure your ingredients are at room temperature before you begin.
- Mixing the Dough: Start by combining your flour, yeast, salt, and sugar (if using) in a large bowl. Make sure they’re well mixed. Create a well in the center and pour in the warm water and olive oil (if using). Gradually stir the flour into the liquid until a shaggy dough forms.
- Kneading the Dough: It’s time to knead once your dough has formed. Thi/s can be done by hand or with a dough hook in a stand mixer. The dough should be kneaded until it’s smooth and elastic, usually about 10 minutes by hand or 5-7 minutes in a stand mixer.
- First Rise: Cover your kneaded dough in a clean, oiled bowl with a damp cloth or plastic wrap. Leave it in a warm, draft-free place to rise. This process, known as proofing, will usually take about 1-2 hours, but it can depend on the temperature of your room. You’ll know it’s done when the dough has doubled in size.
- Punching Down the Dough: After the dough has risen, it’s time to “punch it down”. This process helps to release any large air bubbles formed during the first rise, ensuring a more uniform crumb structure in your final crust. Simply press your fist into the center of the dough, then fold the dough in on itself and knead lightly for a minute or two.
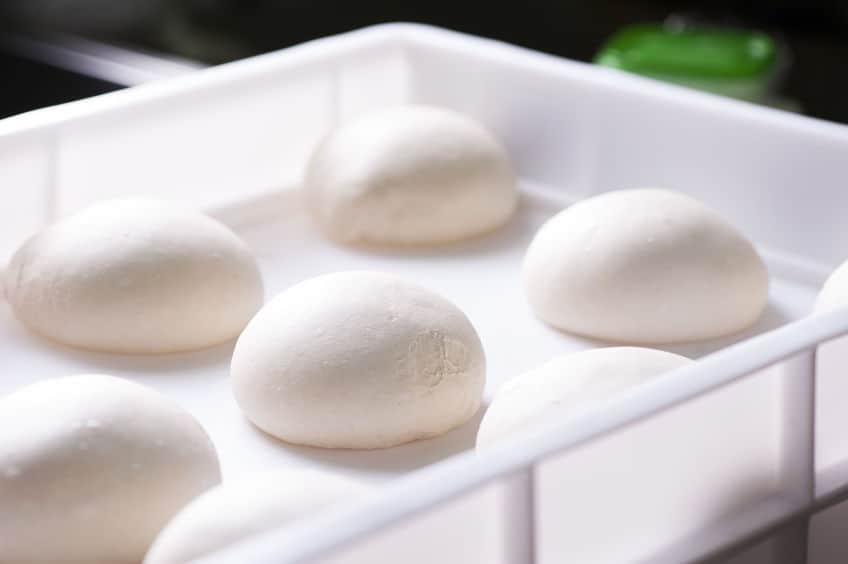
- Shaping the Dough: Now that the dough has undergone its primary fermentation, you’re ready to shape it into pizzas. Divide the dough into portions, depending on the size of pizza you wish to make, and shape each portion into a smooth ball. Allow these to rest for a few minutes.
- Second Rise (optional): If you’re using the double rise method or the cold fermentation method, this is when your shaped dough balls would undergo their second period of fermentation. The time can vary based on the method you choose.
By following these steps, you can ensure a well-fermented pizza dough that’s ready to be topped with your favorite ingredients and baked to perfection. Remember, the beauty of homemade pizza lies in its flexibility and adaptability.
Feel free to experiment with different fermentation times and methods to discover your own signature pizza style!
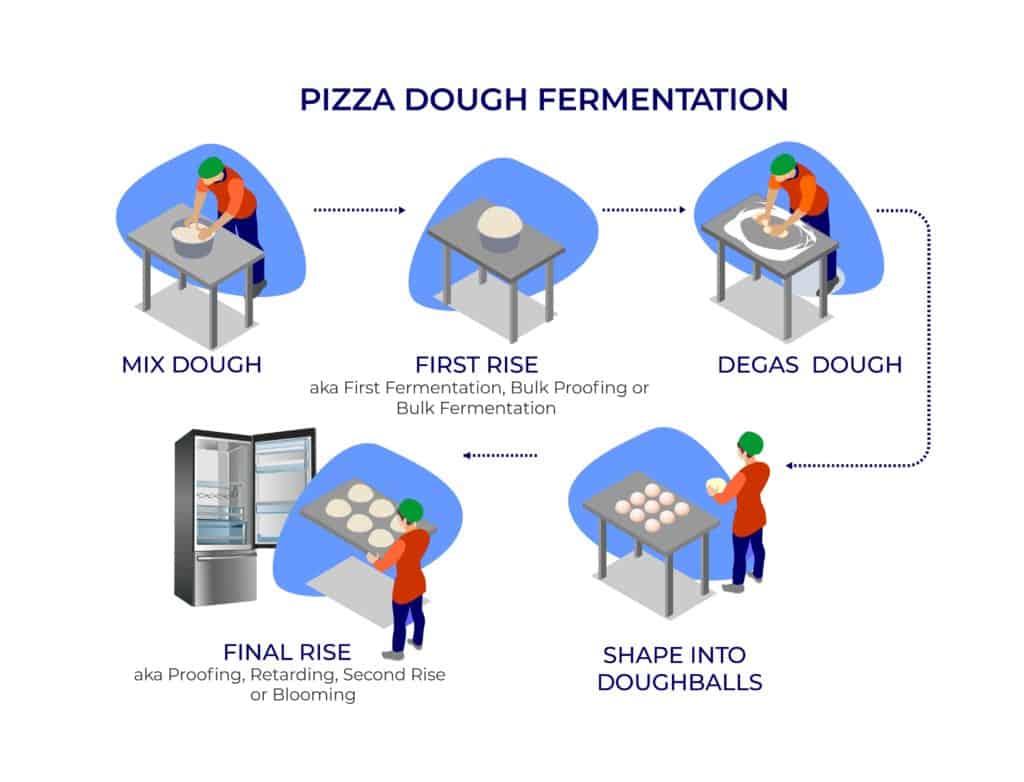
Here’s an infographic so you can visualize the process.
Tips for Pizza Dough Fermentation
For the best homemade pizza results, try to implement these best-practice guidelines.
- Mix your dough properly – Try not to have any lumps.
- Rise the dough in the correct bowl or container. For the best results, containers should be the right size and material, metal or glass.
- Spray your bowl with non-stick cooking spray before adding the dough to the bowl for easy cleanup.
- Shape the dough into smaller dough balls before placing them in the refrigerator.
- Rise and Proof the dough at the correct temperature. The first rise is 80°F and 38°F for the final rise in the refrigerator.
- Rise and Proof the dough for the recommended period. The first rise is 1 to 1 ½ hrs., and 8 to 72 hrs. for the final rise.
Pizza Pun
Pizza dough is a lot like the sun
It rises in the yeast and sets in the waist.

Pro Tip
Checking the temperature before setting the dough to rise is the best practice.
– If it’s too hot, the dough will rise too fast, and you risk over-proofing.
– If it’s too cold, it will take longer to rise.
PIZZA DOUGH FERMENTATION PROCESS
Step 1- Mix the Pizza Dough
To make homemade pizza, you need to start with the dough. Check our article How to Mix Pizza Dough to learn more about properly mixing pizza dough.
Step 2- Pizza Dough Fermentation – “Pizza Dough Rising”
The dough’s first rise, also known as bulk fermentation, first fermentation, or the first rise, is the dough’s first resting period after the yeast has been added.
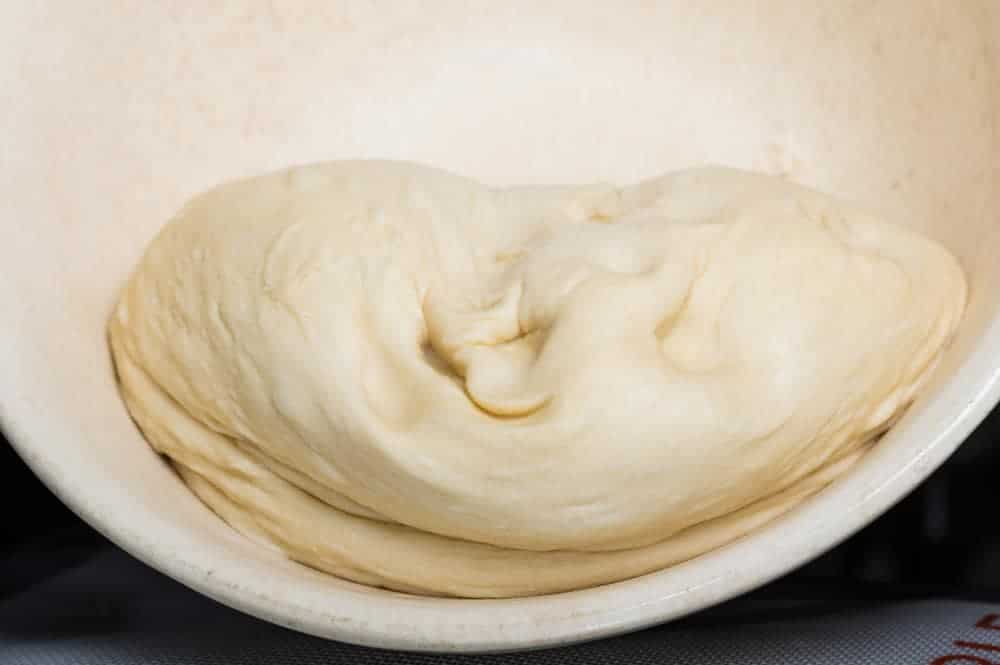
Pizza Dough Bulk Fermentation
Dough rising or bulk fermentation is typically the first step of the pizza dough fermentation process.
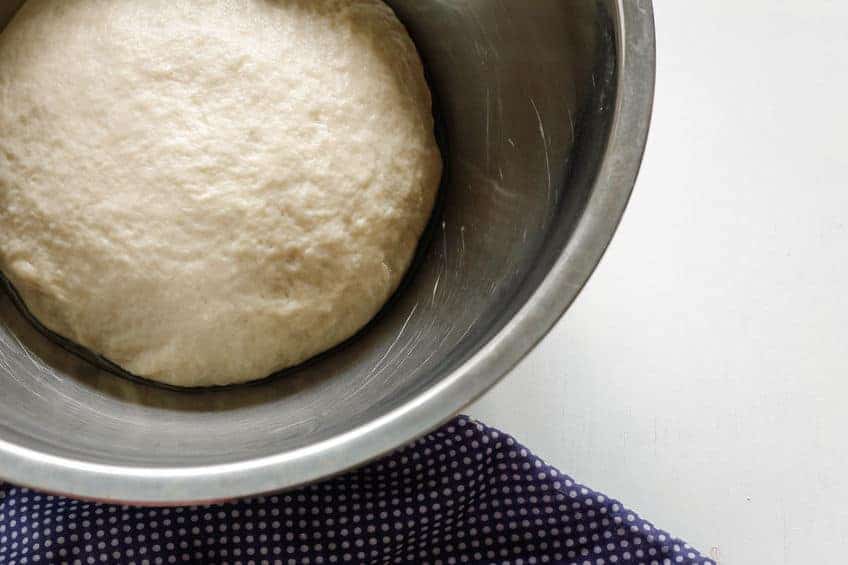
After the dough is mixed with yeast, it’s allowed to rise before the shaping of the dough balls occurs. This process causes the dough to stretch and relax as the gluten strengthens.
This is a crucial first step if you want your pizza to look and taste good. It’s called bulk proofing or bulk fermentation because the entire batch of dough is fermented before it’s divided and shaped into dough balls that will be later shaped as pizzas.
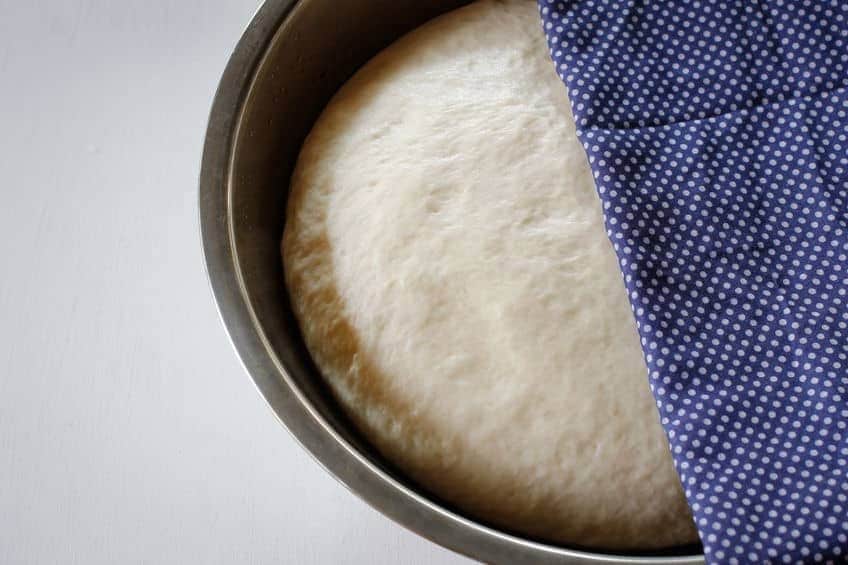
The bulk fermentation is complete when the dough doubles or is substantially larger.
Pizza Dough Bulk Fermentation
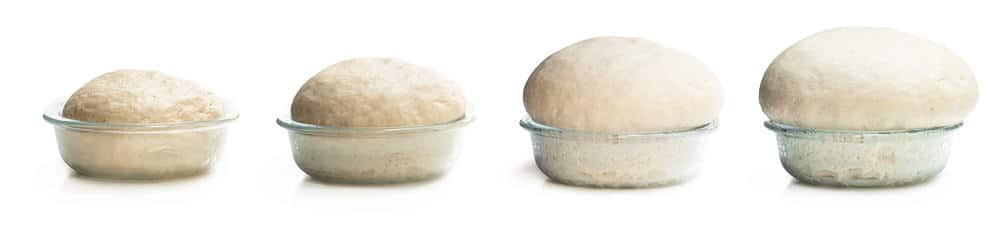
How Can You Tell if the Pizza Dough Has Risen Enough?
You can visually attempt to figure out if your dough has risen enough by just looking at it. With experience, you will get there, but if you are just starting, here are some things you can do to know when your dough is ready.
Perform a Time Test
The first test is time; the first rise is typically from 1 to 1 ½ hrs., so keep track of your time.
However, restating the dough in a cold place will take a little longer.
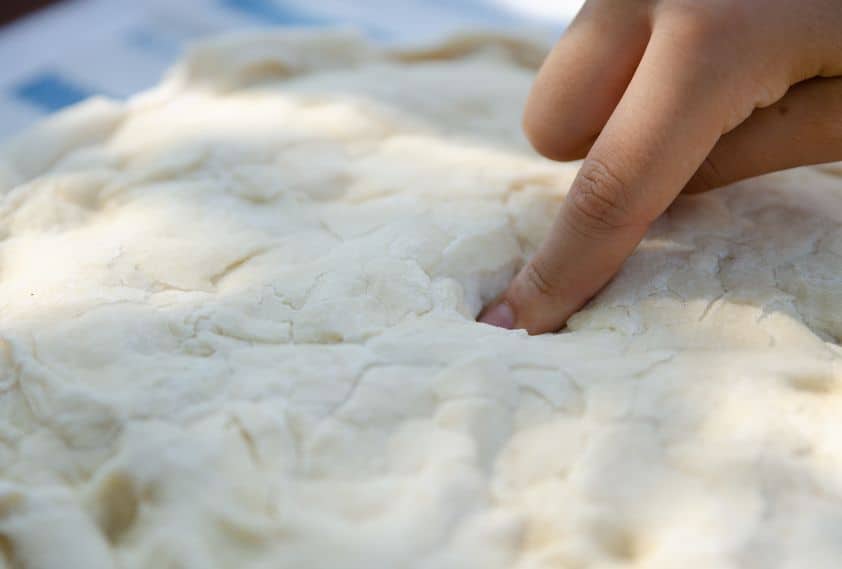
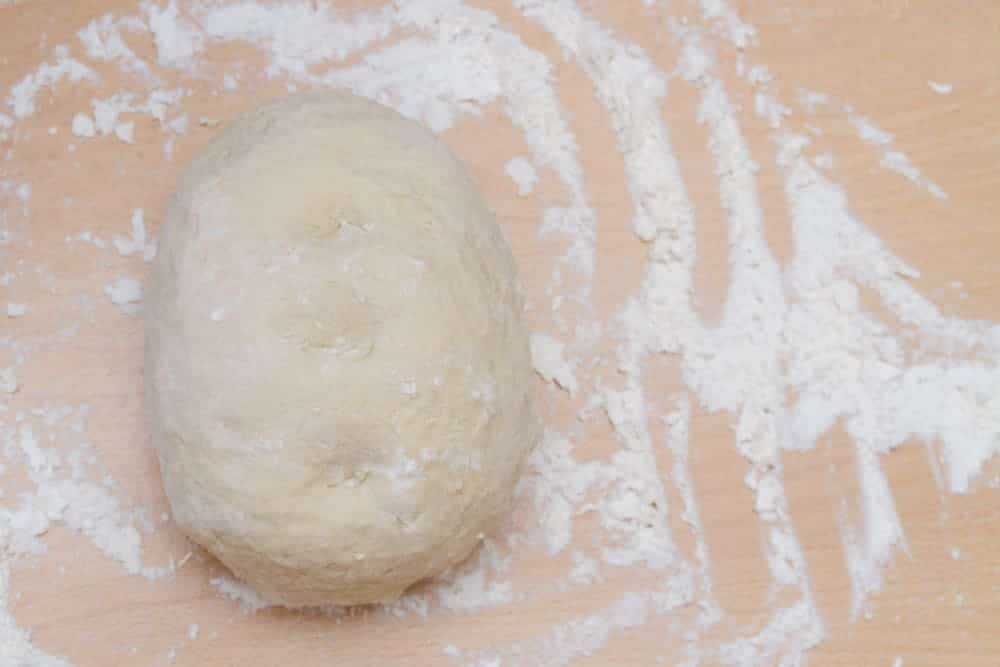
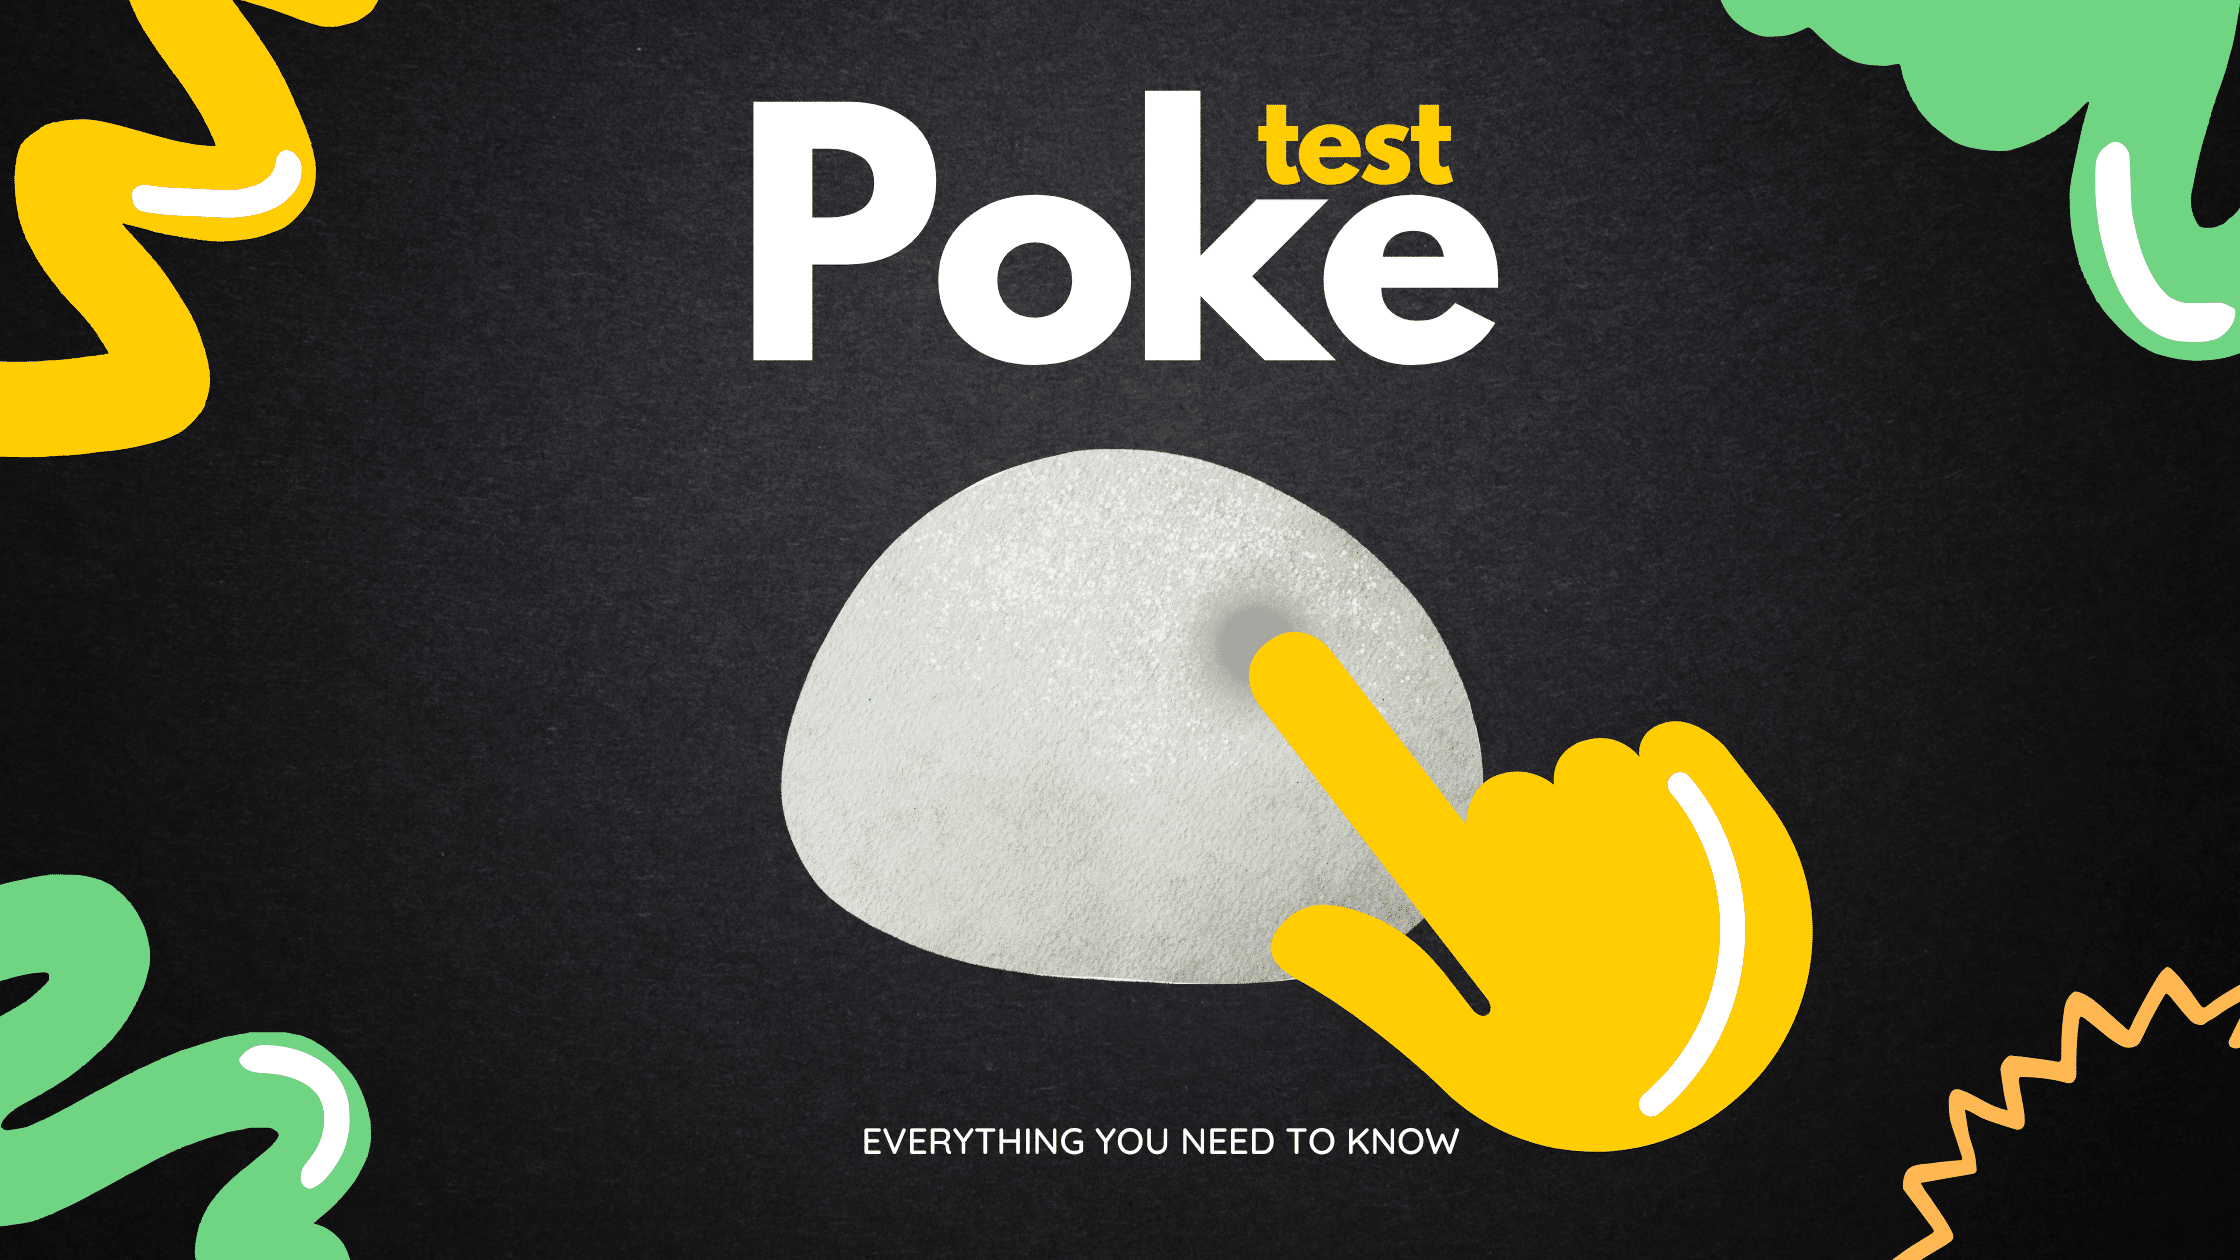
Palpable Test (Poke Test)
Use your finger to make a small dent to ensure your dough has risen enough.
Do not attempt to deflate the whole mass; gently push down with your finger. If the indentation remains, the dough is ready.
How to check if your pizza dough has completed the first fermentation period or first rise.
Sometimes it is difficult to determine if your dough has doubled in size by looking at it without any guidelines.
So, to know if your dough has completed the first fermentation period or first rise, you can physically check the dough by sightly denting it with your finger.
Don’t poke the dough or make a hole; just lightly tap it with your finger.
Test the fermentation of your pizza dough, and check the results of your test:
Required Tools:
-Your hands
What Do You Need for Pizza Dough Fermentation?
- You need a pizza dough ball after the first fermentation period
Result 1: Dent Springs Back
The dough is not ready if the dent springs back to its initial form.

Result 2: Retained Indention
Slightly dent the dough with your finger; if it retains the indentation, it is ready!
Result 3: Collapsed Dough
If the dough collapses after making the indention, it has fermented too long. Don’t worry!
Just knead for 1 minute, form it into a ball, and set it to ferment again for the correct time.
Step 3 – Degas Pizza Dough
Why Do You Punch Dough Down?
Degassing or punching down the dough with your fist removes some of the gas bubbles formed by the yeast during the rising process.
Degassing Pizza Dough
The purpose of degassing the pizza dough is to:
- Relax the gluten.
- Make the dough easier to shape.
- Redistribute the yeast cells, sugar, and moisture so they can ferment and rise the dough again during the proofing stage.
- Produce a finer grain.
How Many Times Do You Punch Down Pizza Dough?
After your dough doubles in size, gently punch it down with your fist so that the gasses are released from the dough.
Usually, 1 to 2 gentle punches are enough to degas the dough.
Do you Knead Pizza Dough After it Rises?
After the dough has risen and you have degassed it, turn it out onto a lightly floured work surface and knead it by hand about 1-2 times.
You don’t need to flour the surface if your dough has a perfect consistency.
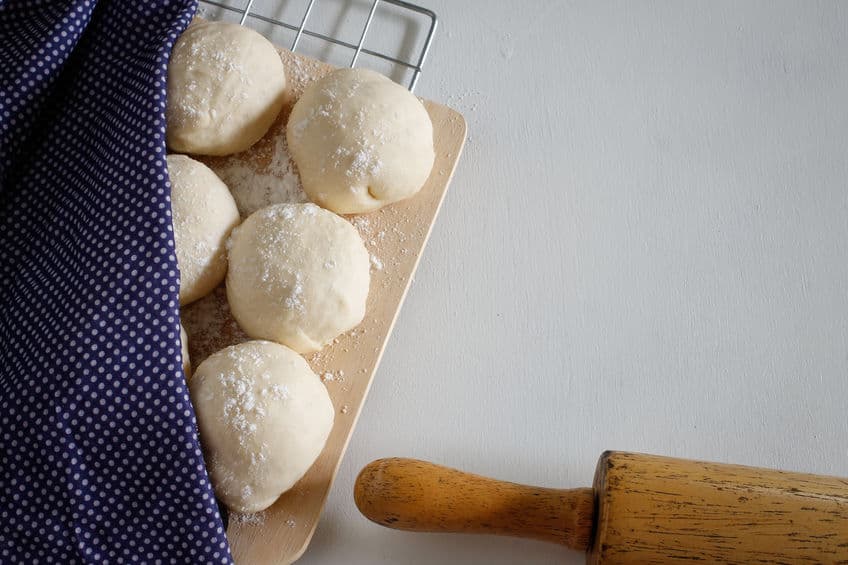
Step 4- Shape into Doughballs
After your dough has risen, the next step will be to turn that big ball of dough into smaller dough balls. The benefit of dividing the dough is that it makes it easier to portion each doughball that will later be shaped into a pizza.
Weigh the Doughballs
When shaping dough balls is better if you weigh them so they are all the same size.
Step 5 – Pizza Dough Proofing
Proofing or “Cold Fermentation” most commonly refers to the final rise a pizza dough undergoes, which occurs after the dough balls are shaped but before the pizza is shaped.
During the proofing stage, the yeast produces gas, which imparts a level of aeration to the dough just before the baking stage.
If the fermentation process seems too long for your pizza cravings, don’t worry! There are a few clever hacks that can help you accelerate the process. Be sure to check out our article How to Proof Pizza Dough Fast for quick tips and tricks to get your pizza dough ready in a snap while still achieving a deliciously satisfying crust.
Cold Fermentation
Cold fermentation is a technique used in pizza dough preparation where the dough is allowed to ferment in the refrigerator over an extended period, usually 24 to 72 hours or even longer. The cool environment slows down the activity of the yeast, allowing for a slow, controlled fermentation process.
This pizza dough fermentation method results in a dough that’s imbued with complex flavors and a superior texture, yielding a pizza crust that’s crisp on the outside and light and airy on the inside. While it requires more planning and patience compared to quicker fermentation methods, the unique depth of flavor and excellent crust texture achieved make cold fermentation a favorite among pizza enthusiasts.
Cold fermentation is an extraordinary technique that truly transforms your pizza dough, imbuing it with a depth of flavor that’s hard to achieve with other methods. It’s a journey of patience that rewards you with a remarkable taste experience. Let’s dive into this process and see how you can master the art of cold fermentation at home.
- Preparation: Just like the direct method, you start by mixing your ingredients: flour, water, yeast, and salt. Add any other ingredients your recipe calls for, such as sugar or olive oil, and knead the dough until it’s smooth and elastic.
- First Rise: Instead of leaving the dough to rise at room temperature, cold fermentation requires you to immediately refrigerate your dough after kneading. Place your kneaded dough in a clean, lightly oiled, and covered bowl, and pop it straight into the fridge. The cool environment slows down the yeast activity, allowing for a slower and longer fermentation process.
- Fermentation Period: The magic happens in the fridge over the next 24 to 72 hours, sometimes even longer, depending on your preference and patience. During this time, the yeast slowly works its way through the dough, producing alcohol and carbon dioxide, which results in an incredibly flavorful dough with a complex structure. You can occasionally check on your dough and punch it down if it seems to be rising too much.
- Return to Room Temperature: Remove the dough from the fridge about 1-2 hours before you’re ready to bake. Divide it into your desired portion sizes and shape them into balls. Allow them to return to room temperature and undergo a final proof. This stage allows the yeast to reactivate and give your dough one last rise.
- Shaping and Baking: Once your dough has had its final proof, it’s ready to shape into pizzas and top with your favorite ingredients. The cold fermented dough should be noticeably more flavorful and have a wonderful texture – crisp on the outside and light, airy, and tender on the inside.
Cold fermentation is an excellent pizza dough fermentation technique for those who plan ahead and want to elevate their homemade pizza game. It brings out a depth of flavor and complexity that can’t be matched by quicker methods.
So, the next time you make pizza, try cold fermentation, and experience the difference yourself!
The best place to proof your dough is in your kitchen refrigerator at 38°F from 8 to 72 hrs.
The pizza dough fermentation processes and chemical reactions during both the first rise (Bulk Fermentation) and the final rise (Proofing) are the same.
These pizza dough fermentation processes are done primarily to:
- Allow the dough to achieve a more exceptional flavor.
- Develop gluten strains to trap carbon dioxide, leaving a light and airy final product.
In pizza making, we proof the dough by retarding or slowing down this last pizza dough fermentation process.
Why Do We Need to Proof Pizza Dough?
Proofing is a crucial step in the pizza-making process. The fundamental benefit of proofing your dough is flavor.
The pizza dough fermentation process will give your crust an incredible taste during proofing.
You want your crust to taste good, but you also want to look good. Proofing allows the dough to develop its gluten strains giving the crust structure so your pizza can stay level when you grab a slice and it doesn’t bow down to you.
When you check the crust, it should have a visible hole structure that will make your crust lighter and tender.
Check our article on how to proof pizza dough for more.
Pizza Dough Fermentation – FAQs
What is the Best Type of Bowl to Ferment Pizza Dough?
When it comes to dough rising, size matters. You need a bowl that is big enough to hold at least double the size of your dough.
If you place the dough in a small bowl, the dough will overflow, and you might end up losing some of the dough. So, bigger is better; your dough will need space and confined air to rise appropriately.
It is best to place the pizza dough to rise in a metal or glass bowl for a better rise, as these types of bowls retain heat better than plastic bowls.
If you don’t have a metal or glass bowl, the plastic bowl will do fine; just leave it to rest for a couple more minutes.
Before adding the dough to the bowl, it is also best practice to spray your bowl with non-stick cooking spray for easy cleanup.
Which yeast should you use to ferment your pizza dough?
Making pizza at home is different from making pizza commercially. In a pizzeria, they use yeast every single day. Some even use fresh yeast to make the dough, giving spectacular results.
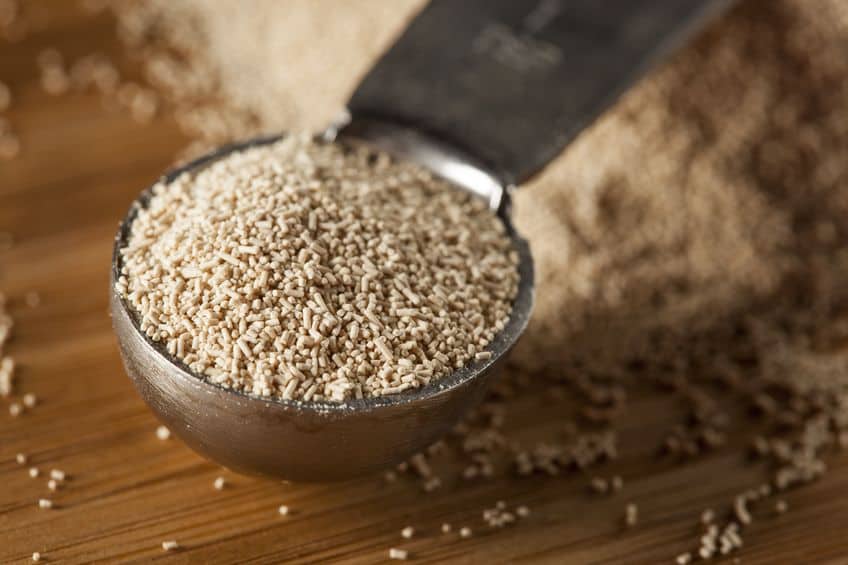
They commonly use instant yeast for its convenience and ease of use.
But, to make pizza at home, fresh yeast is not recommended because fresh yeast’s life span is minimal. Within days the yeast dies.
So, to make pizza at home, you can use either active dry yeast or instant yeast. You can use them interchangeably at a ratio of 1 : 1.
For example, if your recipe calls for 10g of instant yeast, you can substitute it with 10g of active dry yeast.
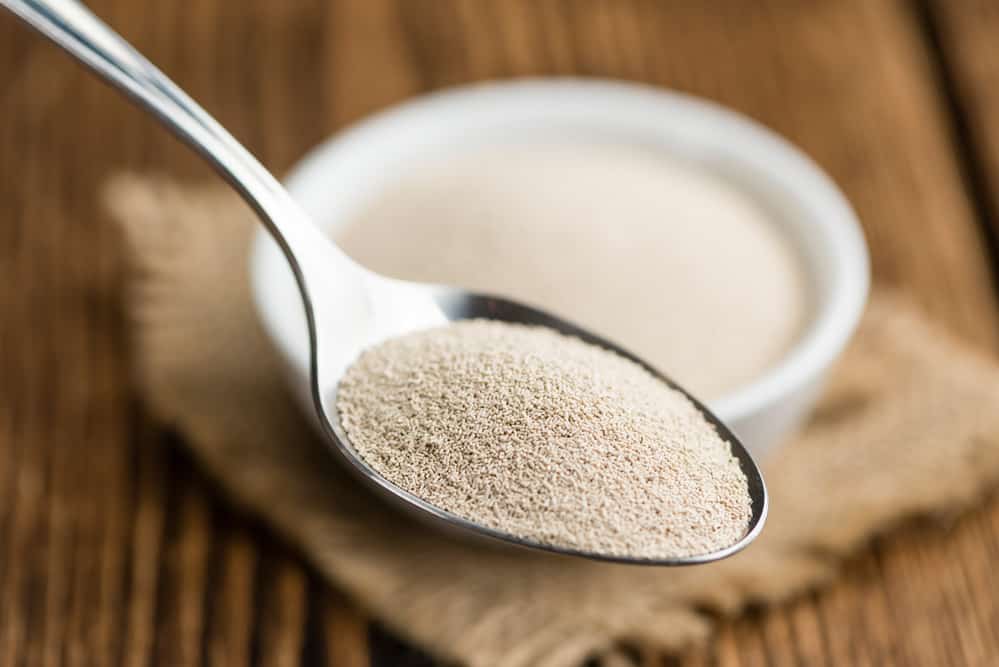
We prefer using active dry yeast because it gives us a sense of security. Once you mix it with water within 15 minutes, you will see the yeast is alive, and you will be sure you will get good results.
You mix it with the flour with instant yeast, then add the water and let ferment. If it doesn’t rise, the yeast is dead. You would have to start all over and waste all that precious flour.
Here is What the PROs at Homemade Pizza Pro Use and Recommend

Red Star Active Dry Yeast is a trusted choice among bakers. It's known for its consistent performance, balanced fermentation speed, and subtly nuanced flavors it brings to pizza dough, contributing to a well-rounded and delicious crust.
What is the Best Temperature to Ferment Pizza Dough?
During this stage of fermenting, the dough should be kept at a temperature of 70°F to 80°F (21°C to 27°C), covered with a lid or plastic wrap, and away from air drafts.
Where is the Best Place to Let Pizza Dough Rise?
The best place to let the dough rise is in a warm place. On a sunny day, your kitchen counter will probably do fine. But if your kitchen is cold, your oven is a great place.
Check your oven; sometimes, people don’t realize the oven has a “Proofing” setting or button. This setting heats the oven to 80°F, which is perfect for the dough to rise.
If your oven does not have this setting, preheat it to 200 degrees for 1-2 minutes, then turn it off and let the dough rise in the oven while it is turned off.
Another alternative is to turn on the oven light, not the oven. The heat from the light bulb will help the oven reach an adequate proofing temperature.
Now you can also use a home dough proofer; we highly recommend this one because you have total control of the temperature and time. Also, when you are not using it, just fold it and keep it in a safe place.
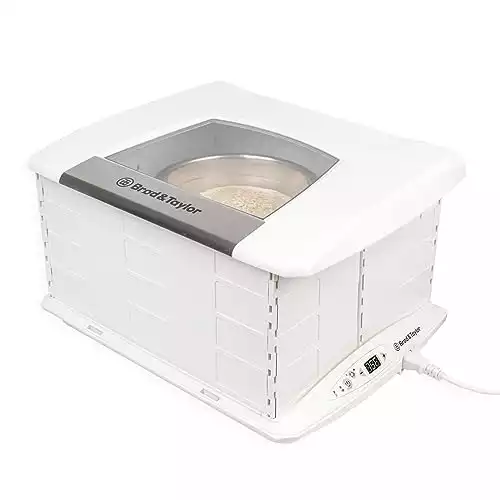
Enjoy accurate temperature control and consistent humidity. The Brod & Taylor Folding Dough Proofer creates an environment of consistent low-temperature warmth that is vital for many kitchen processes.
Ideal for pizza dough and yeast bread. Whether you’re a novice bread maker or an experienced enthusiast, this is the tool that helps ensure a flavorful, open-textured bread that is ready when you want it to be.
Can You Let Pizza Dough Rise in the Sun?
Depending on where you live, you can place your bowl next to a window where it’s hit by the sun or place the container outside with indirect sunlight.
That is fine if you live in a place with an overall temperature of about 80°F, that is fine. But if you live in a hot area where the overall temperature is over 85°F, then it will be too hot.
The same applies if you live in a cold place; it will take longer to rise. Make sure the dough is covered; if not, your dough is set to get a suntan causing a thick crust to develop on the outside, which will make your dough unusable.
What Happens if You Don’t Let the Pizza Dough Rise?
If you don’t allow the pizza dough to rise and try to bake it immediately after mixing it, your pizza will have a flat doughy crust with no flavor.
The baking process will kill the yeast in the dough before the yeast can develop structure and flavor.
In pizza baking, time will be your best friend, so give the dough time to turn into your best creation.
Pizza Dough Fermentation – Troubleshooting
Why your pizza dough isn’t rising?
There might be several reasons why your dough is not rising:
- Make sure you add yeast to the dough. It happens; sometimes, you forget.
- The yeast might be dead. If you didn’t activate the yeast before mixing, there is a good chance the yeast is dead. Ensure the yeast is not expired; if so, you must start a new batch with fresh yeast. (Fresh as in not expired, not baker’s fresh yeast).
- Check the temperature; if it’s too cold, it might take longer for the dough to rise.
- Check your time. The rising period should be from 1 to 1 ½ hrs. Give it a little more time if the dough has been resting for less than that.
Pizza Dough Cold Fermentation – Best Practices
- It is best practice to shape the dough into smaller dough balls before placing them in the refrigerator so they will be ready for future use and are already portioned.
- After the dough is fermented, before you shape it into a pizza crust, take them out of the refrigerator for at least 1 hr. This resting period will make the dough easier to shape.
Pizza Dough Fermentation Additional Resources
Cold Fermentation: Unlocking the Magic of Slow-Risen Pizza Dough
the PROs
As an ardent pizza lover knows, the journey to creating the perfect pie is a lot more complex than merely …
Poke Test Demystified: Master the Technique for Perfect Pizza Every Time
the PROs
Are you tired of ending up with a pizza crust that’s either too thick or still raw in some parts, …
How to Proof Pizza Dough Fast
the PROs
How to Proof Pizza Dough Fast Behind every tasty pizza dough is a secret. Secrets behind its fantastic flavor and …

How to Control Temperature, Time, and Hydration for Pizza Dough
the PROs
Learn how temperature, time and hydration affect pizza dough and how you can control them.

Dough Degassing: The Key to a Crispy, Airy Pizza Crust
the PROs
Discover what pizza dough degassing is and why so important in the pizza-making process. See how it works and check the best practices.
Retarding Pizza Dough: The Timeless Technique for a Perfect Crust
the PROs
In this article, you will learn what retarding dough is and why it is the key to your homemade pizza success. When you decide to make pizza at home, the most challenging but most important part of the process is making the pizza dough.

Pizza Dough Proofing Like a Pro! – Get Your Dough Right!
the PROs
Have you ever heard the phrase the proof is in the pudding? In this guide, you will learn that the …
The Last Slice
We hope this guide helps you learn the difference between dough rising and pizza dough fermentation and the steps they take in the pizza-making process.
We hope you’ve learned everything you need about pizza dough fermentation. If you still have questions, you can always contact us; we will be glad to help.
We encourage you to experiment with different temperatures and proofing methods to become a homemade pizza PRO!
Enjoy!
Not a PRO? Not a Problem!
Take a pizza class to bring your pizza skills to the next level,
so you can be a PRO!
Related Posts

Costco Pizza Delivery: Find How You Can Get It Now!
the PROs
People go to Costco’s food court for many different reasons, but the cheesy slice of pizza they serve is among …

Pizza for Beginners: Don’t Buy Pizza, Make It! Here’s How to Get Started!
the PROs
You have this idea that you want to make pizza at home as opposed to ordering it, but where do you start? Don’t worry! Here you will find answers and directions to all your questions.

Pizza Toppings Under Cheese or Over Cheese? [Why the Order Matters]
the PROs
Is Pizza Cheese on Top or Bottom? Hey pizza lovers, are you wondering if you should layer pizza toppings under …

Newsletter
Subscribe to our Recipe of the Week newsletter and receive our partners’ latest recipes, tips, and discount offers.
Keep in Touch!