Pizza Dough Yeast Tips
Are you looking for some pizza dough yeast tips? We’ve got plenty of information for you!
Everyone enjoys a crunchy, fluffy, browned dough. As a result, the most incredible pizza recipe combined with the best toppings and ingredients will result in the perfect pizza.
You already know how vital yeast is in your dough. As a result, we must ensure that you do not make any mistakes with the fungi.
So, do you know some things you should look out for when dealing with yeast? Don’t worry.
This article will go over some helpful hints for working with yeast.
So let’s get started!
Here’s What You Will Find:
Yeast Tips for Pizza Dough
- Yeast Is Alive!
It will help if you remember that yeast is a living organism. You cannot see the yeast moving or breathing with your naked eye. However, you will see them under a microscope.
One thing is for sure: these living organisms produce carbon dioxide. The carbon dioxide is what causes the rising of the dough.
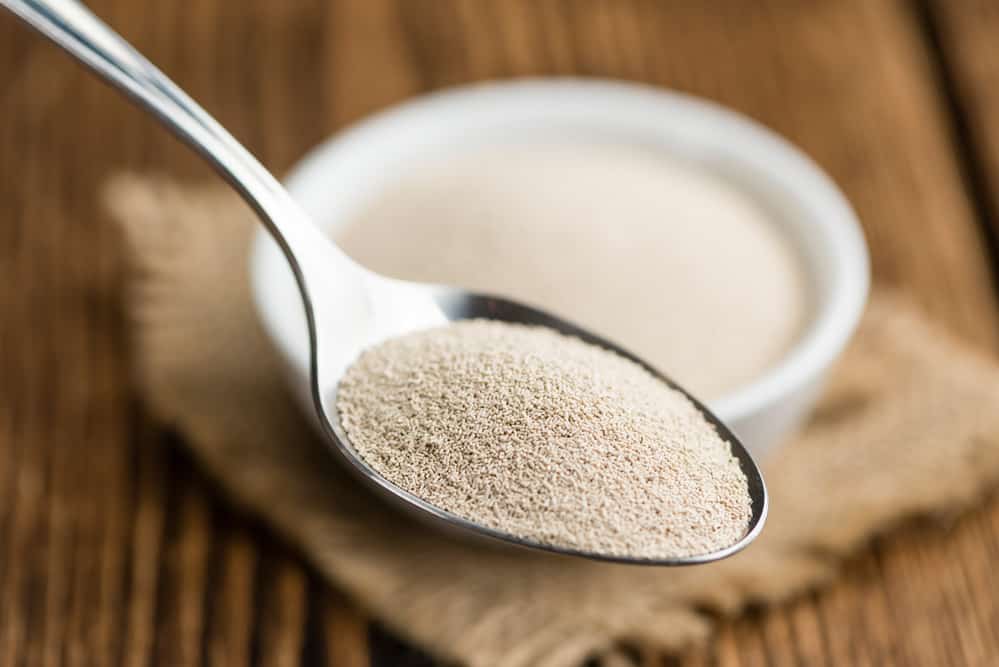
Despite its small size, it is a force to be reckoned with. It leavens not only the dough but also conditions it and affects the flavor of the baked crust result. Yeast will work for you if you treat it appropriately.
Storing the yeast under high temperatures, excess salt, or other harsh conditions will kill it, so treat it carefully.
Many variables can contribute to dough-rising failures. The most straightforward approach to determine if the yeast is to blame is to prove it.
Yeast’s Life Span
The yeast can last for two years, unopened, in the freezer. Besides, it will last for six months in the freezer and four months in the refrigerator when opened.
- Exercise Proper Handling and Storage of Yeast
Exposure to moisture, heat, and air will quickly make your yeast go bad.
You must show your yeast some love by giving it the right conditions to thrive.
First, check your purchase date; if it’s not close to the expiry date, store it in a cool, dry cabinet or pantry. After opening the package, refrigerate or freeze it depending on how often you use the yeast.
Remember, water is our biggest enemy. It would help if you also scooped your yeast using a dry spoon. It would also be best to dry your hands when handling the yeast. You never know; you can get the paper packaging dump.
All packages or jars of yeast must be refrigerated or frozen in an airtight container since yeast is perishable when exposed to air, moisture, or heat. The yeast has a four-month shelf life when refrigerated and six-month shelf life when frozen.
You can keep using the yeast as long as it’s alive. To see if it’s still alive, proof it.
Unopened yeast packages and jars can be stored at room temperature, although temperatures exceeding 85°F should be avoided.
Pro Tip
Store yeast away from the refrigerator and away from the stove. To reduce the possibility of increased temperature exposure, put unopened items in the refrigerator or freezer.
Will Yeast freeze at low temperatures?
Dry yeast does not freeze solid because it has very little moisture. We recommend that you measure the amount of yeast you wish to use and set it out on the counter for 30–45 minutes to enable it to warm up a bit before adding warm liquids to it, whether you store your yeast in the refrigerator or freezer.
How to Store Yeast?
You can fold the yeast in the original packaging paper by folding it down to the level of the yeast. That will ensure that no air will remain in the bag. Wrap it with tape and place it in the fridge.
The other option is to pour the active yeast into a dry and airtight container before placing it in the refrigerator.

- Understand The Different Types of Yeast
Yes! There are different types of yeast for your pizza, and you can use any of them to make pizza dough.
Let’s check them out.
Instant Yeast
You probably have this type of yeast in your pantry or cabinet because people mainly use it for baking. We love it because it is ready for use, and you can add it to your dough straight out of the package.
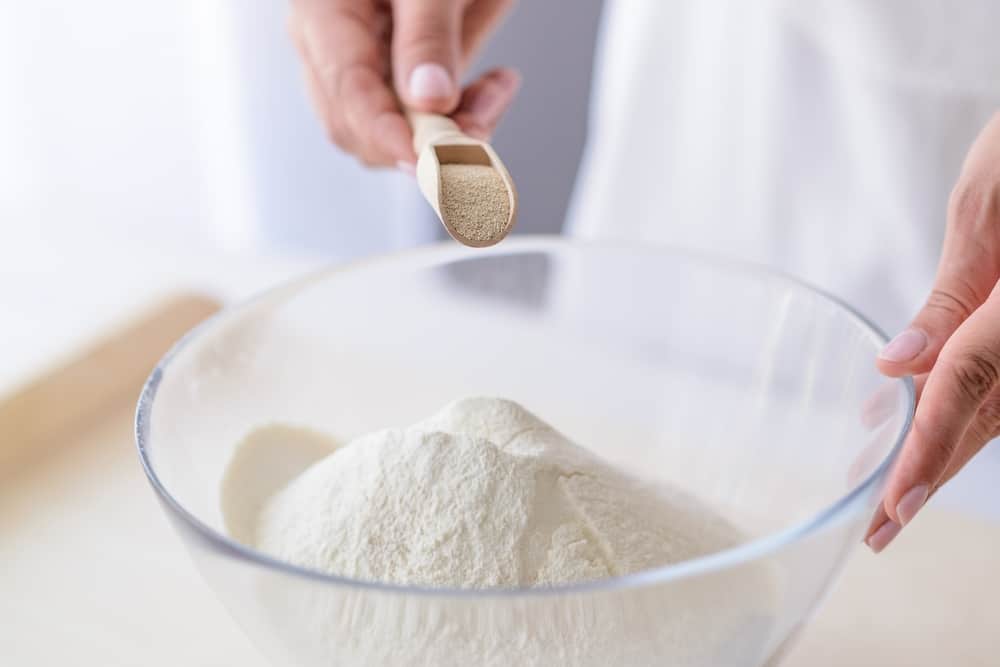
Should it be your go-to yeast? Maybe not. Although the yeast acts fast, it does not leave that yeast flavor on your dough and doesn’t provide the necessary structure for pizza dough.
Active Dry
Many recipes suggest that we should use active dry yeast. That is not a bad idea because we can easily find it in stores, and it tastes better than instant yeast.
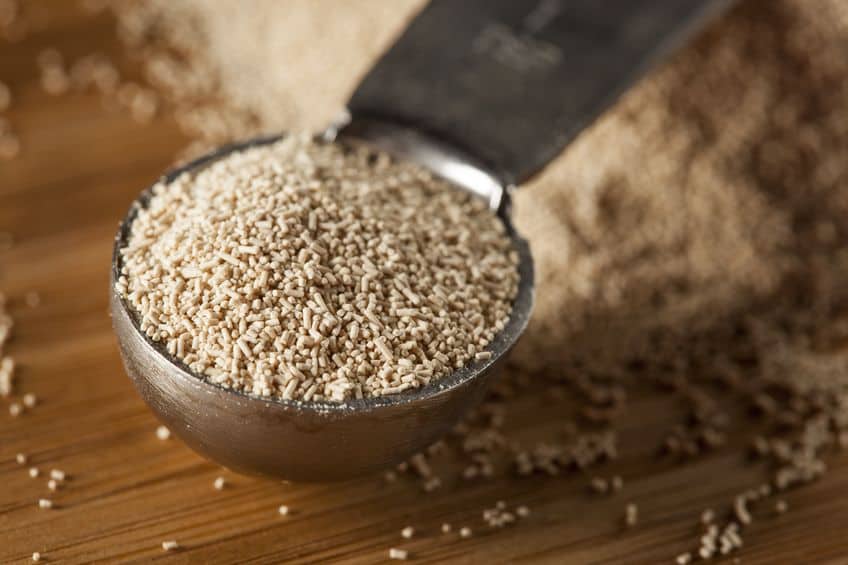
However, you must be more patient and leave the dough to settle because it is slower. Active dry yeast will always be your best bet if time is not an issue.
Check out our article on active dry yeast vs instant yeast for more info.
Fresh
Once you have fresh or cake yeast on your pizza, returning to using any other yeast would be hard. The cake yeast is highly perishable, making it difficult to store at home.
Like finding a job, you will have to know someone who supplies yeast because you will not find it at your local store.
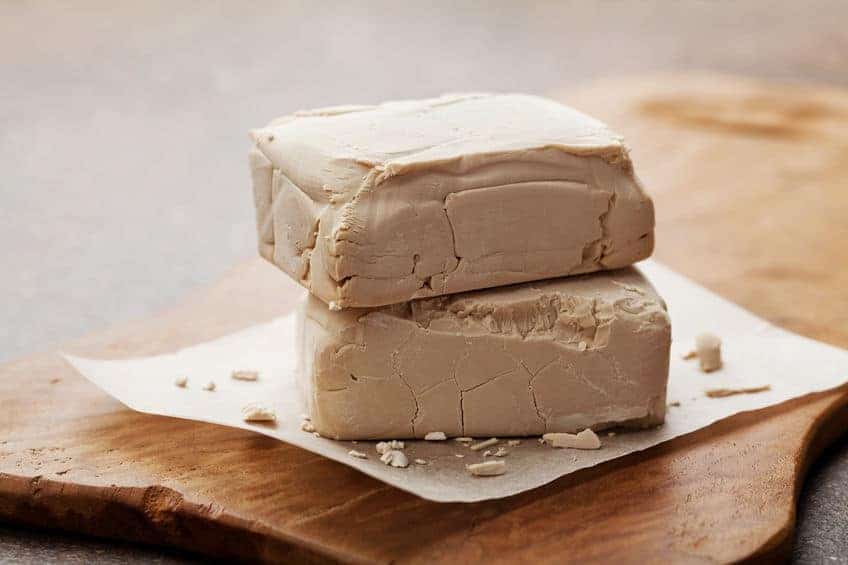
The yeast also takes a long time, which is not a massive problem because, in the end, patience pays with the rich flavor. Check our article on the best yeast for pizza for more information.
- Always Make Sure Yeast Is Alive before Using It
Have you ever baked dough with expired yeast? Well, the dough will not rise. Some shops don’t maintain good conditions, causing the yeast to die.
You can also purchase expired yeast at the store if you are not keen on this situation.
So, to avoid any further blunders, you can always test your yeast to see whether it’s alive. You must activate a small amount before adding it to the dough. Do you know how to activate yeast?
Here Is How to Activate the Yeast:
Put 1/4 cup of water in a bowl and add one teaspoon of sugar. Immediately add 2 1/4 tsp, the packet or what is called for in your recipe, and wait 10 minutes.
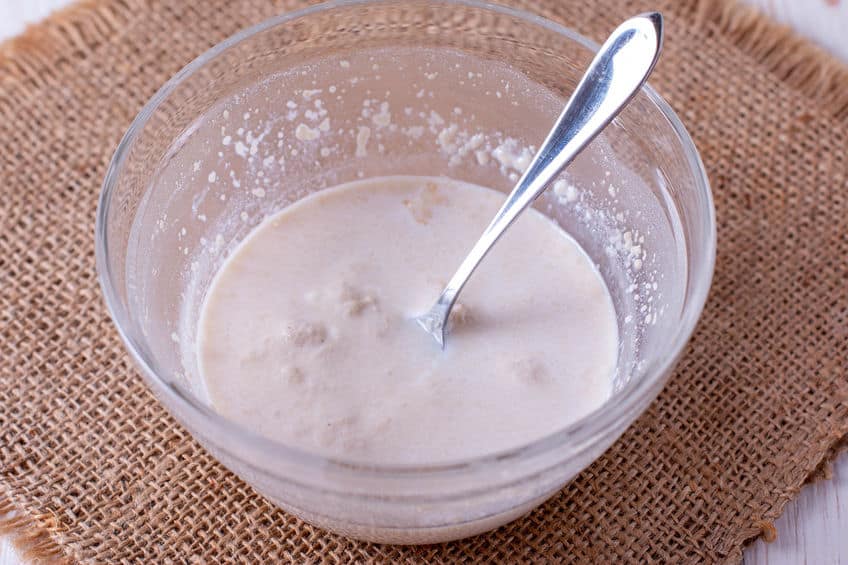
You will know your yeast is good when you see bubbles in the bowl. You will also smell the yeasty aroma.
- Understand How Temperature Affects Yeast
Baking powder raises the pizza dough faster than yeast fermentation. But it should not be the way to go. Yeast fermentation allows the dough to expand and rise and will give your dough the necessary structure for your pizza crust. You will never get this result with
So if time is an issue, there are ways you can control the fermentation speed.
Does your Pizza Dough Take Too Long to Ferment?
Then you need to master the art of speeding up fermentation. Higher temperatures increase the fungi’s activity and growth, which speeds up the fermentation process.
At higher temperatures, yeast works quicker; at lower temperatures, it works slower.
Don’t be concerned about the temperature of your proofing liquid. The yeast is OK with any liquid you use if it is pleasant to touch.
Allow the liquid to cool if it has been heated to a temperature that is too hot to handle.
If you use a thermometer, make sure it’s an instant-read thermometer. It’s not a good idea to use a candy thermometer.
Here’s the Thermometer the PROs at Homemade Pizza Pro Use and Recommend
The Etekcity Lasergrip 800 Digital Infrared Thermometer is a versatile and reliable tool for accurate temperature measurements. Its non-contact design allows you to measure temperatures from a distance, making it safe and hygienic for various applications. With a wide temperature range of -58°F to 1382°F (-50°C to 750°C), this infrared thermometer is perfect for both everyday cooking needs and professional uses.
The built-in laser pointer helps you target the specific area you want to measure, ensuring precision and consistency. Whether you're grilling, cooking, or performing household maintenance, the Etekcity Lasergrip 800 provides fast and accurate temperature readings with ease.
So, if you can store your dough at a temperature of 75° to 78° F (24° to 25.5° C) for 24-48 hours, you will get the best flavors. But how does fermentation happen with different yeasts?
Yeast Optimal Temperatures
You need to activate the yeast by dissolving it in water with sugar. The yeast feeds on the sugar when activated to produce bubbles. In this case, the water temperature is what affects the fermentation process.
- Dry Yeast: For proofing dry yeast, you can use temperatures between 105° and 115° F for proofing. But it would be best to lower it to 95° F when mixing with your dough.
- Fresh Yeast: Fresh yeast doesn’t have to dissolve in water. The yeast will work when you place it in water. You can proofread fresh yeast with water temperatures between 95° and 100° F.
Higher Temperatures Kill the Yeast
You will start killing the yeast when you use water at temperatures of 120°F. When the water temperature is at 140° F, all the organisms will die.
On the other hand, very low temperatures will make the yeast active.
- Instant Yeast: This yeast doesn’t need proofing because you mix it with the flour first. For this reason, you will need to use higher temperatures between 120° and 130° F.
- Understand That All Flours Are Not the Same
There are many types of flour that you can use for pizza dough. The difference comes in the milling process and the gluten content.
The gluten is what makes the dough elastic and stretch without ripping. As a result, pizza flour is better than all-purpose and self-rising flour because it has a higher protein ratio, producing more gluten content.
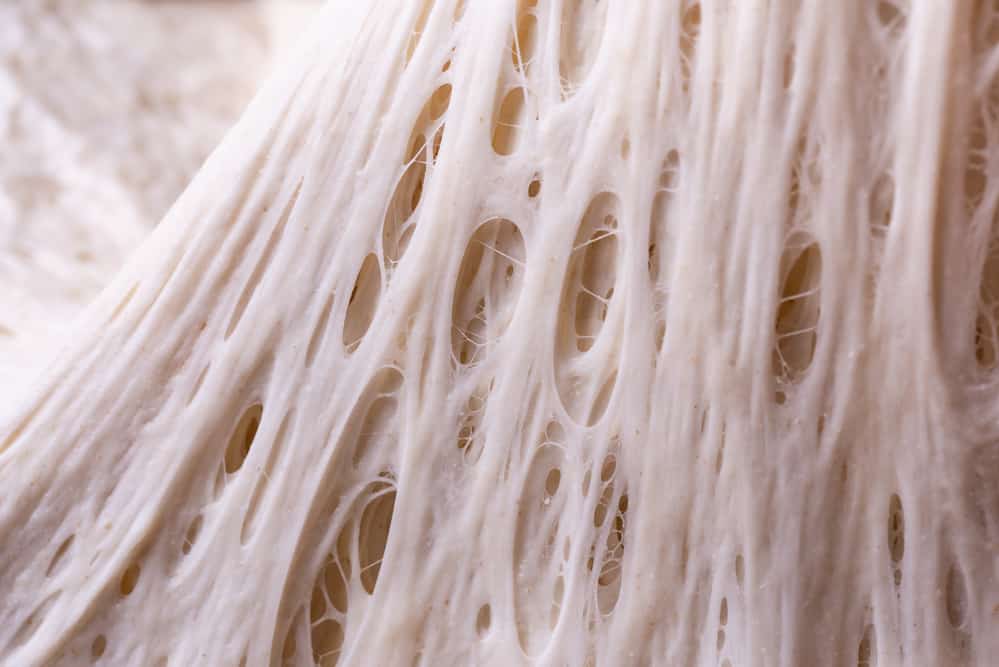
If you want to make pizza like the Italians, you must understand that they categorize flour depending on how finely ground it is. The “00” is the finely ground floor. On the other hand, type “2” is coarsely ground.
In the US, we used the protein ratio in flour to determine the amount of gluten, while Italians used 00 or 2. The 00 contains more gluten for formation. The type of wheat will affect how elastic your dough will be. The more elastic “00” is better than all-purpose flour.
Use bread flour or pizza flour for the best results. All-purpose flour is weaker and less tolerant than bread flour. Bread flour has a higher protein content and better dough-forming and rising properties.
Weak flour equals weak dough, which equals poor gas retention.
Here’s the Flour the PROs at Homemade Pizza Pro Use and Recommend
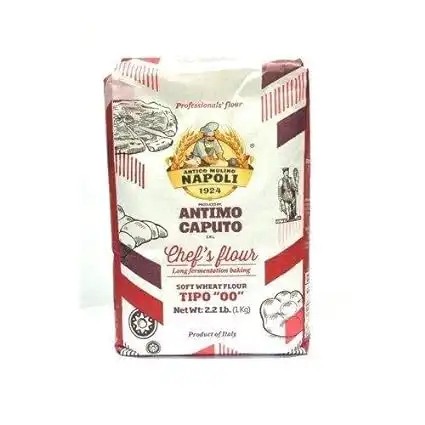
The Chef's flour is a general-purpose, high gluten flour that works well for many recipes. "Tipo 00" refers to how refined the flour is. Chef's Flour is best for those who want to bake in their traditional home oven up to 500 degrees Fahrenheit!
- Water Absorption Will Vary Between Different Flours
The flour you use to absorb water will affect the pizza dough. Let us find our geek side here!
The water absorption of a particular flour affects its viscosity. Different flours need various amounts of water to reach the same density.
For example, flour that is 70% will need the exact water percentage to have the same viscosity as the flour with 40% hydrated to 40%. The “00” flour will have a different density than “2”.
Always begin by using less flour than is specified in the recipe. To get the right flour/liquid balance, gradually add the remaining cup of flour after mixing/kneading.
If your dough is dry or too moist, don’t be afraid to correct it because either extreme can impair dough rising and gas retention.
- Achieve Consistency
Are you experimenting with certain ingredients? We understand you want a different flour, yeast, and oil.
However, you need to test with one component at a time. That is because you can pinpoint which element tasted awful or was the one that elevated your pizza game.
Experimenting will help you achieve the best recipe in the end.
The dough’s consistency after mixing/kneading is critical for success.
The idea is to develop the gluten appropriately to create a dough that will ‘trap’ the gas.
Use the ‘windowpane test” to see whether your dough is proofed.
Window Pane Test
To do a windowpane test, pinch off a piece of dough and gently stretch it between your thumbs and index fingers as if you were working a balloon before inflating it.
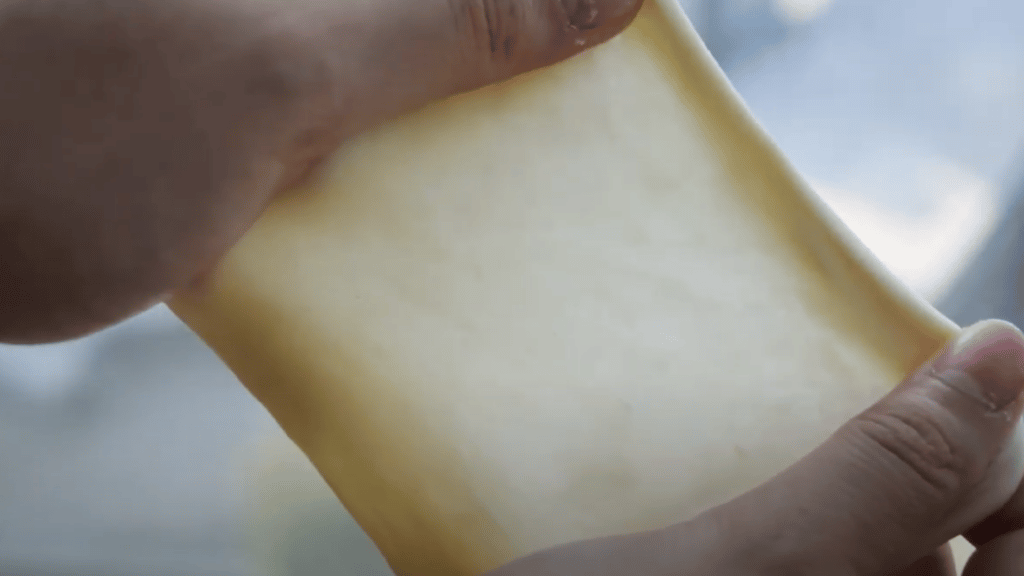
A well-developed dough will stretch and produce a transparent membrane without breaking.
Gas retention will be maximized with adequately prepared dough!
- Understand Dough Tolerance
The yeast feeds on the sugar to produce carbon dioxide, affecting the dough’s condition.
The carbon dioxide causes the dough to rise, creating significant air pockets and increasing volume. As a result, the consistency also changes to a spongy and light texture.
As soon as the yeast is active, it will begin creating CO2 and will continue until the dough is placed in the oven to bake. The yeast activity stops when the dough reaches a temperature of 140°F within the first 5-6 minutes of baking.
The yeast conditions and relaxes the dough as it ‘works’ on it. If the dough is too conditioned/relaxed, it becomes weak and loses its ability to hold the leavening generated by the yeast.
- Properly Proof Dough
Here are some pointers on how to properly proof your dough:
It would help if you proofed your dough after mixing it with yeast and kneading it to avoid drying out while it sits.
- You can use plastic wrap or a damp towel to proof the dough to retain moisture.
However, it would help if you were keen on not over-proofing.
- Don’t go by the time but by the appearance and texture of the dough!
The pace of yeast activity and the capacity for rising are determined by the heat created inside the dough. Avoid adding extra yeast or raising the temperature of the liquid or the environment to speed up the rising process.
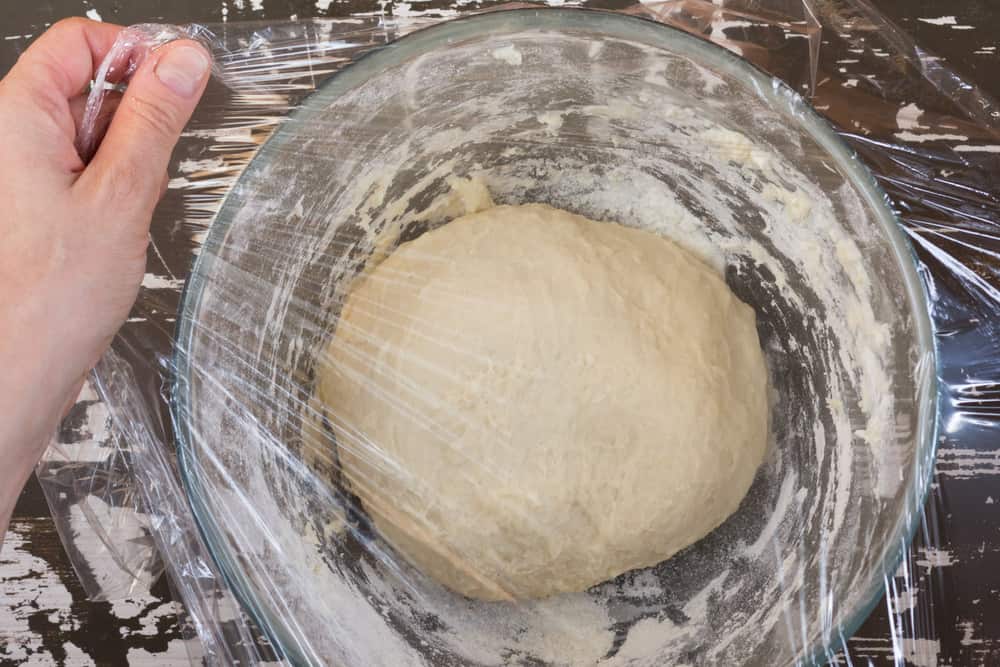
- Do not allow the dough to dry out. Cover it with plastic wrap. The dough will not rise if it has dry ‘skin’ on top of it.
- You can perform a window test to see whether your dough is ready for baking or stretching. The window test involves stretching out a small piece of the dough to size to make it translucent.
You will know that the settled dough has developed when you stretch it thinly to see a membrane before it breaks.
- Once the dough is molded and in the pan, don’t let it rise for too long. It may appear beautiful and flawless outside, yet fall flat in the oven and appear as if it never rose. It might flatten out even before you put it in the oven. If this is the case, it has climbed for far too long.
How to Know When the Dough is Proofed
By the spring test or “poke test,” you will know the dough is ready for shaping and baking. The name sells because you need to poke your dough, which will spring back slowly.
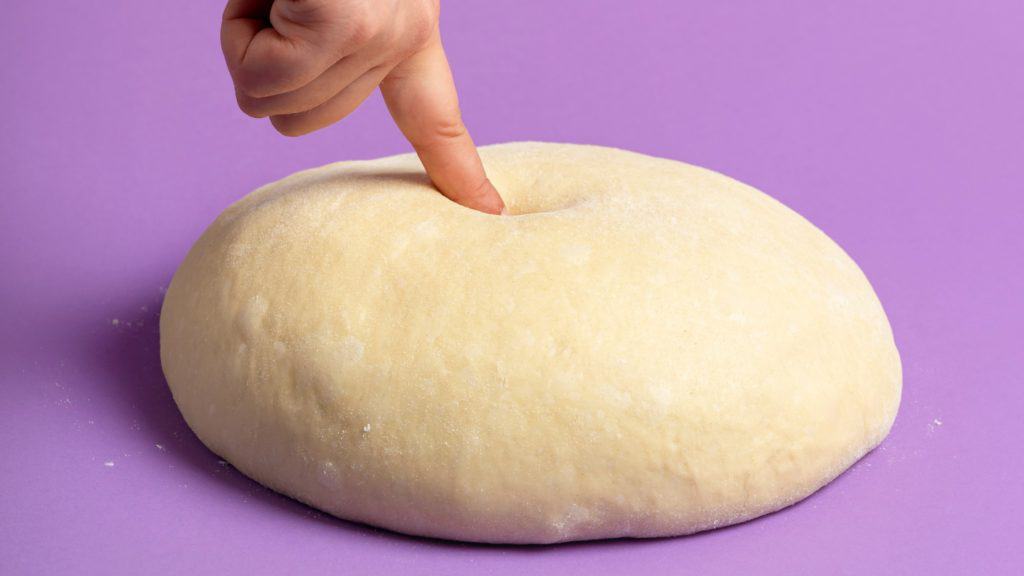
First, use oil or flour on your hands and gently poke your dough. You will know the dough needs more time to sit when it shrinks back instantly. As mentioned, your dough will spring back gently when it is ready.
Touch the dough lightly with your index finger to see whether it’s ready to go into the oven. It’s ready to bake when the indentation is still visible. You should expect a lovely ‘oven spring’ if all goes according to plan.
The Last Slice
During the preparation stage, yeast impacts the quality and consistency of your dough. Good yeast will enhance the flavor and provide a fluffy, crispy crust.
As a result, we hope you’ve grasped the ten yeast pizza tips you should use while cooking your pizza. They will assist you in becoming the best pizza baker!
Additional Yeast Resources
Best Yeast for Pizza Dough: Mastering the Art of Pizza Making
the PROs
What is the Best Yeast for Pizza Dough? Pizza – merely mentioning this delicious dish is enough to stir cravings. …
Does Pizza Flour Contain Yeast? Find What You Need to Know
the PROs
Ever wonder what gives pizza its mouth-watering, fluffy, and crisp crust? It’s all about the magic happening behind the scenes …
Can You Freeze Yeast? Find Everything You Need to Know
the PROs
“Can you freeze yeast?” – this question has crossed many home bakers’ minds. If you’ve been puzzled by this too, …

How Much Yeast is in a Packet? Easy Shortcuts (+Yeast Tips from the PROs)
the PROs
How Much Yeast is in One Package? Are you wondering how much yeast is in a packet? Easy! Each yeast …

Does Pizza Need Yeast? You Bet! Here’s What You Need to Know
the PROs
Does Pizza Need Yeast? As a home baker, you might ask yourself if pizza needs yeast. Maybe you are feeling …
Active Dry vs Instant: Which is the Best Yeast for Pizza?
the PROs
In this article, we will help you understand the difference between Active dry yeast and Instant and let you know which one is right for homemade pizza. Find which is the best yeast for pizza and why.

Yeast for Pizza Dough: Your Key to Creating Irresistible, Airy, and Flavorful Crust”
the PROs
Most certainly, you read about yeast before or at least have seen the various yeast packets at the supermarket, not knowing the difference between them.
Enjoy!
Not a PRO? Not a Problem!
Take a pizza class to bring your pizza skills to the next level,
so you can be a PRO!
Related Posts

Costco Pizza Delivery: Find How You Can Get It Now!
the PROs
People go to Costco’s food court for many different reasons, but the cheesy slice of pizza they serve is among …

Pizza for Beginners: Don’t Buy Pizza, Make It! Here’s How to Get Started!
the PROs
You have this idea that you want to make pizza at home as opposed to ordering it, but where do you start? Don’t worry! Here you will find answers and directions to all your questions.

Pizza Toppings Under Cheese or Over Cheese? [Why the Order Matters]
the PROs
Is Pizza Cheese on Top or Bottom? Hey pizza lovers, are you wondering if you should layer pizza toppings under …
Newsletter
Subscribe to our Recipe of the Week newsletter and receive our partners’ latest recipes, tips, and discount offers.
Keep in Touch!


