
Today, we will tell you everything you need to know about baking the most delicious pizza at home. We will discuss some tips and tricks and the benefits of making pizza at home.
We will provide you with the best pro pizza recipe for your homemade pizzas that will leave people speechless and wanting more.
If you’re genuinely looking for a unique pizza experience, there’s no better option than making it at home. All the best pizza chains in the market started from a simple yet fascinating homemade pizza.
Making pizza at home is like painting a masterpiece. But that’s also the problem.
People usually don’t think they can paint a masterpiece or make the perfect pizza. Well, that’s why we’re here. With our help and your creativity, you can be the best homemade pizza baker!
So, sit back, relax, and read this article till the end.
Here’s What You Will Find:
Why is it Better to Make Pizza at Home than Buy It?
Well, yes.
Although many people think that instead of doing all the work and baking a pizza at home, they should get a pie from their local pizza place, that’s not ideal.
There is so much more to pizza than just getting it from anywhere and eating it.
Think of homemade pizza as a lifetime investment, where the more time you invest, the better the returns you will get.
Better yet, the price or cost that you would pay to make pizza at home is nothing compared to what you would spend to buy a pizza. Your (ROI) or return on investment will be unbeatable!
Why is it better for you to make homemade pizza?
Benefits of making pizza at home
About 5 billion pizzas are sold worldwide yearly, so why not get creative and reduce that number?
Plus, homemade pizzas have many different benefits over store-bought or pizza place pizza.
Here’s a list of essential benefits to hint at all the advantages homemade pizzas have.
- You can spend less and make more pizza
There’s a misconception that buying pizza costs less than making it at home. That’s not true. If it were true, nobody would be selling pizza anymore. If you make pizza at home, you must spend less money to make more pizza with high-quality, delicious ingredients. That’s why you should choose to make pizza at home.
- Add whatever quantity and type of ingredients you feel like
With homemade pizza, you are the master of the kitchen. You can choose whichever spices and whatever quantity of ingredients you want to use for making your pizza, which is not an option you have while getting pizza from your local pizza place.
This opportunity reveals that making pizza at home using our pro homemade pizza recipe is the best decision for your culinary adventures.
- Better food safety and sanitization
When it comes to buying pizza, all people usually see is the cheese pull and the crust. The most important thing they overlook is the sanitation and conditions in which the pizza was prepared.
You don’t have to worry about this problem with homemade pizza. When you’re baking a delicious pizza at home, especially with our recipe, you know that you’re in a safe and sanitized space, using the best quality ingredients and trays for baking your pizza.
This choice is better for mental satisfaction and health safety, as well.
How to Make Pro Pizza at Home?
There’s a simple way, follow our recipe. Honestly, though, if you’re looking to make pro pizza at home, you need to use the best ingredients and keep a careful eye on the tools and baking time of the pizza.
To make a pro pizza, you need to deal with a spectrum of culinary activities altogether, which, once you put your mind to it, won’t be difficult for you because we know that you have what it takes to be an aspiring pizza baker.
How is our pizza recipe different from others?
Our pizza recipe has been tried and perfected over a long period of time.
We have carefully and meticulously created the perfect blend of instructions, resulting in the ideal tasting, aesthetically pleasing pizza.
You might be thinking, what makes our pizza recipe different from other recipes? Well, we’ve created a list of things we do differently from the generic pizza-baking recipes on the internet right now.
Yeast
We only use
This addition helps the dough rise more and develop a lovely texture. Check our article on the best yeast for pizza.
Honey
We add honey to the crust dough. To make the dough rising process quicker and increase the dough’s browning, we add a little sugar to the crust dough in our pro pizza recipe, which greatly helps the pizza result.
Butter
We add honey to the crust dough. To make the dough rising process quicker and increase the dough’s browning, we add a little sugar to the crust dough in our pro pizza recipe, which greatly helps the pizza result.
Pizza Steel
When we bake pizzas in a standard kitchen oven, we bake them, preferably on a baking steel.
What we do differently from other pizza makers is use baking steel for the pizza. Usually, pizza is made on stone or trays of different materials.
But with the help of baking steel, our pizza gets that charred crispiness that no other homemade pizza can get.
Temperature & Baking Time
Note that our recipes are shown for a normal kitchen oven which temperatures up to 500 degrees.
For best results, pizzas should be baked in ovens that reach from 800 to 950 degrees.
If you use a wood-fired oven at a higher temperature, the bake time should be reduced by 5 to 7 minutes.
PRO Pizza Recipe Details
Ok, are you ready? Let’s get started!
What you need
Equipment
- Stand Mixer
- Digital Scale
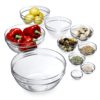
- Mixing Bowls
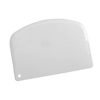
- Bowl Scraper
- Baking Stone or Steel (Optional)
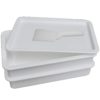
- Proofing Box (Optional)
Dough Ingredients
Sauce Ingredients
- 120 ml Tomato Sauce
- 1 Can Diced San Marzano tomatoes (Optional)
- 1 tbsp Butter
- 2 tbsp Salt
- 1 tbsp Olive Oil
- Pinch of Sugar
Directions:
For further details on each of these steps, check the below presentation.
PRO Pizza Recipe
Make the Dough
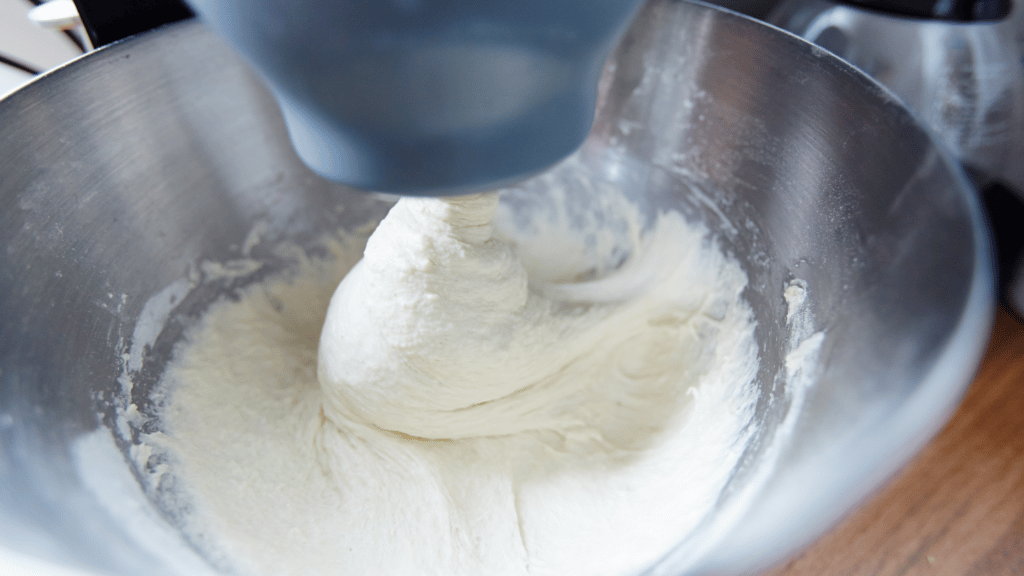
Make the Dough
To make the dough:
1. Activate the yeast
2. Mix the Dough
3. Knead the dough
4. Form into a dough ball
5. Rest for 1 to 1 ½ hrs
Make the Sauce
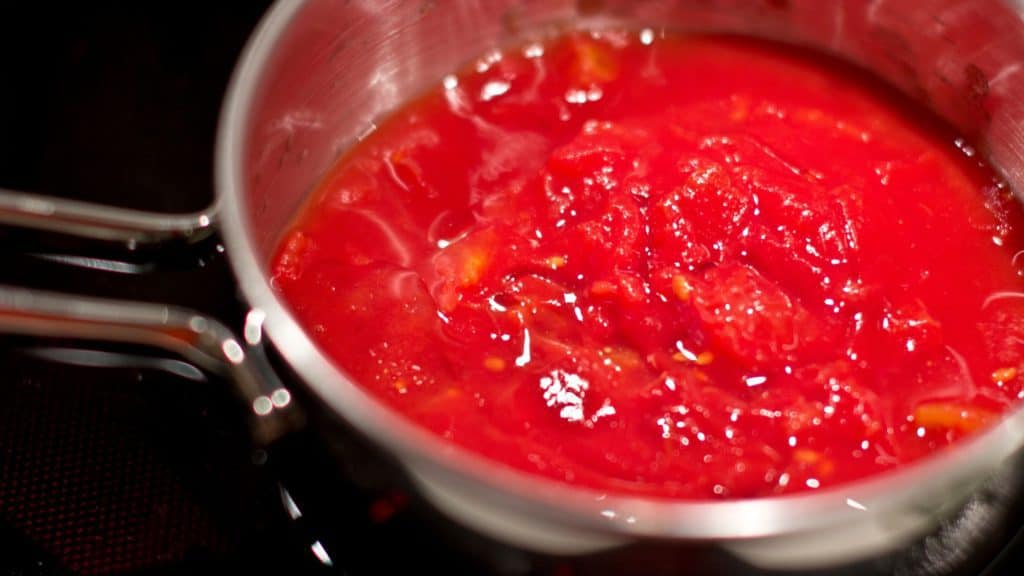
Make the Sauce
To make the sauce:
1. In a saucepan, combine all sauce ingredients
2. Simmer for 20 min.
Make Dough Balls
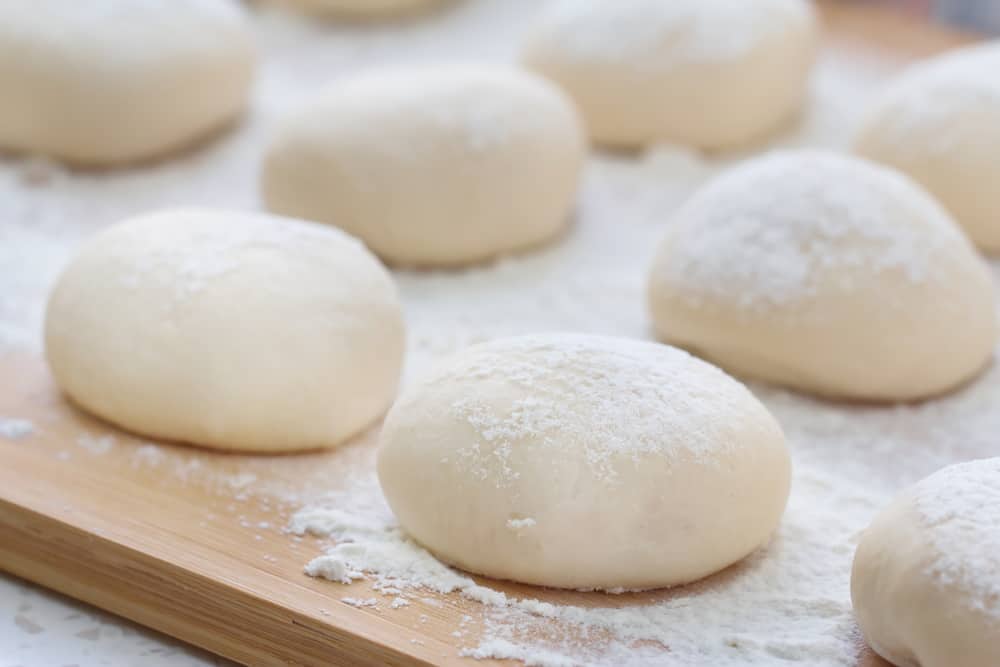
Make Dough Balls
To make the dough balls:
1. Divide the dough into 3 equal pieces with a bench scraper, about 280 grams each.
2. Make a tight ball out of each piece of dough and make the smooth side the top, tucking the rough bottom side into itself to swell up the top.
3. Firmly squeeze the balls near the bottom to get out any air pockets.
Pre-Heat Oven
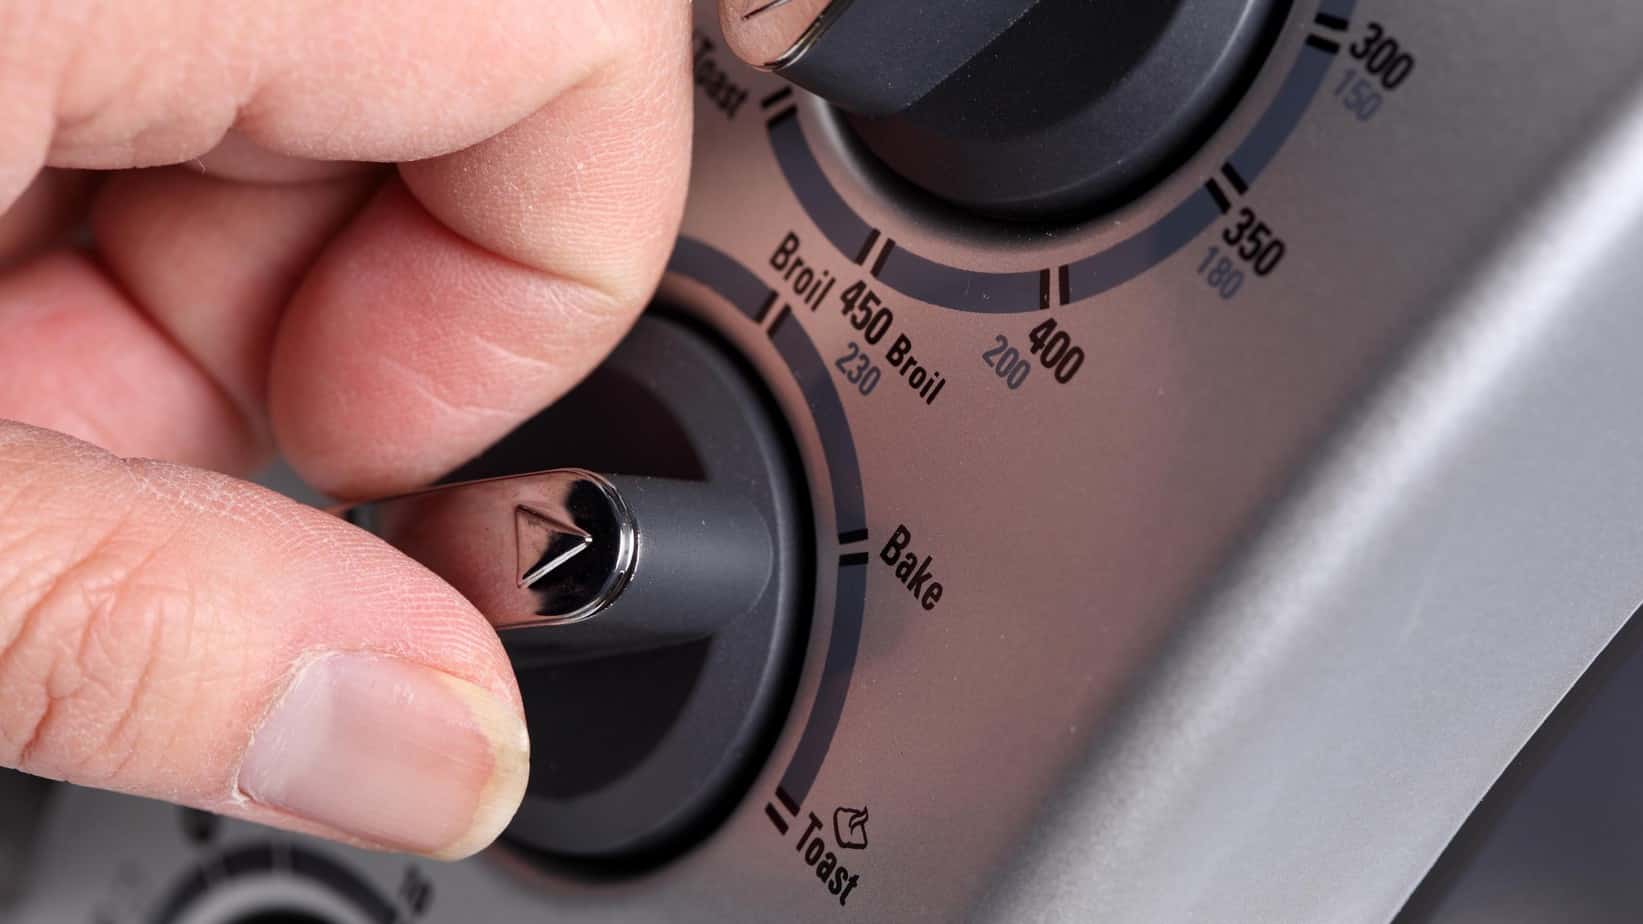
Pre-Heat Oven
To pre-heat the oven:
1. Place two baking stones or steels in the oven racks with a 6 to 8-inch separation from each other.
2. f you only have one stone/steel place it in the middle rack of your oven.
3. Set the oven to 500°F and pre-heat for about 1 hr.
Shape the Pizza
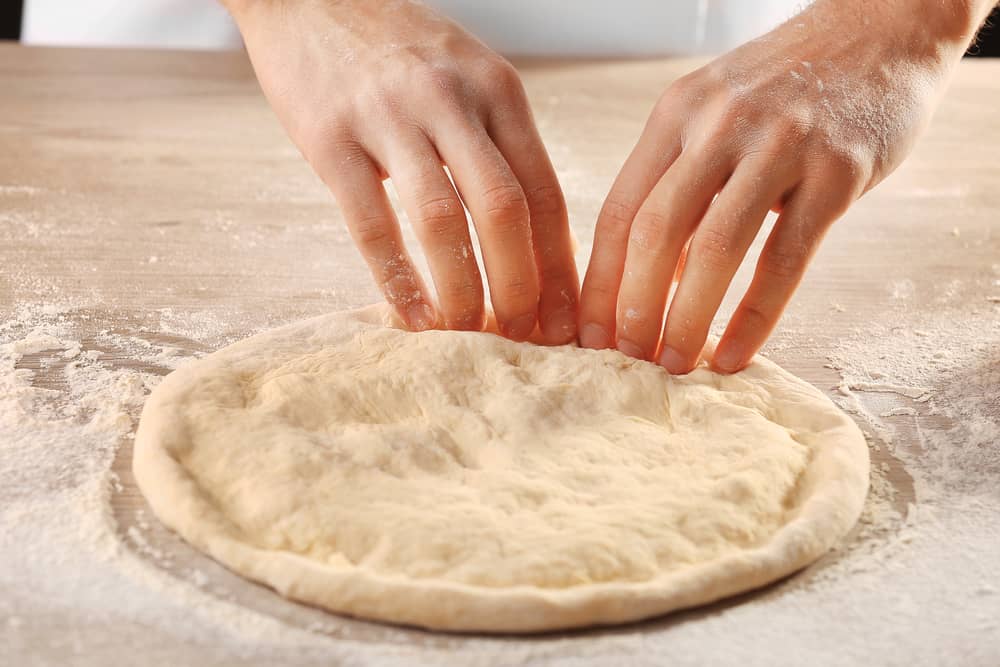
Shape the Pizza
To shape the pizza:
1. Start stretching out the dough with your hands, turning the ball as you press down the center.
2. Using your fingertips, dimple the dough a few times. Take it up in your hands, turning it with your fists, gently pulling with each rotation to stretch out the dough.
3. Or, in the alternative use a rolling pin to work the dough until you form a 12- inch circle.
Top the Pizza
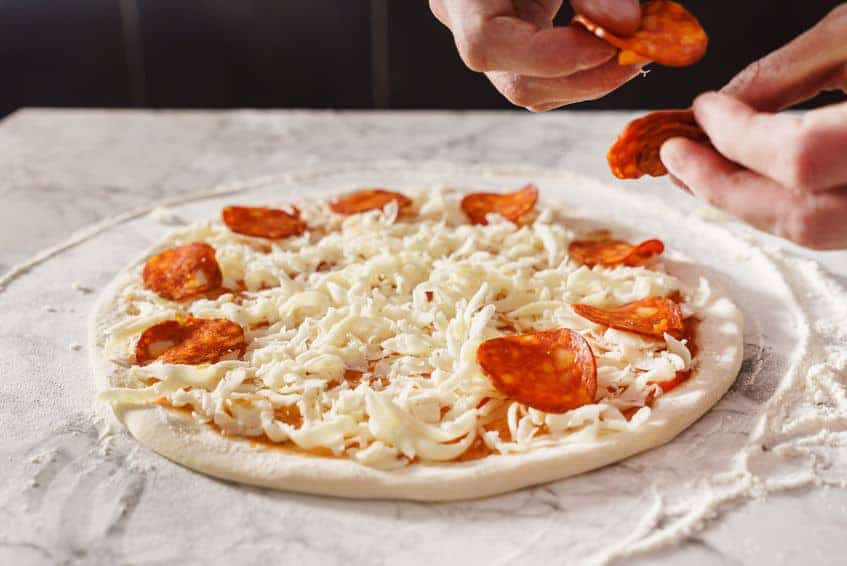
Top the Pizza
To top the pizza:
1. Grab a flat spoon and disperse the sauce onto the center of the dough.
2. Pour the cheese onto the center of the pizza and spread it with your fingers.
3. Arrange the rest of your preferred toppings evenly over the cheese.
Baked the Pizza
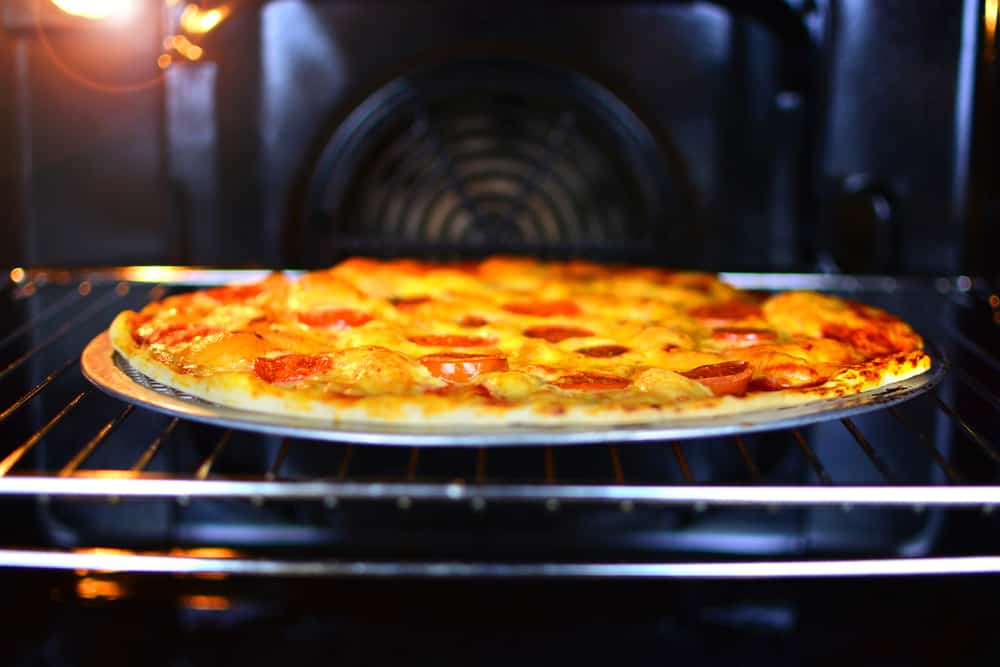
Bake the Pizza
To Bake the PIzza:
1. Bake at 500°F for 12 to 15 min. or until the crust is properly browned.
Finish the Pizza
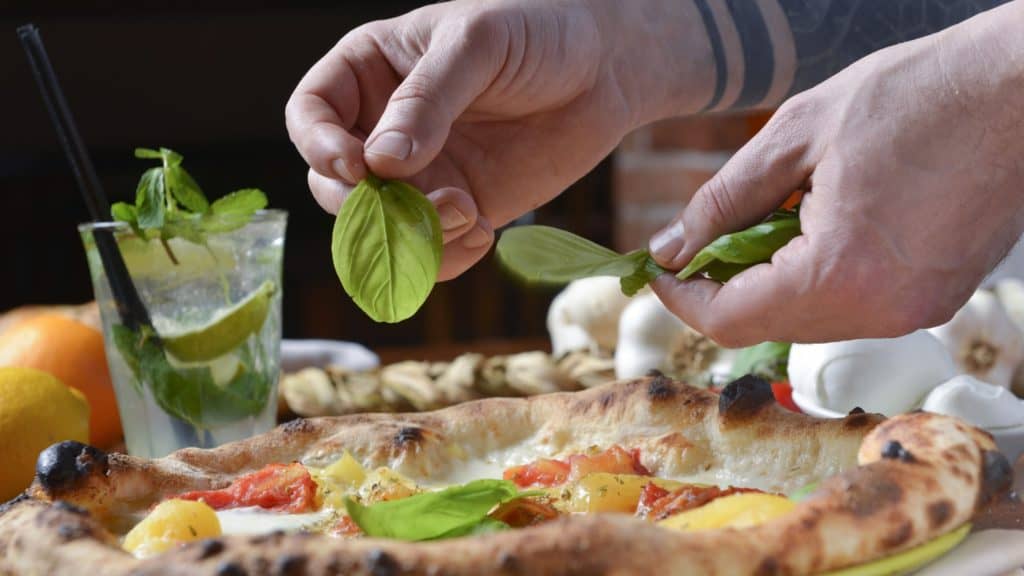
Finish the Pizza
To finish the pizza:
1. Add a small number of your finishes right before serving your pizza.
2. Garnish with your favorite garnishes.

Check Our Beginner’s Pizza Masterclass
Need more details?
Check this presentation to make this Pro Homemade Pizza Recipe with these simple steps.
Along the way, check out some tips and tricks to make the best pizza. In addition, we answer some of the most frequent questions on how to make pizza.


Pizza Baking Temperature and Time
The most important part of making a pizza is baking it at the right temperature and for the right amount of time. So, what exactly is the best temperature and time for making your delicious pizza?
The best temperature to cook your pizza in a standard kitchen oven is 500 degrees Fahrenheit for about 10-15 minutes.
During this time, your crust will get brown, and the toppings will be cooked perfectly for you and your loved ones to enjoy.
Check our beginner’s guide on time and temperature for more information if you are using a more sophisticated pizza oven.
Quality Control
You’ve made it to the end! Now that you’ve learned how to make your pizza. The next step is quality control. Here is what you should expect from it.
- It should support its ingredients when you grab your slice; the pizza shouldn’t bow to you.
- You should be able to fold it without breaking it.
- The bottom crust should also be browned with no burned spots.
- The cheese should be stringy, perfectly melted, and golden brown.
Get your Recipe Card
Print and save your favorite recipe.
Pro Homemade Pizza
Equipment


Ingredients
Dough
- 500 g 00 Type Flour You can also use Bread Flour
- 325 g Water
- 10 g Fine Salt
- 5 g Dry Active Yeast
- 25 g Olive Oil
- 20 g Honey
Sauce
- 120 ml Tomato Sauce
- 1 can San Marzano Diced Tomatoes Optional
- 1 tbsp. Butter
- 10 g Salt
- 1 tbsp. Olive Oil Extra Virgin
- 1 pinch Sugar
Toppings
- 300 g Low-Moisture Mozzarella Cheese
- Additional toppings of your preference
- Olive Oil for Garnishing
Instructions
Prepare the Dough
- Activate Yeat – Separate 20 grams of water from the total water and heat it up to 95°F –105°F.
- Mix the lukewarm water with the yeast together and whisk them in a small bowl and let it sit for10 to 15 minutes.
Mix the Dough
- In the bowl of the electric mixer, mix the flour with the yeast mixture, and the remainder of the water and mix on low speed until the dough comes together, about 1 minute.
- Add the Oil and the Honey and mix for 1 minute.
- Add the salt to the mixture and mix for 1minute.
Knead the Dough
- Knead the dough in the mixer on low speed for 5- 7 minutes. Switch to medium-low speed and mix for another 2- 3 minutes.
- Detach the mixture from the dough hook and the walls of the mixing bowl and form one big mass of dough.
First Fermentation
- Cover tightly and let the dough ferment in the refrigerator until it proofs and almostdoubles in size, for about 1 to 1 ½hrs. The ideal temperature for the first fermentation is 80°F.
Degas Dough
- With your fist, push down on the mixture and deflate the mixture. *This will release all the accumulated gas from the dough.
- Once you flatten the dough, bring it together into a big ball again.
Shape into Balls
- Divide the dough into 3 equal pieces with a bench scraper, about 280 grams each.
- Make a tight ball out of each piece of dough and make the smooth side the top, tucking the rough bottom side into itself to swell up the top.
- Firmly squeeze the balls near the bottom to get out any air pockets.
- Gently roll the bottom under your palm on a dry work surface, using a circular motion to close the bottom and smooth it out.
Second Fermentation
- Place the dough balls evenly in a proofing box or on a wide tray, making sure they are separated and not touching.
- Cover tightly and refrigerate for 8 to 24 hrs.
- Remove the balls from the refrigerator and let them sit for about 1 hr. to take the chill out.
Make the Sauce
- In a sauce pan, combine all sauce ingredients and simmer for 20-minutes.
Pre-Heat the Oven
- Place two baking stones or steels in the oven racks with a 6 to 8-inch separation from each other. If you only have 1stone/steel place it in the middle rack of your oven.
- Set the oven to 500°F and pre-heat for about 1 hr.
- Prepare the toppings for the pizza and have everything in its place.
Shaping of the dough
- Using your fingertips, dimple the dough a few times.
- Take it up in your hands, turning it with your fists, gently pulling with each rotation to stretch out the dough.
- Dip the dough into a little flour, shaking off the excess, and set on a clean, lightly floured surface.
- Start stretching out the dough with your hands, turning the ball as you press down the center.
Laying of the pizza
- Leave a little bit of board to the edge of the dough, give the right thickness and the right shape to the pizza. Be careful not to make holes.
- Alternatively, if your find stretching by hand is difficult, use a rolling pin to work the dough until you form a 12-inch circle.
- With a dough docker, dock the dough throughout the entire circumference. This will prevent the dough from forming bubbles during the baking process. Resulting in a nice even thin crust.
Top the dough
- Grab a large, preferably flat spoon and disperse the sauce onto the center of the dough.
- Use the back of the spoon to spread the sauce outward from the center in a spiral motion. Leave about ¾” inch around the rim of the pizza. Shake the pizza peel to make sure the dough isn’t sticking.
- Pour the cheese onto the center of the pizza and spread it with your fingers. Do not go all the way up the rim.
- Arrange the rest of your toppings evenly over the cheese.
- Give it a final shape by adjusting the rim as necessary to give the pizza a perfectly round shape.
Transfer the pizza to the oven
- Shake the pizza back and forth again to make sure it isn’t sticking. If it sticks to the peel, lift the edge and add flour, cornmeal, or a mixture of both.
- Slide the prepared pizza onto the hot pizza steel, stone, or baking sheet. The pizza peel and the stone or steel should be at the same level, not angled or sloped.
- Bring the pizza to where you want to place it just slide it off the peel by moving the peel forward and backward. Once the dough touches the stone or steel, it will stick to it.
- Look at the shape; you will only have a few seconds to make any adjustments with the peel. You must be incredibly careful as it would be scorching to touch with your bare hands.
Bake the pizza
- Check the oven as it should be at 500F.
- Set a timer for at least 5 to 6 minutes so you can check the progress. If you see any large bubbles in the pizza, just poke them with a knife and add additional cheese on top. Try not to open the oven door.
- Grab the peel and rotate the pizza 180° if you feel the back is cooking faster. Check the bottom of the pizza to make sure it has been cooked well. It should be rich brown and burnished. The total cooking time should be from 12 to15 minutes total depending on your oven. Bake until the crust is properly browned.
Finish
- You may want to add a small number of your finishes right before serving your pizza. If you like, drizzle the pizza with garlic oil, or add flaky salt, our favorite truffle salt or any other add-on that you may want.
- For additional flavor, add a sprinkle of Parmesan or Pecorino to give it an extra pungent flavor.
The Last Slice
We hope that you learned a lot from this article. Our main goal is to provide you with the knowledge to prepare the best pro homemade pizza of your life.
You might make a few mistakes while starting. Still, with proper practice, you will be able to bake the best pizza ever because you can become a fantastic pizza baker spreading joy and happiness on people’s faces.
So, are you ready to start making your homemade pro pizza? If so, let us know your experience; we would love to see if you do something different and share your tips with our community.
Take this recipe to the next level with the following ingredients:

You'll love this Italian Mozzarella Di Buffala cheese for its slightly elastic consistency, with a thin and shiny rind that is porcelain white. The aroma of this mozzarella is enhanced at cutting, with the appearance of a slight whey draining with a scent of milk enzymes.

A smooth extra virgin olive with pleasant notes of fruit and aromas of cut grass, made from three varietals of Italian olives - Frantoio, Leccino, and Moraiolo. Hand-harvested and produced by Il Boschetto in the Maremma region of Italy, in the medieval Tuscan village of Castiglione Della Pescaia, Guglielmo di Malavalle Multicultivar Extra Virgin Olive Oil is a young, fruity oil with beautiful green-yellow color and hints of artichokes and wildflowers.
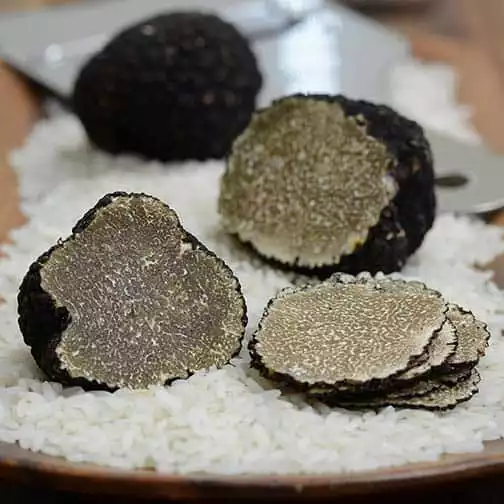
The summer variety of the black truffle, these delicious mushrooms are subtle and mildly flavored. They’re in season from May through August, and while they lack the intensity of the winter or fall types, they are a great way to add some nice truffle flavor to light summer and spring recipes - without breaking the bank. In shape and looks, they look the same as the winter variety, but you’ll notice that they don’t have that intense aroma. Slice thinly and warm them up with truffle butter or truffle paste to add some extra flavor, or use them to bring the look of fresh truffles to dishes.
For More, Check Out the Gourmet Food Store
Recommended Recipes
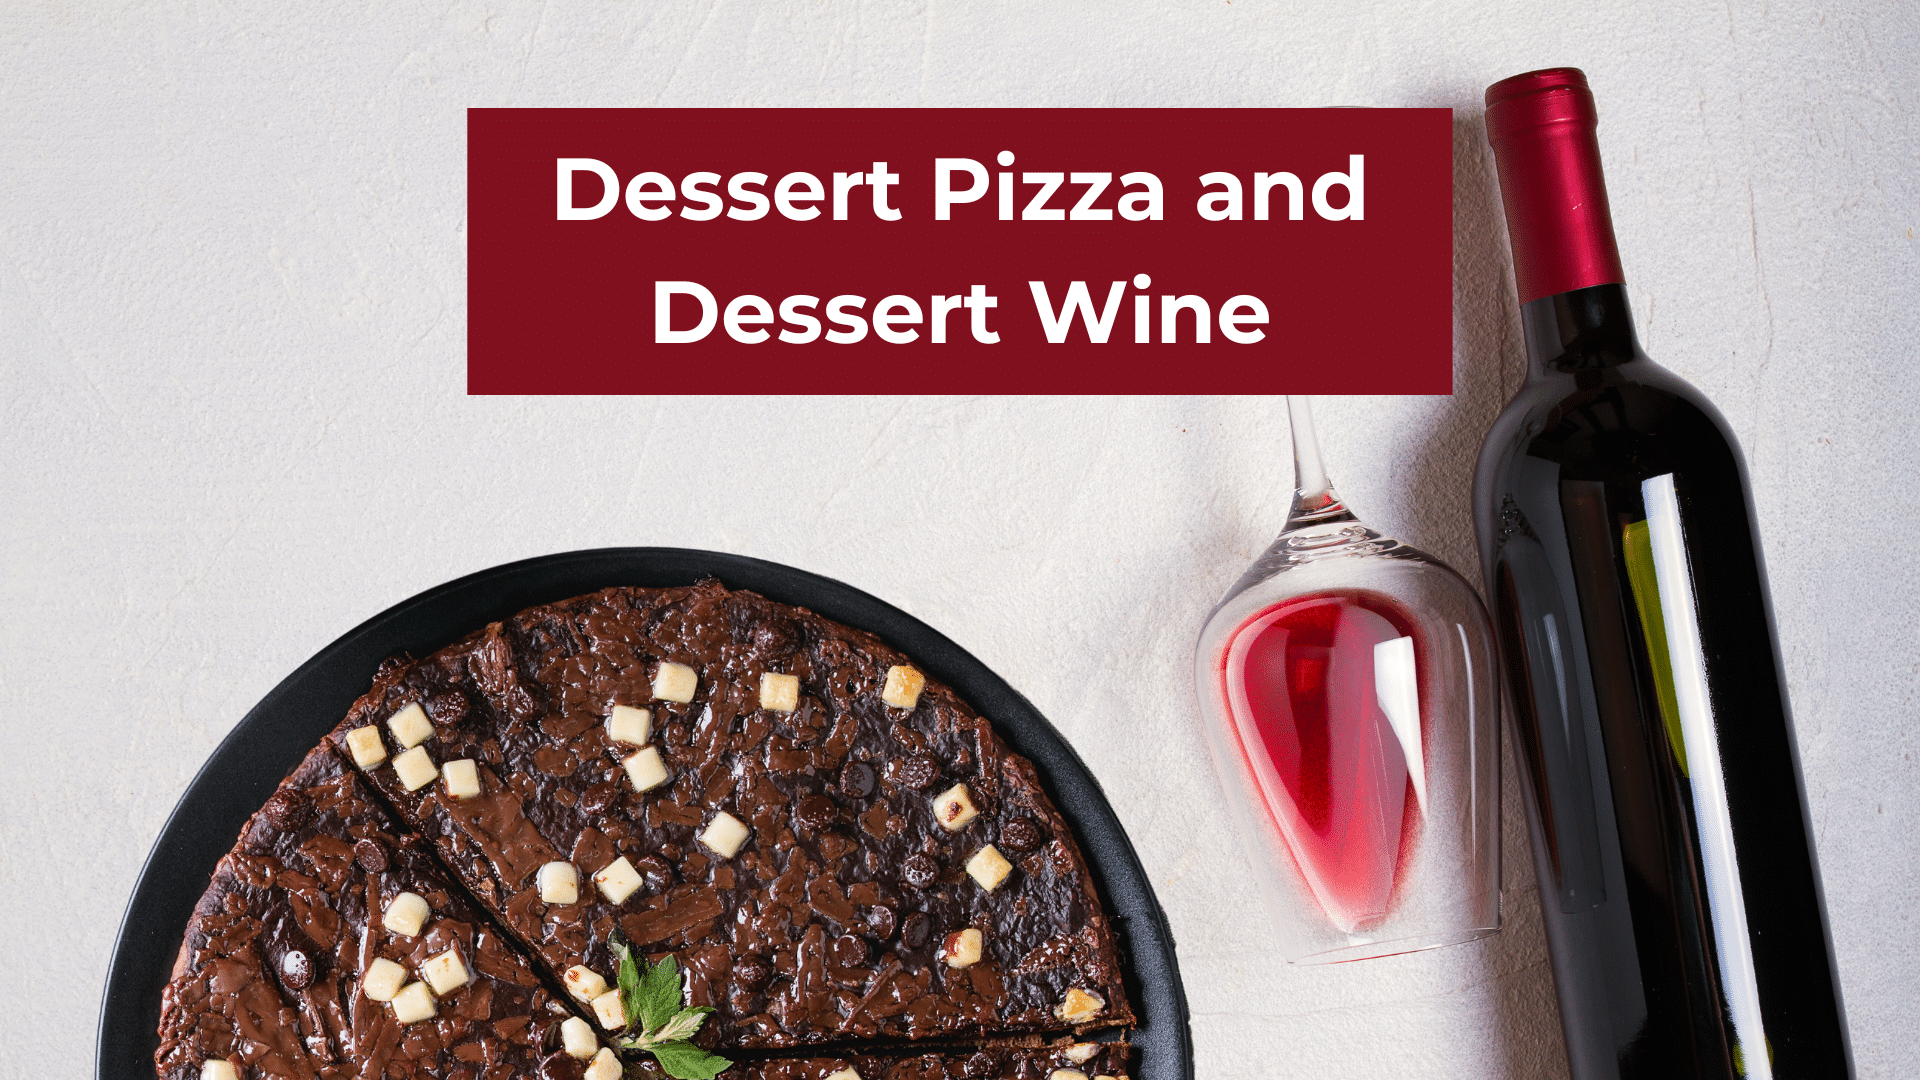
Dessert Pizza and Dessert Wine: 15+ Pairings to Try
the PROs
Welcome, fellow homemade pizza PROs and wine lovers, to an exploration of an indulgent fusion of sweet and savory that’s …

Homemade Pizza Like a PRO!: Mastering the Craft of the Perfect Pie
the PROs
Imagine this: The scent of freshly baked dough wafting through your kitchen, the sizzling sound of melting cheese, and the …

Low Hydration Pizza Dough Recipe [55% Hydration]
the PROs
Are you ready for a game-changing low hydration pizza dough recipe that’s quick, easy, and yields a delicious crust with …
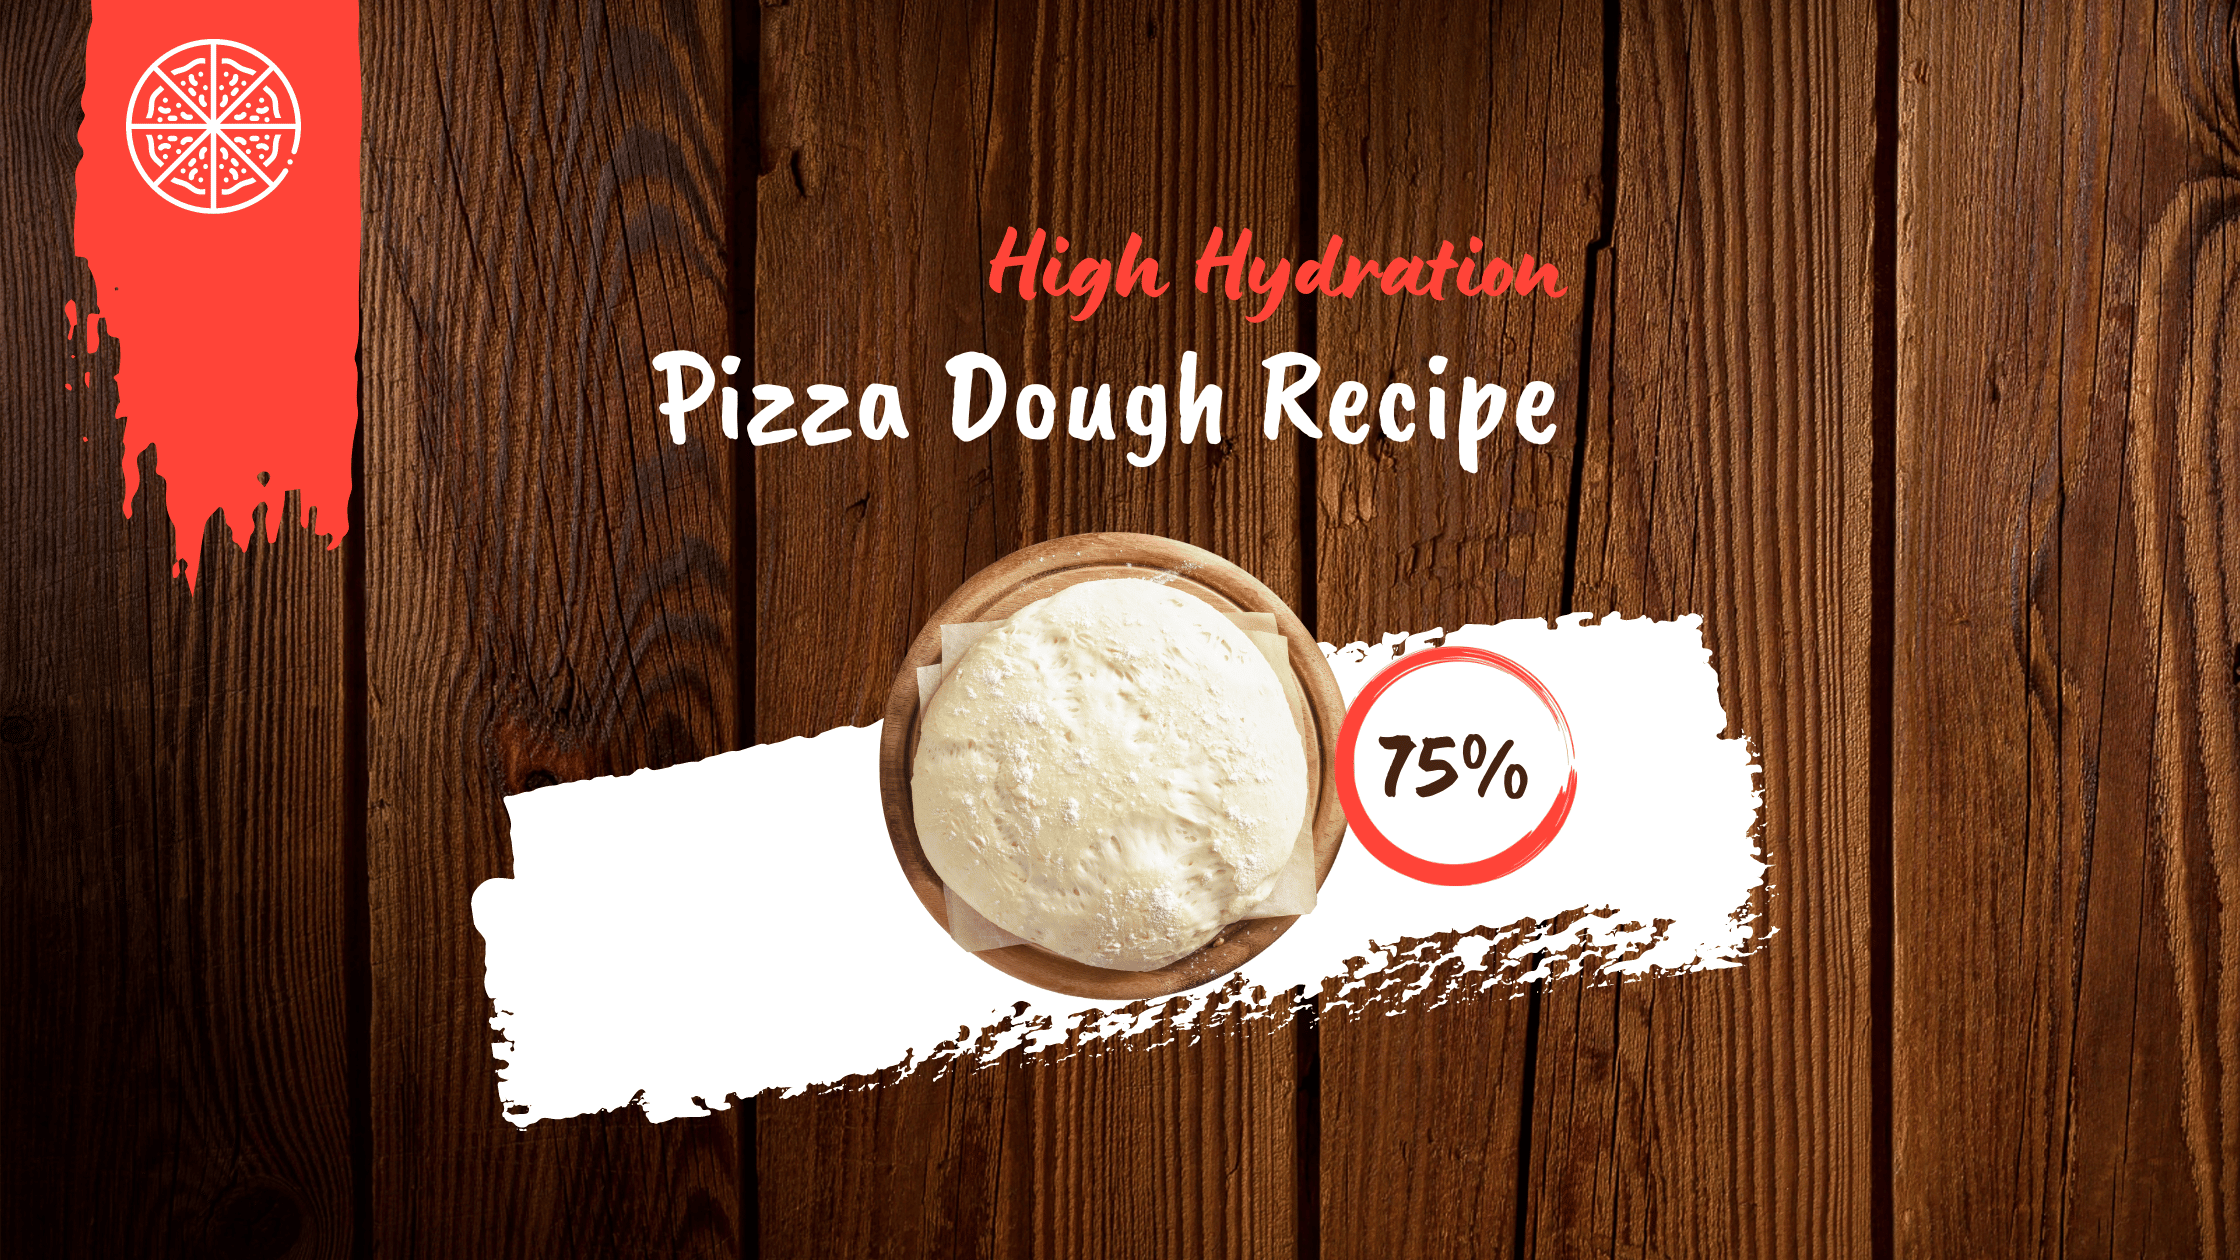
High Hydration Pizza Dough Recipe [75% Hydration]
the PROs
Today we’re going to make a super soft, stretchy, and delicious high hydration pizza dough recipe that will impress. This …

What is Keto Pizza? The Ultimate Guide from Crust to Toppings and Tips on How to Make it at Home
the PROs
Have you ever found yourself dreaming about a juicy, cheesy pizza, but immediately dismissed the thought due to dietary restrictions? …
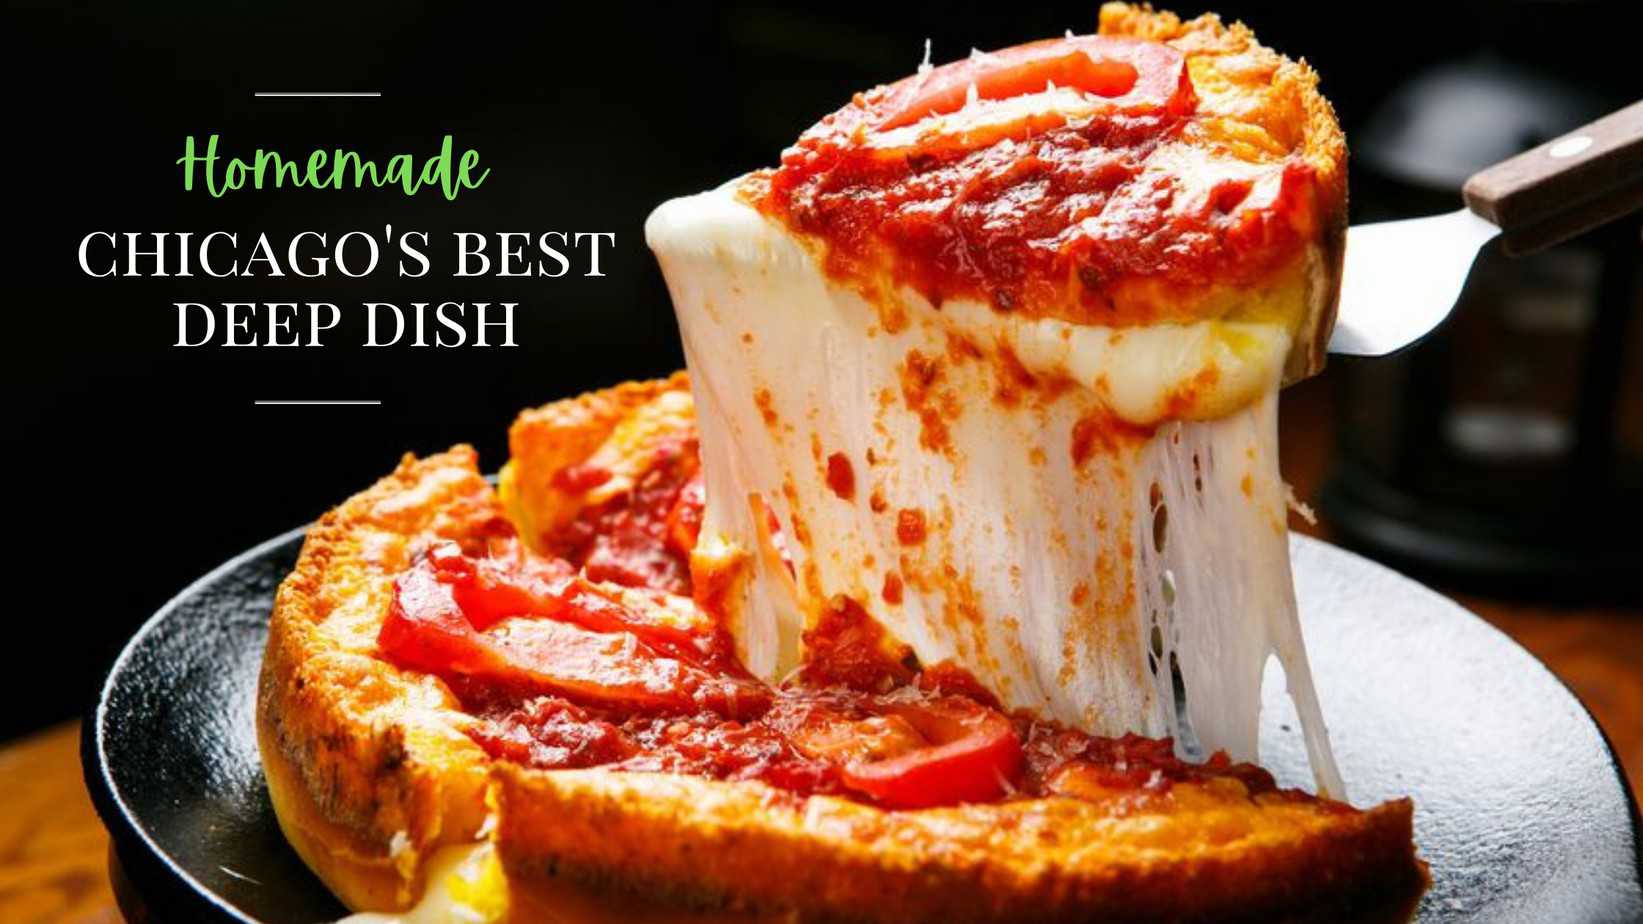
Chicago Deep-Dish Pizza Recipe
the PROs
If you’ve ever thought about making your own pizza but were afraid the recipe would be too complicated, think again. In fact, today there are dozens of recipes for deep-dish pizza found online, but most of them are similar in a lot of ways.
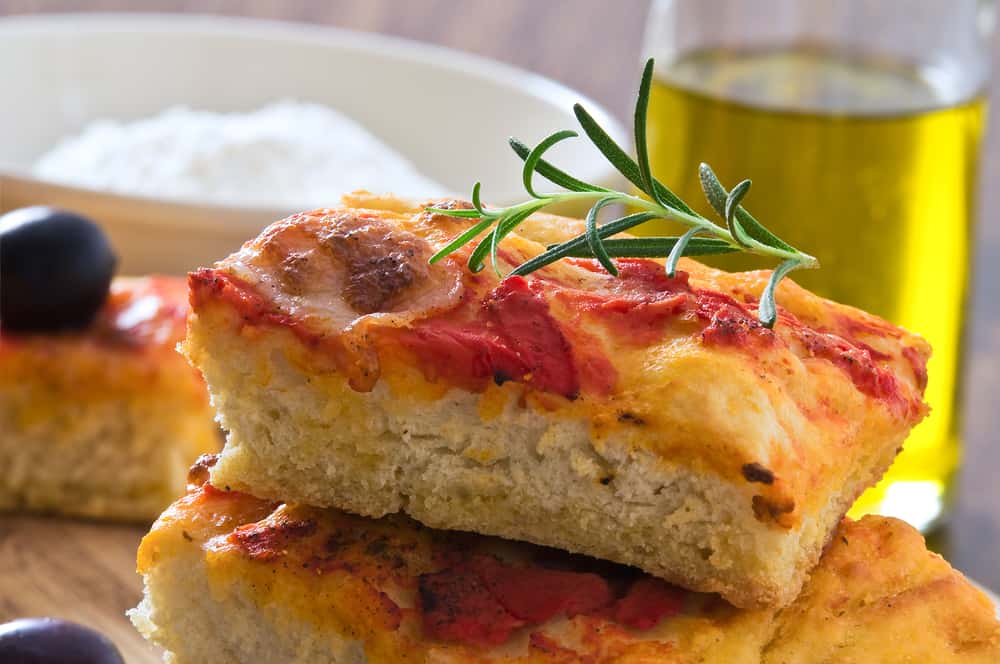
Sicilian Style Pizza Recipe
the PROs
Continuing our line of base recipes that you can adapt to any pizza style; we present a totally different style. Our recipe is a variation of the authentic Sicilian pizza, prepared in a manner that originated in Sicily, Italy.
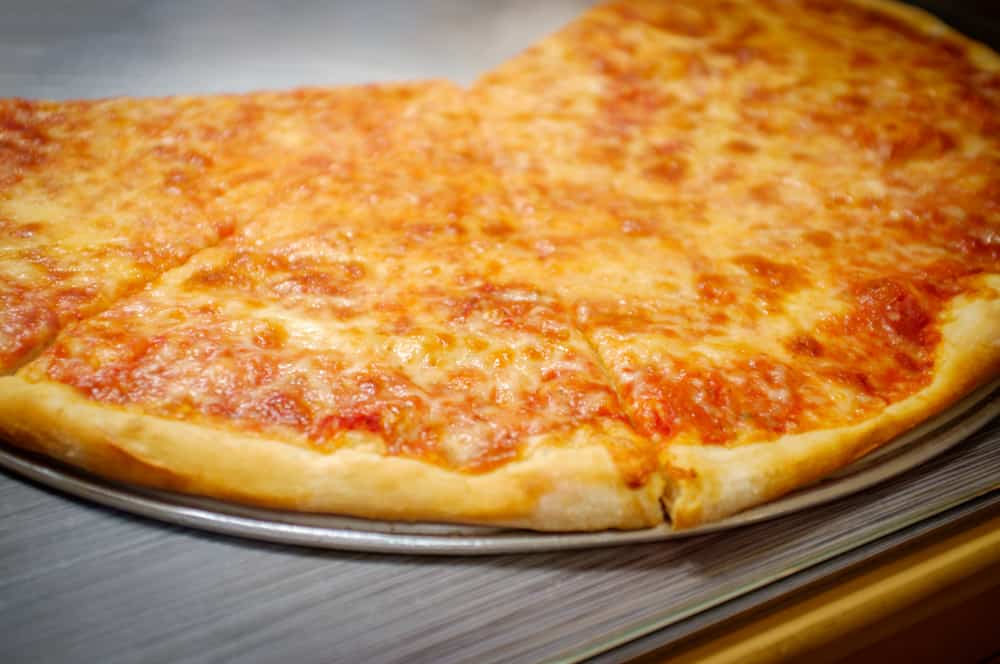
Easy Homemade New York-Style Pizza Recipe
the PROs
This Homemade New York Style pizza recipe will literally transport you to NYC’s corner pizza joint where you get a humongous pizza slice that is dripping in its remarkable flavor.
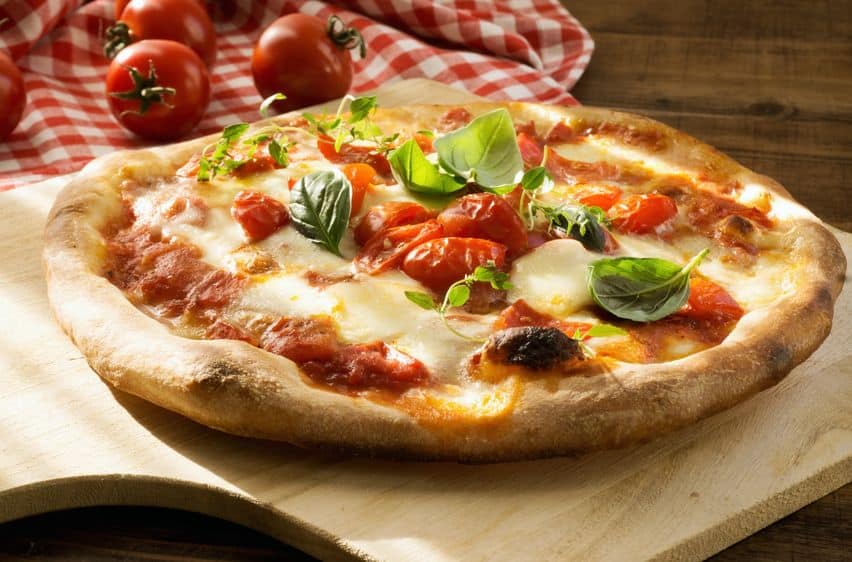
The Best Homemade Neapolitan Pizza Recipe
the PROs
This Neapolitan Pizza base recipe can be easily adapted to any other pizza style. It has only four ingredients and it only takes 20 min. of hands-on time.
Want to see more? Check out our community recipe page
Share the love for pizza. Check out our readers’ homemade pizza recipes. Try them and choose your best! Go to our Community Recipe Page.
Enjoy!
Not a PRO? Not a Problem!
Take a pizza class to bring your pizza skills to the next level,
so you can be a PRO!
Related Posts

Costco Pizza Delivery: Find How You Can Get It Now!
the PROs
People go to Costco’s food court for many different reasons, but the cheesy slice of pizza they serve is among …
Pizza for Beginners: Don’t Buy Pizza, Make It! Here’s How to Get Started!
the PROs
You have this idea that you want to make pizza at home as opposed to ordering it, but where do you start? Don’t worry! Here you will find answers and directions to all your questions.

Pizza Toppings Under Cheese or Over Cheese? [Why the Order Matters]
the PROs
Is Pizza Cheese on Top or Bottom? Hey pizza lovers, are you wondering if you should layer pizza toppings under …

Newsletter
Subscribe to our Recipe of the Week newsletter and receive our partners’ latest recipes, tips, and discount offers.
Keep in Touch!