Welcome to Pizza for Beginners – your definitive guide to embracing the art and joy of making homemade pizza. This journey is perfect for those standing at the crossroads of culinary curiosity and a love for this universally adored dish.
From learning the fundamentals of crafting the perfect dough to choosing the right combination of sauces, cheese, and toppings, this guide is tailored to ease you into the process.
Regardless of your cooking expertise, this guide aims to equip you with the skills and knowledge to transform you from a pizza enthusiast into a home pizzaiolo.
Let’s embark on this exciting culinary adventure, filled with kneading, topping, baking, and savoring the slices of your homemade pizza.
So, let’s get started.
Here’s What You Will Find:
Key Takeaways
Pizza for Beginners
Start Simple: When beginning your pizza-making journey, it’s best to start simple. Choose a basic recipe, like the classic Margherita, which requires only a few ingredients. As you get more comfortable with the process, you can experiment with more complex recipes and unique topping combinations.
Homemade is Better: Making your own pizza allows you to control the ingredients, often resulting in a healthier and tastier pizza than store-bought or restaurant versions. You get to choose the quality and quantity of ingredients based on your personal preferences and dietary needs.
Practice Makes Perfect: The art of pizza making takes practice. Your first homemade pizza might not be perfect, and that’s okay. With each pizza you make, you’ll learn more about the process, improve your techniques, and get one step closer to creating your perfect pizza.
Enjoy the Process: Pizza making is not just about the end result. It’s about the joy of creating something with your own hands and the satisfaction of sharing it with others. So, remember to have fun, experiment with different ideas, and enjoy every bite of your homemade pizza.
Imagine the scent of fresh dough baking, mingling with the sweet aroma of tomato sauce, melting cheese, and your chosen toppings. This sensory delight doesn’t just belong to pizzerias or high-end restaurants but can be conjured right in your own kitchen.
Welcome to the world of homemade pizza!
Homemade pizza is a culinary adventure that balances the precision of ingredients and techniques with the freedom to customize each pie to suit your palate. It’s an art form that encourages creativity and experimentation, inviting you to transform simple, fresh ingredients into a meal that’s as satisfying to prepare as it is to eat.
Benefits of Making Your Own Pizza Instead of Buying
Making your own pizza has myriad benefits. For one, it’s healthier. Store-bought or restaurant pizzas often contain high levels of salt, sugar, and preservatives.
When you make pizza at home, you have complete control over what goes into your meal. You can opt for whole-grain dough, fresh vegetables, quality meats, or even vegan cheese – the combinations are endless and can be as healthy as you decide.
Furthermore, making your own pizza is cost-effective, especially if you feed a family or host a party. The cost of ingredients for a homemade pizza is often significantly less than the price of a restaurant or takeout pizza.
Moreover, preparing pizza at home can be a fun and engaging activity for everyone involved. It’s a great way to get the whole family or a group of friends to participate in the cooking process. Especially for children, it’s not just an entertaining activity but also an opportunity to learn about food and cooking.
Lastly, satisfaction comes from crafting something with your hands, from start to finish. When you pull a perfectly baked pizza from your oven, made entirely by you, the sense of accomplishment is hard to rival.
Whether you’re drawn to homemade pizza for its health benefits, cost savings, or the sheer enjoyment of making your meal, you’re in for a treat.
This guide will teach you the steps, tips, and tricks to make your homemade pizza journey successful and enjoyable.
Understanding the Basics of Pizza Making
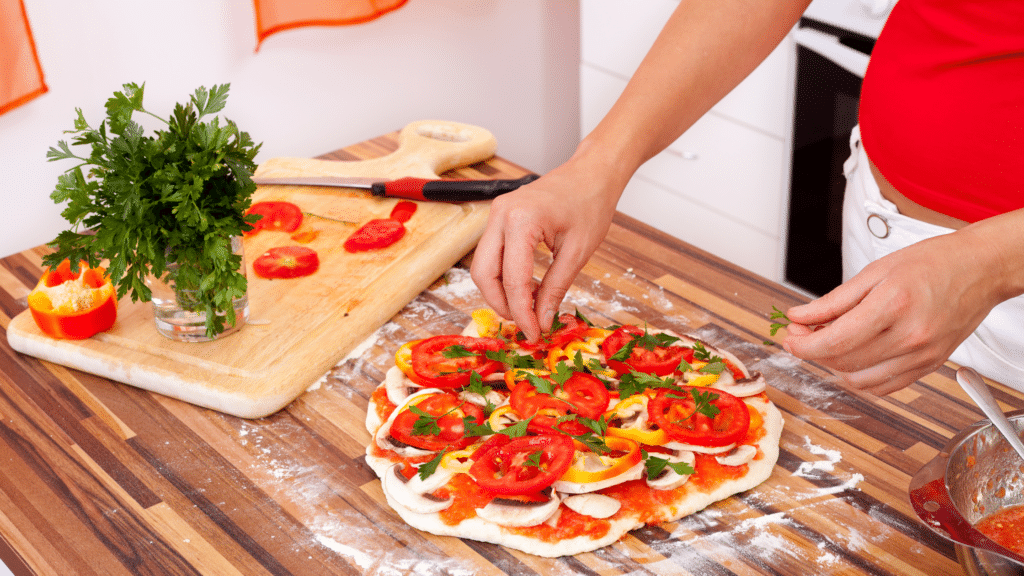
While creative and satisfying, making pizza at home involves certain steps that help ensure a delightful end result.
Here is a simplified overview of the process:
- Prepare the Dough: The process begins with preparing your pizza dough. This involves mixing flour, water, yeast, and other ingredients, then kneading the mixture until it forms a soft, elastic dough. This dough must then rest to allow the yeast to ferment, causing the dough to rise.
- Prepare the Sauce: While your dough is resting, you can prepare your pizza sauce. Most commonly, this is a tomato-based sauce seasoned with herbs and spices, but you can also use other types, such as barbecue or alfredo sauce, depending on your taste preference.
- Preheat the Oven: Before assembling your pizza, preheat your oven. The high heat is crucial for achieving a well-cooked pizza with a crispy crust.
- Assemble the Pizza: After the dough has risen, it’s time to roll it out into your desired shape. Then, spread your sauce over the dough, sprinkle cheese, and add your chosen toppings.
- Bake the Pizza: The assembled pizza goes into your preheated oven. Baking times will vary depending on your oven and the thickness of your pizza, but a thin-crust pizza usually cooks in about 10-15 minutes.
- Slice and Serve: Once baked to perfection, it’s time to slice your pizza and enjoy!
Essential Tools for Making Pizza at Home
To start making pizza at home, you’ll need some essential kitchen tools:
- Mixing Bowl: A large bowl is required for mixing your dough ingredients.
- Measuring Cups and Spoons: Precision is key when making pizza dough, so measuring tools is necessary.
- Rolling Pin: This will help you roll out your dough to your desired thickness.
- Pizza Stone or Baking Sheet: A pizza stone is ideal because it absorbs moisture and helps achieve a crispy crust. However, a regular baking sheet can also work.
- Pizza Peel or Spatula: These tools help you safely place your pizza in the oven and remove it when done. A large spatula or flat baking sheet can do the trick if you don’t have a pizza peel.
- Pizza Cutter or Sharp Knife: To slice your pizza into perfect, easy-to-handle pieces.
- Oven Mitts: Safety is paramount, especially when dealing with a hot oven.
By understanding the basic process and tools required, you’re already on your way to creating fantastic homemade pizzas.
As you become more comfortable with these, you can start to explore more advanced techniques and specialized equipment. But for now, these basics are all you need to get started on your pizza-making journey.
Pro Tip
Before baking the pizza, preheat the oven to 500F and warm the pizza stone/steel in it for at least 1hr.
Pizza for Beginners
Ingredients: Understanding Your Pizza Components
Homemade Pizza Dough
1. Ingredients and Their Roles
The essential components of pizza dough are:
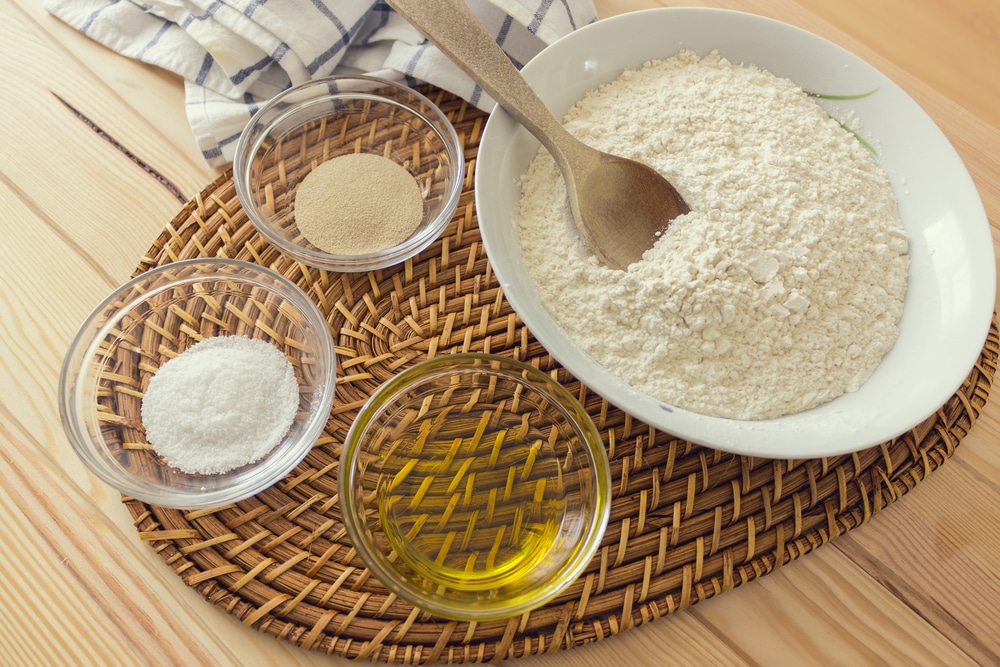
- Flour: This forms the structure of your dough. The type of flour you use can affect the texture of your pizza crust. Common types include all-purpose flour, bread flour, and for an authentic Italian pizza, ’00’ flour.
- Yeast: This is what makes your dough rise. Yeast consumes the sugar in your dough, producing carbon dioxide and alcohol, which creates air pockets and gives your crust its characteristic texture.
- Water: Water activates the yeast and helps to bind the flour into a dough.
- Salt: Salt strengthens the gluten structure in the dough and enhances the flavor.
- Sugar: Sugar provides food for the yeast and helps to brown the crust.
- Oil: While not essential, oil can enrich the dough and make it easier to work with.
2. Step-by-Step Process of Making Pizza Dough
Here is a simplified process of making pizza dough:
- Mix your dry ingredients (flour, yeast, salt, sugar) in a large bowl.
- Gradually add warm water (and oil if using) to the dry ingredients, stirring until a dough forms.
- Turn the dough onto a floured surface and knead for about 10 minutes until smooth and elastic.
- Place the dough in a greased bowl, cover, and let it rise until it doubles in size, usually about 1 to 2 hours.
Homemade Pizza Sauce
1. Basic Tomato Sauce Recipe
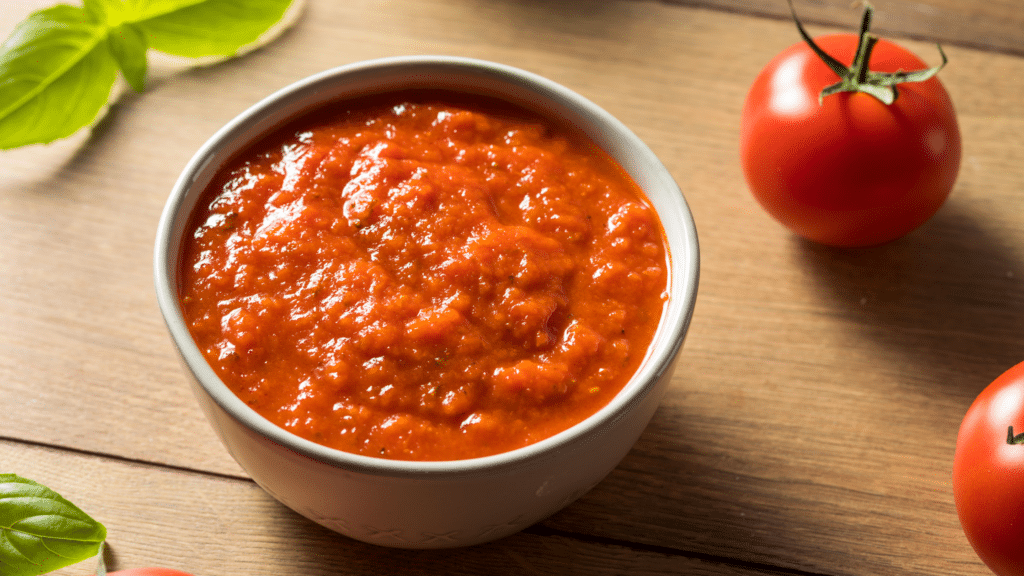
Here is a simple recipe for a classic tomato pizza sauce:
- Sauté finely chopped garlic in olive oil until golden.
- Add canned crushed tomatoes, salt, sugar, and dried basil. For heat, add a touch of red pepper flakes.
- Let the mixture simmer until it thickens to a sauce-like consistency.
2. Other Popular Pizza Sauce Options
While tomato sauce is classic, other options include alfredo, barbecue, pesto, or even a simple drizzle of olive oil and garlic.
Cheese Selection for Pizza
1. Popular Cheeses and Their Characteristics
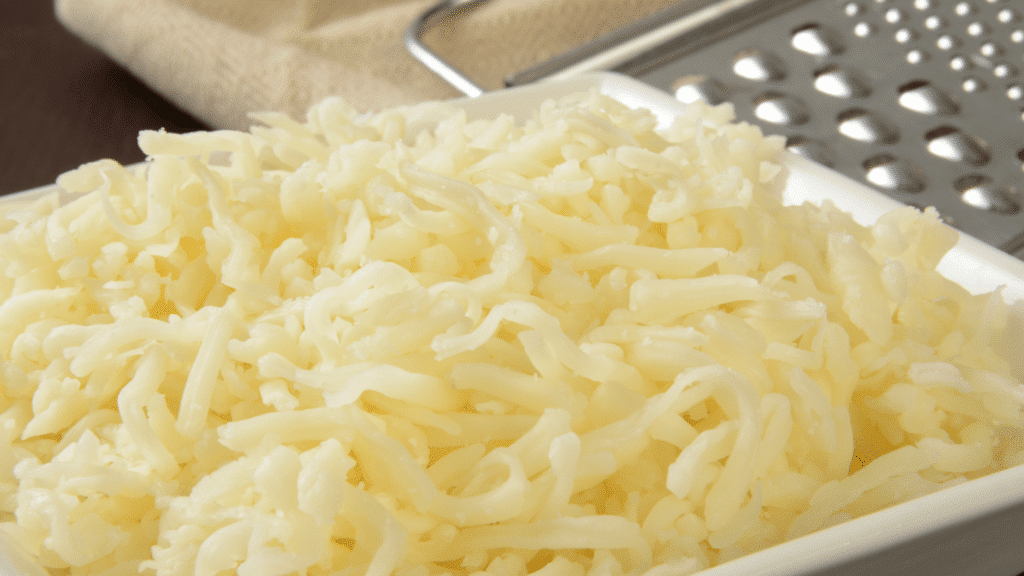
The most popular cheese for pizza is mozzarella, known for its excellent melting properties and mild flavor.
However, other cheeses like cheddar, provolone, gorgonzola, and ricotta can also be used alone or in combination for different flavor profiles.
2. Tips on How to Spread and Bake Cheese on Pizza
Distribute cheese evenly over the sauce, leaving a small border for the crust.
Be mindful not to overdo it; too much cheese can make your pizza heavy and greasy. Grate your cheese rather than slice it to ensure it melts evenly.
Choosing the Right Toppings
1. Traditional Toppings for Pizza
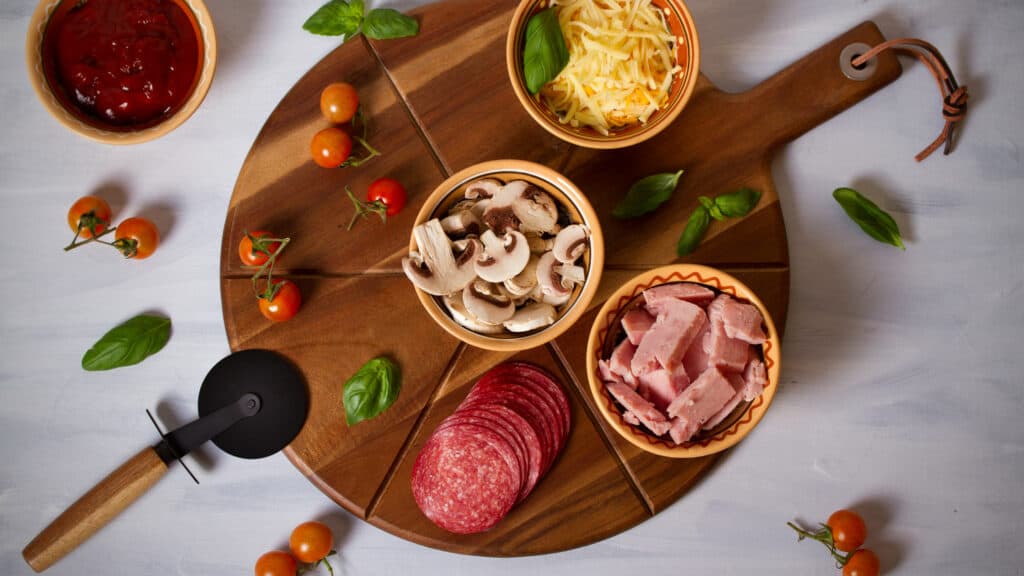
Traditional toppings include a range of vegetables (like bell peppers, mushrooms, onions, and olives), meats (such as pepperoni, sausage, and ham), and even fruits like pineapple. The choice of toppings often depends on personal preference and regional styles.
2. Creative and Unique Topping Ideas
For a twist, consider options like smoked salmon and cream cheese, BBQ chicken and cilantro, or pear and gorgonzola.
You can even make dessert pizzas with Nutella, strawberries, apples, and cinnamon.
Remember, the quality of your ingredients will greatly affect the final result. Therefore, select fresh, high-quality ingredients whenever possible. After mastering these basics, you can experiment with different dough types, sauces, cheeses, and toppings to make your perfect pizza.
Pizza Pun
What’s the difference between a pizza and our pizza jokes?
Our pizza jokes can’t be topped!
Step-by-Step Guide to Making Your First Pizza
Preparing the Pizza Dough
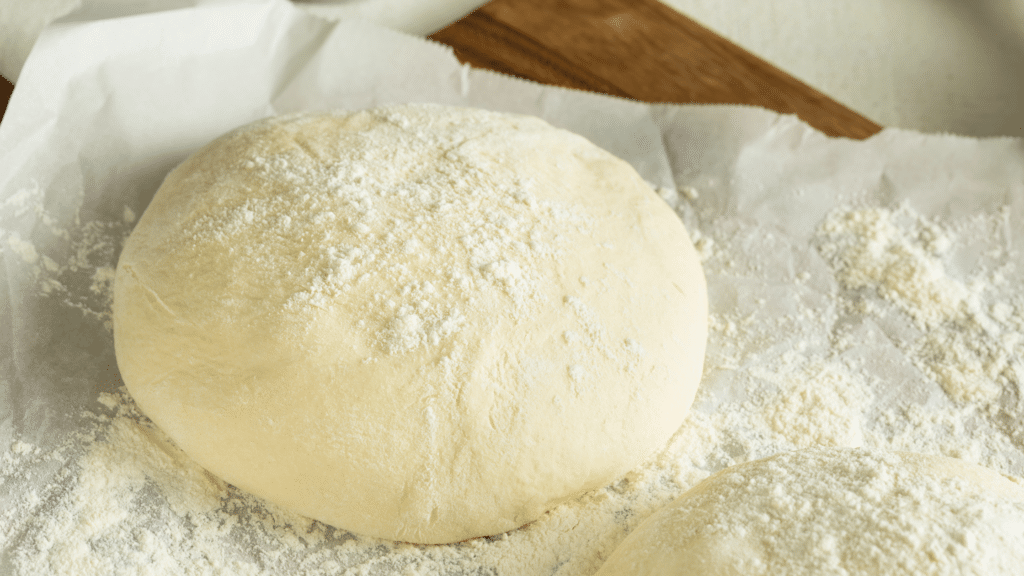
- In a large bowl, combine 2 cups of flour, 1 packet of yeast, 1 teaspoon of salt, and 1 teaspoon of sugar.
- Gradually add 3/4 cup of warm water (around 110°F) to the mixture, stirring until a dough forms. If using, add 2 tablespoons of olive oil for a richer dough.
- Transfer the dough to a floured surface and knead it for about 10 minutes until it is smooth and elastic.
- Place the dough in a greased bowl, cover it with a clean kitchen towel, and let it rest in a warm spot until it doubles in size, typically 1-2 hours.
Making the Pizza Sauce
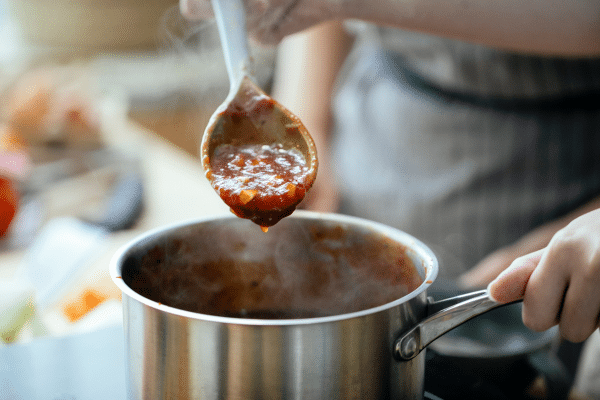
- Heat 2 tablespoons of olive oil in a saucepan over medium heat.
- Sauté 2 cloves of finely chopped garlic until golden.
- Add one 14-ounce can of crushed tomatoes to the saucepan.
- Season with a pinch of salt, sugar, and dried basil. You can also add a touch of red pepper flakes for heat.
- Let the sauce simmer for about 20-30 minutes until it reaches your desired thickness.
Assembling the Pizza: Sauce, Cheese, and Toppings
- Preheat your oven to the highest temperature, usually between 450°F – 500°F.
- Punch down the risen dough and transfer it to a floured surface.
- Roll out the dough to your desired thickness and shape.
- Transfer the rolled-out dough onto a greased or cornmeal-dusted baking sheet or heated pizza stone.
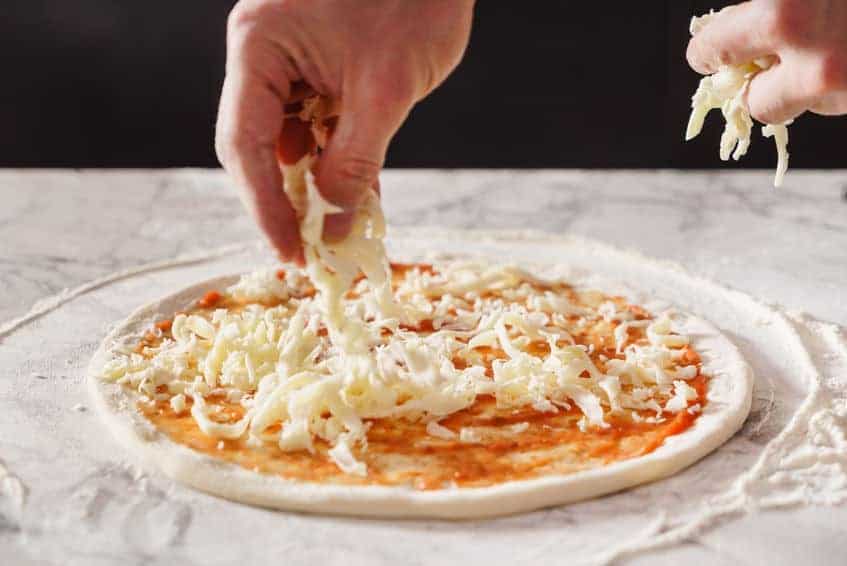
- Spread a thin layer of your homemade sauce over the dough, leaving a small border for the crust.
- Sprinkle your chosen cheese (like grated mozzarella) evenly over the sauce.
- Add your desired toppings, being careful not to overload the pizza.
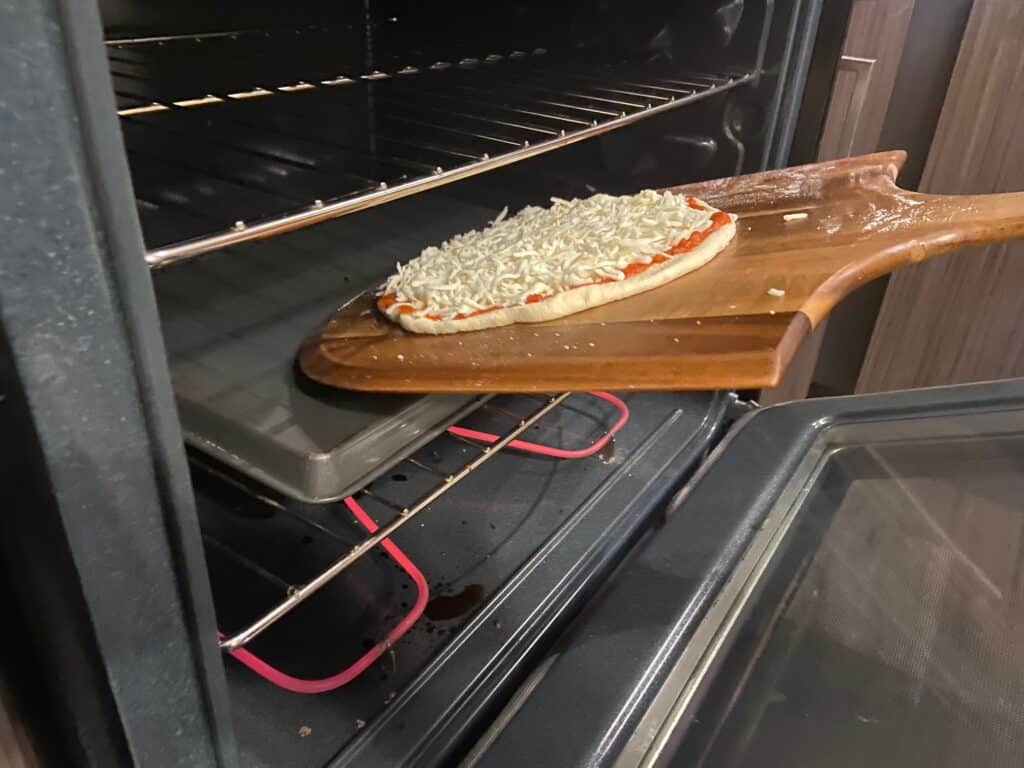
Baking Your Pizza: Oven Settings and Baking Duration
- Bake your pizza in the preheated oven. A thin-crust pizza usually takes about 10-15 minutes to cook, but this can vary depending on your oven and the thickness of your pizza.
- The pizza is done when the crust is golden brown, and the cheese is bubbling and slightly caramelized.
- Remove the pizza from the oven and let it rest for a few minutes before slicing and serving.
This step-by-step guide will help you navigate the process of making your first pizza. Remember, practice is key.
The more pizzas you make, the more you’ll understand how the dough feels, how the ingredients react, and what you like best.
So don’t be afraid to experiment and, most importantly, enjoy the process.

Advanced Pizza-Making Techniques
Mastering the Art of Pizza Tossing
Pizza tossing is not just an impressive skill to show off; it serves a purpose. Tossing the dough helps stretch it out evenly without overworking it or tearing it, maintaining the air bubbles in the dough for a nice, light crust.
- Begin with a well-risen pizza dough. Place it on a lightly floured surface, then gently press it into a flat, round disk.
- Place your hands on the dough, slightly off-center. Gently turn the dough, stretching it as you go. Remember, gravity is your friend.
- Once the dough has reached about 8-10 inches in diameter, you can start to toss it. Slide one hand under the dough, then lift and throw the dough up in the air. Your hand motion should be slightly flick as if you were softly throwing a frisbee.
- Catch the dough on the backs of your fists to prevent any tearing from your fingers.
- Stretching and tossing the dough until it’s about 1/8 inch thick or to your desired thickness.
Experimenting with Different Styles of Crust (Thin Crust, Deep Dish, etc.)
Different pizza styles come with different types of crusts. Here are two distinct types:
- Thin Crust is usually associated with Italian or New York-style pizzas. For a thin crust, roll your dough out until it’s around 1/8 inch thick, then bake at a high temperature for a shorter amount of time.
- Deep Dish: This style is a staple of Chicago-style pizza. You’ll need a more substantial amount of dough for a deep-dish crust. Press your dough into a deep dish or cast-iron pan, ensuring it comes up the sides to hold larger toppings and cheese. The baking temperature should be lower and the cooking time longer to ensure the thicker crust cooks through without burning.
Using a Pizza Stone or Pizza Oven
A pizza stone can help achieve a crispier crust by mimicking the high heat of a traditional pizza oven. Preheat your stone in the oven, then use a peel to transfer your prepared pizza onto it. The intense heat from the stone will cook your pizza from the bottom up, ensuring a well-cooked, crispy crust.
A home pizza oven might be a worthy investment for those truly passionate about pizza. These outdoor ovens can reach much higher temperatures than a regular kitchen oven, reducing your cooking time and giving your pizza a unique flavor.
Experimenting with these advanced techniques will take your pizza-making to a new level. Be patient, practice, and have fun with the process!
Are You Having Trouble Making Pizza Doughballs?
Here’s What You Can Do
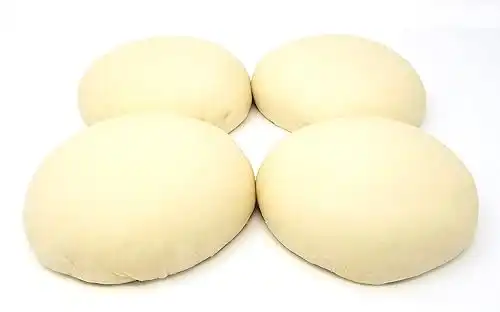
We love that you can now buy fresh pizza dough balls straight from New York City. The perfect size for a medium pizza. They will ship frozen, just thaw and make the most wonderful pizza in minutes.
New York Pizza is different. The crust is completely unique. Airy, Crispy, and a taste that can’t be duplicated. Dairy-Free - Soy Free. Pizza Dough is made fresh and frozen only for transportation. All-Natural ingredients - Flour, Water, Olive Oil, Salt, Sugar and Yeast
Price includes Express Shipping. 1 Doughball creates a 12 to 14-inch pie depending on how thick you like the crust.
Complete instructions with each order. Taste the difference New York Water makes!
Troubleshooting Common Pizza-Making Problems
Overcoming Dough-Related Issues
1. Dough is Too Sticky or Too Dry: If your dough is too sticky, add a little flour at a time until it becomes manageable. If it’s too dry, add a bit of water. The dough should feel soft and slightly sticky to the touch.
2. Dough Doesn’t Rise: Ensure your yeast is not expired. The water used to activate the yeast should be warm (about 110°F), not hot. Keep your dough in a warm place to rise.
3. Dough Shrinks Back When Rolling: This is often due to over-kneading or not allowing the dough to rest long enough after kneading. Let the dough rest for a few minutes, and then try rolling again.
How to Prevent a Soggy or Undercooked Pizza
1. Too Much Sauce: Be moderate with your sauce. Too much can result in a soggy crust.
2. Wet Toppings: If using vegetables with high water content, like mushrooms or fresh tomatoes, consider sautéing them briefly before adding them to your pizza to reduce their moisture.
3. Overloading Toppings: Too many toppings can result in an undercooked or soggy pizza. It’s better to go for a balance of flavors rather than quantity.
4. Oven Temperature and Baking Time: Ensure your oven is hot enough before baking. A thin crust usually requires a high temperature and a shorter baking time, while a thick crust might require a slightly lower temperature and a longer baking time.
Tips to Achieve Perfect Cheese Melting and Topping Distribution
1. Grate Your Cheese: Grated cheese melts more evenly and quickly than sliced cheese.
2. Even Cheese and Topping Distribution: Spread your cheese and toppings evenly across the pizza, leaving a border for the crust. This ensures that every bite has a good balance of crust, sauce, cheese, and toppings.
3. Baking Position in the Oven: If the cheese isn’t browning, but the crust is done, move your pizza to the top rack and broil it briefly to finish the cheese.
Like any culinary pursuit, pizza making can be challenging. But with patience and practice, you can overcome these common issues and create a homemade pizza that’s just to your liking.
Perfecting Your Pizza: Pairings and Side Dishes
Recommended Beverage Pairings
Selecting the right beverage can enhance the flavors of your pizza. Here are a few options:
- Wine: For a classic Italian experience, pair your pizza with wine. A robust red like Chianti can stand up to a pizza loaded with meats and robust flavors. Lighter pizzas like a Margherita can pair well with white wines like Pinot Grigio.
- Beer: A well-crafted beer can be an excellent accompaniment to pizza. Pale ales and lagers generally work well with a variety of pizza flavors.
- Non-Alcoholic Options: For a non-alcoholic option, consider Italian sodas, which can provide a sweet, refreshing counterpoint to the savory pizza.
Ideas for Side Dishes to Complement Your Homemade Pizza
While pizza is certainly a meal in itself, sometimes you might want to add a few side dishes to round out the menu. Here are a few ideas:
- Salad: A fresh salad can greatly contrast with a hearty pizza. Consider a simple green salad, a tangy Caesar salad, or a tomato and mozzarella Caprese salad.
- Antipasto: An Italian antipasto platter with various cured meats, olives, artichokes, and cheeses can complement the pizza and add variety to your meal.
- Roasted Vegetables: Seasonal roasted vegetables are always a good side dish option and can bring a healthy element to your pizza night.
- Breadsticks or Garlic Bread: These are pizza’s natural companions. Simple to make, especially if you have some pizza dough left over, they’re perfect for dipping in that extra sauce.
Pizza is versatile and pairs well with various beverages and side dishes. Try out different combinations to find your favorite pairings!
Finishing your Homemade Pizza
Once your pizza is baked, remove the hot pizza from the oven, and then you can finish it with flaked salt, fresh herbs, Parmesan/Romano cheese, or any good olive oil.
The best part of it is you did it!
Be proud of it and share it with your friends and family.
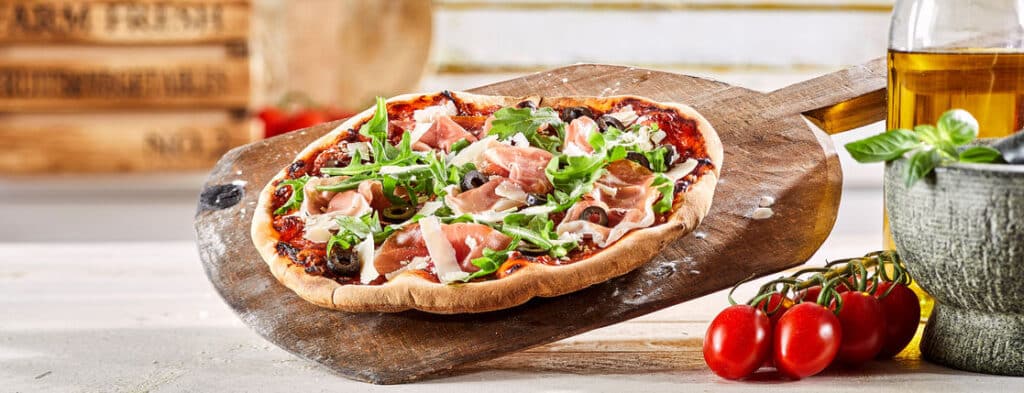
Beginners Pizza Dough Recipe
Ingredients:
For the Dough:
- 2 1/4 cups all-purpose flour
- 1/4 teaspoon active dry yeast
- 1 teaspoon sugar
- 1 teaspoon salt
- 1 cup warm water (between 100-110 degrees Fahrenheit)
For the Toppings:
- 1 can (14 ounces) whole peeled tomatoes, drained and crushed
- 2 tablespoons olive oil
- 1/2 teaspoon salt
- 8 ounces fresh mozzarella cheese, sliced
- Fresh basil leaves
- Extra virgin olive oil for drizzling
Instructions:
1. Make the Dough:
- Combine the flour, yeast, sugar, and salt in a large bowl. Stir to mix.
- Add the warm water to the dry ingredients, and stir with a spoon until the dough collides.
- Transfer the dough onto a lightly floured surface and knead for about 10 minutes or until the dough is smooth and elastic. Add more flour as needed if the dough is too sticky.
- Place the dough in a greased bowl, cover it with a clean kitchen towel, and let it rise in a warm place for 2 hours or until it doubles in size.
2. Preheat the Oven and Prepare the Sauce:
- Place a pizza stone or baking sheet in the oven and preheat it to 500 degrees Fahrenheit.
- While heating the oven, prepare the sauce by combining the crushed tomatoes, olive oil, and salt in a bowl.
3. Assemble the Pizza:
- Once the dough has risen, punch it down to release the air. Transfer it onto a piece of parchment paper.
- Roll the dough into a 12-inch round, then spread the tomato sauce over the dough, leaving a border for the crust.
- Arrange the sliced mozzarella cheese over the sauce.
4. Bake the Pizza:
- Carefully transfer the pizza (along with the parchment paper) onto the preheated pizza stone or baking sheet in the oven.
- Bake for 10-12 minutes or until the crust is golden and the cheese is bubbling and slightly browned.
- Remove the pizza from the oven and let it cool for a few minutes.
5. Serve:
- Just before serving, top the pizza with fresh basil leaves and a drizzle of extra virgin olive oil. Slice and enjoy your homemade Margherita pizza!
This recipe serves 2-4 people.
Enjoy!
Short Glossary of Pizza-Making Terms and Techniques
Pizza-Making Glossary
Embarking on your pizza-making journey can introduce you to many new terms and techniques. To help you navigate this exciting venture, we’ve prepared a brief glossary covering some of the fundamental terminology you’ll encounter.
This primer is designed to demystify these terms and provide a basic understanding of pizza crafting essentials.
However, as your skills and curiosity grow, remember to explore our extensive glossary for a more in-depth look at pizza making.
Our comprehensive glossary is a handy tool to enhance your learning and make your experience more enjoyable.
Let’s get started on decoding the language of pizza making!
1. Kneading: A process of working the dough to develop gluten, making it elastic and capable of holding air bubbles. It involves pressing the dough with the heels of your hands and folding it back onto itself.
2. Proofing: Also known as proving, it’s the rest period during which yeast ferments the dough and causes it to rise.
3. Pizza Stone: A flat cooking surface for baking things like pizza and bread. The material is usually stone, ceramic, or clay. It absorbs moisture, providing a crispy crust.
4. Pizza Peel: A shovel-like tool to slide the pizza onto and off the baking stone in a hot oven.
5. Parchment Paper: A heat-resistant, non-stick paper that’s perfect for baking. It makes transferring your pizza to and from your pizza stone easier.
6. Margherita Pizza: A type of pizza made with tomatoes, mozzarella cheese, fresh basil, salt, and extra-virgin olive oil. Traditionally, it’s supposed to represent the colors of the Italian flag: red, white, and green.
7. Topping: Any food added over the pizza dough and beneath the cheese. Traditional toppings can include pepperoni, sausage, green peppers, onions, and mushrooms.
This short glossary provides a primer to common terms and techniques you’ll encounter in your pizza-making journey.
We highly encourage you to check out our extensive glossary for a more comprehensive understanding of pizza-related terminologies.
This resource will support your ongoing learning and make your experience in the kitchen smoother and more enjoyable.
The Last Slice
Every pizza master started somewhere, and every pizza is a new opportunity to perfect your craft. So keep practicing and experimenting.
Play around with different types of flours, yeasts, and toppings. Not every pizza will turn out perfect, but every pizza will be a learning experience. And remember, even a pizza that doesn’t turn out quite as expected is still usually delicious!
Homemade pizza is not just a meal; it’s an experience. From the anticipation of watching the dough rise to the satisfaction of pulling a beautiful, bubbling pizza out of the oven, every step of the process can bring joy and fulfillment.
Moreover, making pizza at home allows you to customize every element to your preference. This customization—whether it be thin crust or thick, spicy sauce or mild, minimalist toppings or loaded—makes homemade pizza infinitely superior to any store-bought version.
We are here to help you with how to make pizza at home
We hope this pizza for beginners article serves you as an initial step on your homemade pizza journey.
If you are interested in learning more about how to make pizza at home, we have also posted The Definitive Guide to Make Homemade Pizza, which covers, in much detail, all of the processes.
If you didn’t find an answer to your question on how to get started or have any other pizza questions, contact us here, and we will be glad to help you.
So, are you ready to start making homemade pizza?
If not, let us know what is holding you back; we would love to know so we can help you get started.
When in Doubt, Check Our Resources
To help you become a better homemade pizza baker, we developed these reference sources you can use when making any of our recipes.
Pizza-Making Additional Resources

Pizza Checklist: Stuck on Not Knowing How to Start Your Pizza? Here’s Step 1
the PROs
Pizza Checklist A homemade pizza checklist will help determine whether you can make pizza at home. This comprehensive checklist or …

Pizza Equipment List: Everything You Need to Get You Started!
the PROs
Before you start making pizzas, you’re going to need some basic equipment. This homemade pizza equipment checklist will help you check what you need.

9 Mouthwatering Pizza Styles You Can Easily Make at Home
the PROs
Today, we’ll walk you through 9 pizza styles you can make at home to help you improve your pizza-baking skills. …
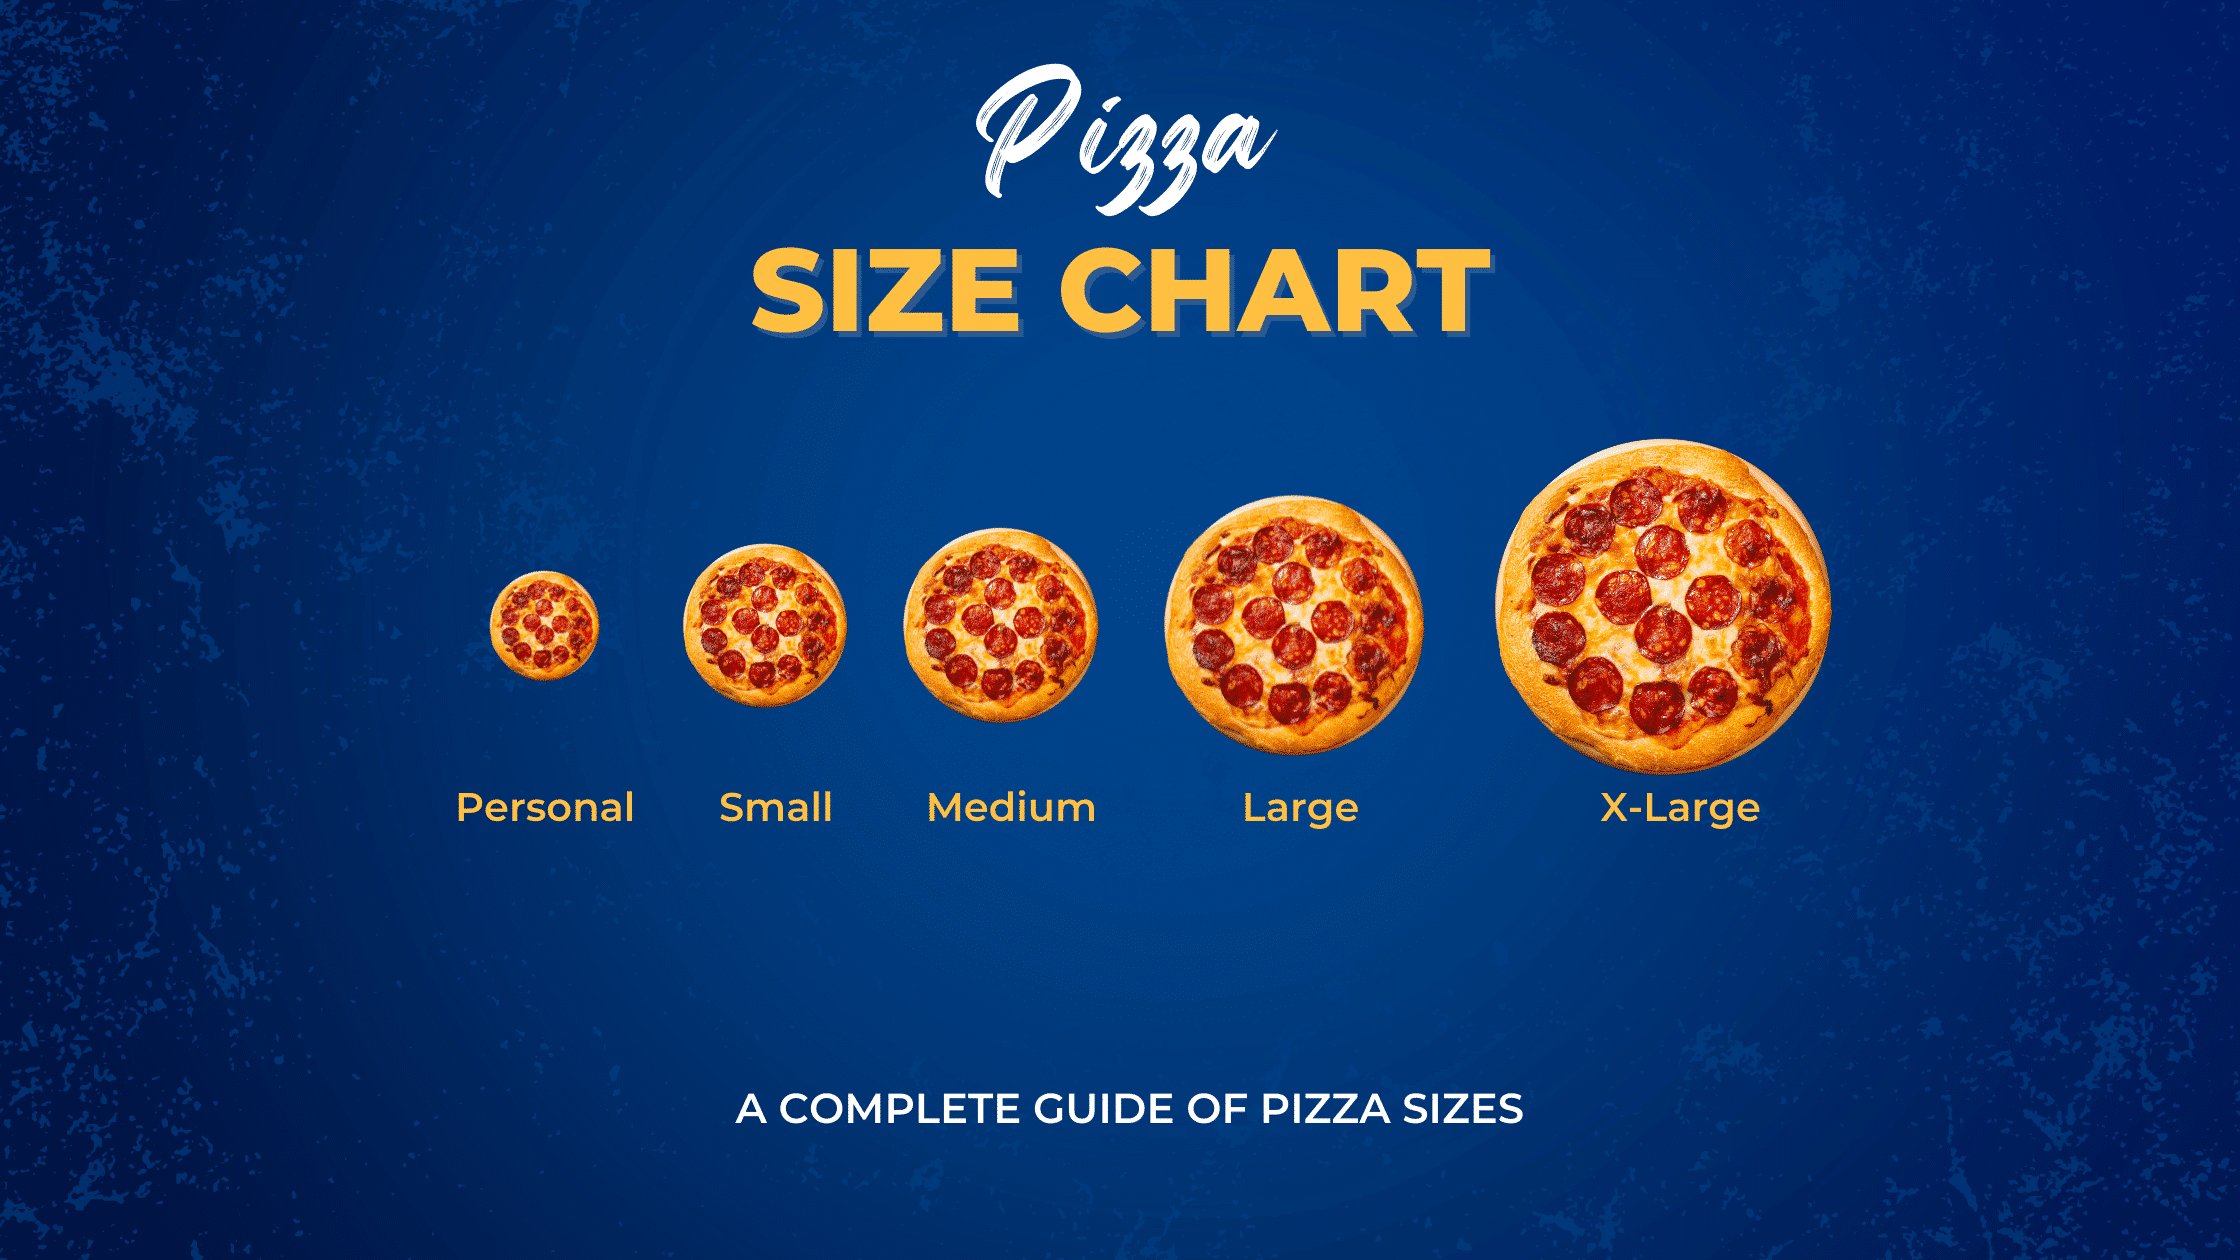
Pizza Size Chart: Why Big is Better
the PROs
Have you ever wondered what size pizza to order for your next gathering? Or perhaps you’re a budding pizzaiolo looking …

Pizza Temperature and Time: The Ultimate Cheatsheet
the PROs
Pizza Temperature and Time To bake pizza to the “T” requires the correct pizza temperature and time. The recommended temperature …

7 Hydration Percentages by Pizza Style that Actually Make the Best Pizza
the PROs
Making a pizza is all about getting your pizza dough to have just the right amount of hydration. If you’re looking to get the best results this guide can help you find the specific pizza dough hydration according to your desired pizza style. Let’s check it out!

Homemade Pizza Shopping List that Will Make You a PRO
the PROs
Get your free copy of our pizza grocery shopping list. Find everything you need to make pizza like a PRO!
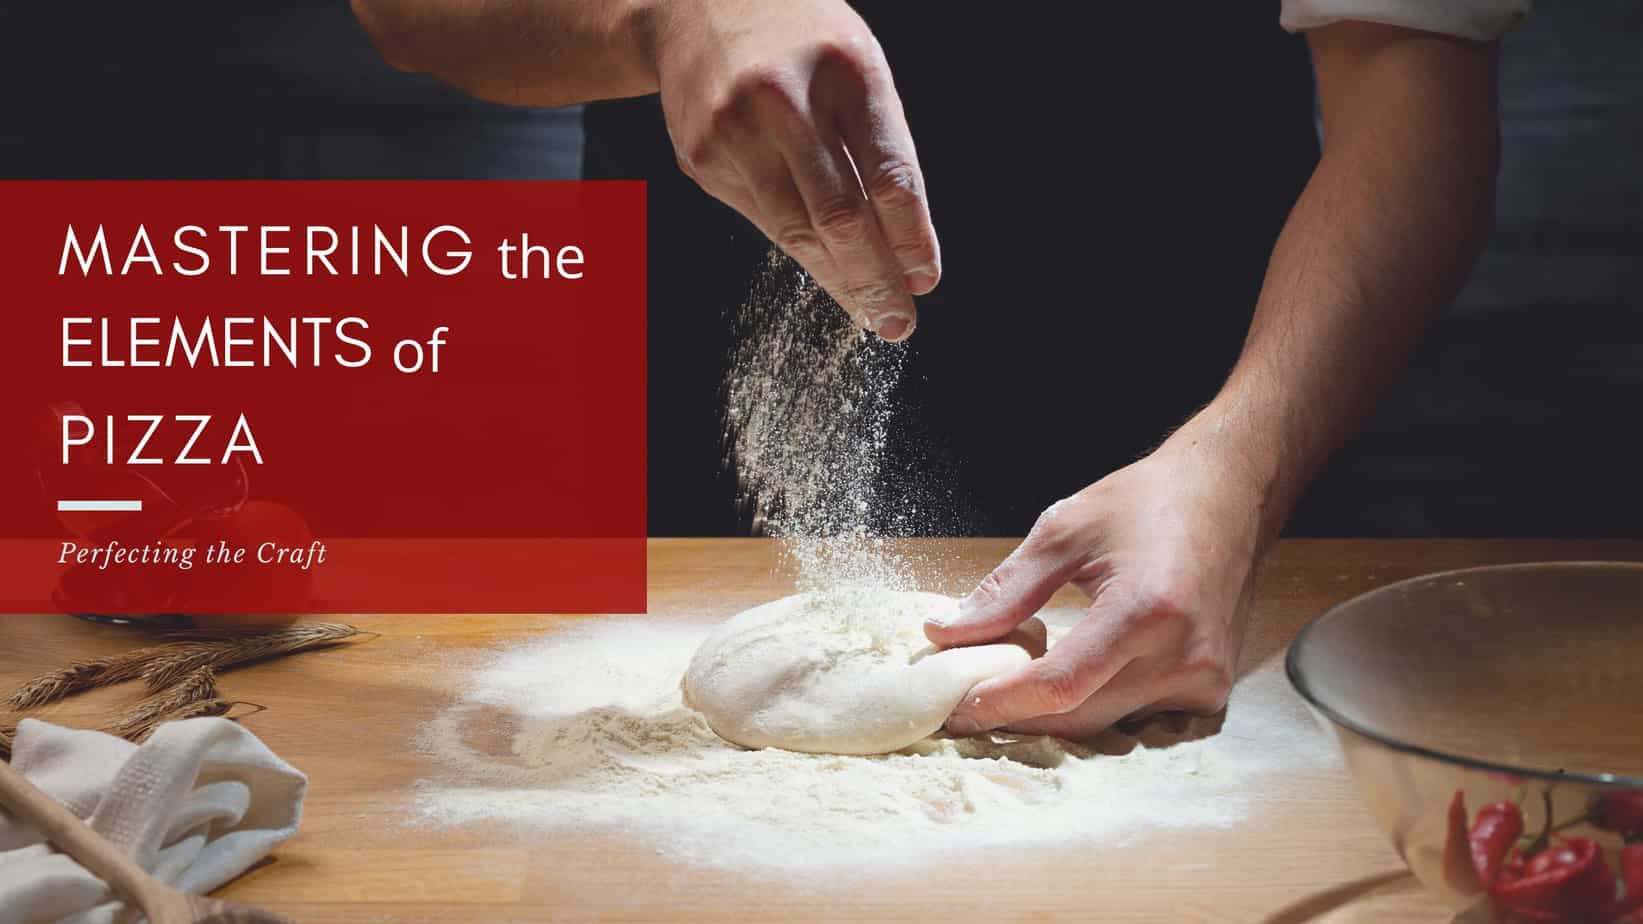
Master the Pizza Making Process Controlling these Powerful Pizza Elements
the PROs
Master the pizza craft with this guide, discover the elements of pizza and become a master pizza baker once you dominate these elements.
Check Amazon’s Pizza-Making Must-Haves
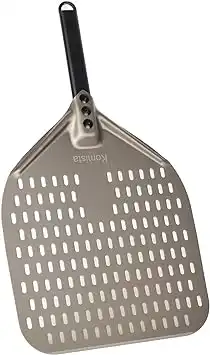
Why have two pizza peels when you can only have one. This pizza peel surpasses the benefits of wood peels with the convenience of a metal peel. It's made entirely from anodized aluminum for a lightweight design that's incredibly durable, too. It's designed to be used frequently in high-heat pizza ovens.
The Etekcity Lasergrip 800 Digital Infrared Thermometer is a versatile and reliable tool for accurate temperature measurements. Its non-contact design allows you to measure temperatures from a distance, making it safe and hygienic for various applications. With a wide temperature range of -58°F to 1382°F (-50°C to 750°C), this infrared thermometer is perfect for both everyday cooking needs and professional uses.
The built-in laser pointer helps you target the specific area you want to measure, ensuring precision and consistency. Whether you're grilling, cooking, or performing household maintenance, the Etekcity Lasergrip 800 provides fast and accurate temperature readings with ease.
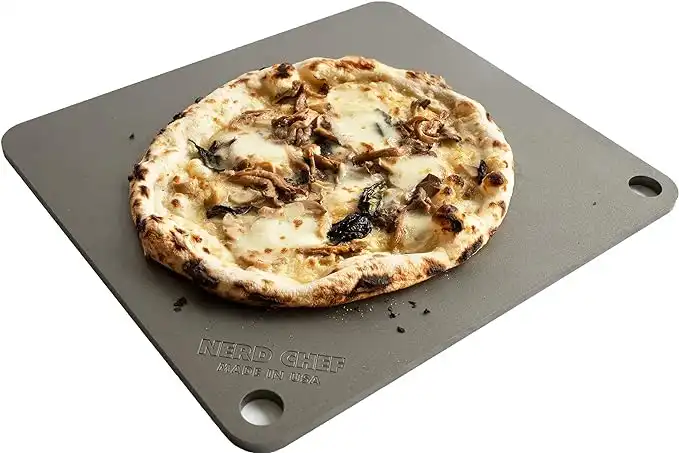 NerdChef Steel Stone
Making great crusts traditionally requires a 700-1000F wood-fired oven. Nerdchef Steel Stone replicates that performance in a home oven with its super-high heat transfer ability - transferring heat energy 20 times faster than ceramic. It creates beautiful and crispier crusts, gorgeous blistering throughout, and it cooks faster.
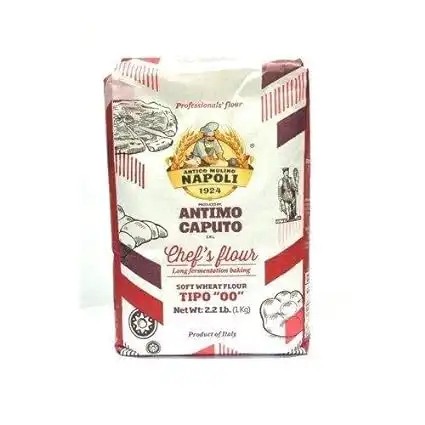
The Chef's flour is a general-purpose, high gluten flour that works well for many recipes. "Tipo 00" refers to how refined the flour is. Chef's Flour is best for those who want to bake in their traditional home oven up to 500 degrees Fahrenheit!
Homemade Pizza FAQs
How to Start Making Pizza?
Making pizza at home is actually very simple, and anyone can do it. If you don’t have a mixer, you can still make the dough by hand.
Check our guide on How to Get Started to begin your pizza-making journey.
Do I need a pizza oven to make pizza at home?
No, you can make pizza in a regular kitchen oven, and these days you can even make pizza on your stove or your grill.
Check our Recommended Oven Section for the oven that best suits your needs.
What is the best flour for pizza?
The best flour for pizza is flour which contains a high-protein content. Of course, it will depend on the kind of oven you have.
Regarding the brand, we’ve found that Caputo Chef’s Flour works best for home ovens, while Caputo Pizzeria works best for high-temperature ovens.
Check the Best Flour for Pizza article to learn more about flour and why we think Caputo is best.
How long should I bake pizza?
The time to cook your pizza will depend on the kind of pizza you are making and the kind of oven you have.
The lower the temperature, the longer will take to cook your pizza. On average, it will take 12 to 15 min to cook pizza in a 500F oven.
For details on specific cooking times and temperatures, check the Guide to Oven Temperature and Cooking Time article.
What kind of yeast should I use for pizza?
To make pizza dough, you can use any yeast you have available. You can use fresh, instant, or active dry yeast.
The amount of yeast to use will vary depending on which one you use.
We found that active dry yeast gives the best results. To find out why we think is best to check Yeast: Here is What You Need to Know article.
What is the best hydration percentage?
On average, water should be 65% of the total weight of flour. For example, if your recipe calls for 500g of flour, you should add 325g of water (500 x .65 = 325).
Of course, the temperature of the oven will also have an impact on your final result.
Check our guidelines and our Baker’s Percentage Charts for the best results.
For more pizza questions, check our Pizza FAQs Page or Contact Us.
Related Articles

Baker’s Percentage Calculator: Is as Easy as 123
This Baker’s Percentage Calculator will allow you to you calculate the baker’s percentage for any given pizza recipe in a few seconds.
Check Amazon’s Pizza-Making Must-Haves
Why have two pizza peels when you can only have one. This pizza peel surpasses the benefits of wood peels with the convenience of a metal peel. It's made entirely from anodized aluminum for a lightweight design that's incredibly durable, too. It's designed to be used frequently in high-heat pizza ovens.
The Etekcity Lasergrip 800 Digital Infrared Thermometer is a versatile and reliable tool for accurate temperature measurements. Its non-contact design allows you to measure temperatures from a distance, making it safe and hygienic for various applications. With a wide temperature range of -58°F to 1382°F (-50°C to 750°C), this infrared thermometer is perfect for both everyday cooking needs and professional uses.
The built-in laser pointer helps you target the specific area you want to measure, ensuring precision and consistency. Whether you're grilling, cooking, or performing household maintenance, the Etekcity Lasergrip 800 provides fast and accurate temperature readings with ease.
 NerdChef Steel Stone
Making great crusts traditionally requires a 700-1000F wood-fired oven. Nerdchef Steel Stone replicates that performance in a home oven with its super-high heat transfer ability - transferring heat energy 20 times faster than ceramic. It creates beautiful and crispier crusts, gorgeous blistering throughout, and it cooks faster.
The Chef's flour is a general-purpose, high gluten flour that works well for many recipes. "Tipo 00" refers to how refined the flour is. Chef's Flour is best for those who want to bake in their traditional home oven up to 500 degrees Fahrenheit!
Enjoy!
Not a PRO? Not a Problem!
Take a pizza class to bring your pizza skills to the next level,
so you can be a PRO!
Related Posts

Costco Pizza Delivery: Find How You Can Get It Now!
the PROs
People go to Costco’s food court for many different reasons, but the cheesy slice of pizza they serve is among …
Pizza for Beginners: Don’t Buy Pizza, Make It! Here’s How to Get Started!
the PROs
You have this idea that you want to make pizza at home as opposed to ordering it, but where do you start? Don’t worry! Here you will find answers and directions to all your questions.

Pizza Toppings Under Cheese or Over Cheese? [Why the Order Matters]
the PROs
Is Pizza Cheese on Top or Bottom? Hey pizza lovers, are you wondering if you should layer pizza toppings under …
Newsletter
Subscribe to our Recipe of the Week newsletter and receive our partners’ latest recipes, tips, and discount offers.
Keep in Touch!
