
Have you ever heard the phrase the proof is in the pudding?
In this guide, you will learn that the proof is really in the crust.
This guide goes over every aspect of pizza dough proofing and why this step in the pizza-making process makes the difference between regular, plain pizza and the best pizza!
Let’s get started!
Here’s What You Will Find:
Key Takeaways
Pizza Dough Proofing
Proofing is the process of letting the pizza dough rise and develop its structure before baking.
Proofing pizza dough is important because it helps to develop the gluten structure in the dough, which leads to a lighter, airier texture and a better flavor.
The pizza dough can be proofed in a warm, moist environment. Place the dough in a covered bowl or container in a warm spot, such as an oven with the light turned on or near a sunny window. For longer proofing, you can place the dough in a proofing box in the refrigerator for up to 72 hrs.
The time and temperature for proofing will vary based on the type of yeast used, the strength of the dough, and the desired final result.
What is Pizza Dough Proofing?
Pizza dough proofing, also known as fermentation or rising, allows the yeast-based dough to rest and develop before baking. During proofing, the yeast in the dough consumes sugars and produces carbon dioxide gas, which causes the dough to expand and become airy. This process is essential for creating the desired texture and flavor in the finished pizza crust.
Here’s a general outline of the proofing process:
- Prepare the dough: Mix flour, water, yeast, salt, and sometimes sugar and oil, to form a smooth, elastic dough. The yeast is the key ingredient to ferment and produce gas during proofing.
- First proofing (bulk fermentation): After the dough is prepared, it is typically allowed to rest and rise at room temperature or in a warm environment for a specific amount of time, usually between 1 to 2 hours or until it has doubled in size. This initial rise is called the first proofing or bulk fermentation.
- Divide and shape: After the first proofing, the dough is divided into individual dough balls and shaped into balls or discs, depending on the desired pizza shape. This step helps create an even and consistent crust.
- Second proofing (final fermentation): The shaped dough is then allowed to rest and rise again, usually for 30 minutes to an hour, depending on the specific recipe or desired texture. This second proofing, also called final fermentation, helps to create the characteristic airy and chewy texture of pizza crust.
- Baking: Once the dough has completed its second proofing, it will be topped with your favorite ingredients and baked in a hot oven to create a delicious pizza.
It’s important to note that proofing times and methods can vary depending on the type of yeast used, the dough recipe, and desired crust characteristics. For example, some pizza dough recipes call for a cold fermentation process, which involves a longer proofing period in the refrigerator. This method can result in more complex flavor development in the dough.
Fermentation describes the chemical process where enzymes break down carbohydrates (sugar) into CO2.
Rising (also called bulk fermentation or first rise) usually describes the initial leave when the dough rises as one mass while resting in a covered bowl. This process happens before you cut the dough (from the bulk), shaping it into dough balls.
In this stage, the pizza dough is set to rise for a second time after the dough balls are shaped but before the pizza is shaped.
When rising, the yeast produces gas, which imparts a level of aeration to the dough just before the baking stage.
This last fermentation stage, or proofing, is done primarily to develop:
- Flavor – As the yeast in the dough is allowed time to ferment, acids are formed through yeast activity and contribute to flavor development, yielding an end-product with more complex flavors. The flavor is undoubtedly the factor that will make or break your pizza.
- Volume – Pizza dough must undergo a final proof after shaping to regain volume and extensibility before being baked. The yeast activates and releases carbon dioxide gas, which creates small holes in the dough and eventually causes the dough to rise and appear more substantial in volume. Adequate proof time is needed; otherwise, the dough pieces cannot relax sufficiently, reducing volume and dense texture.
- Texture – The yeast consumes the starches in the dough during the pizza dough proofing process. It leaves behind protein in conjunction with water and energy from kneading for the gluten network, ultimately creating the chewy texture sought out in pizza.

Why Do You Need to Proof Pizza Dough?
Proofing pizza dough is a crucial step in the pizza-making process because it contributes to the development of the dough’s texture, flavor, and overall quality. Here’s why proofing is important for pizza dough:
Gas production and dough expansion
During proofing, yeast in the dough ferments sugars, producing carbon dioxide gas. This gas gets trapped within the dough’s gluten network, causing it to expand and rise. This process is essential for creating a light, airy, and chewy crust.
Gluten relaxation
Proofing allows the gluten in the dough to relax, making it more pliable and easier to stretch or shape. This is particularly important for pizza dough, as it helps you achieve a thin, even crust without tearing or becoming too dense.
Flavor development
As the yeast ferments sugar in the dough, it produces byproducts such as alcohol and organic acids. These compounds contribute to the complex, slightly tangy flavor that is characteristic of a well-developed pizza crust. Proofing allows for these flavors to develop over time, resulting in a more flavorful finished product.
Improved browning and oven spring
The proofed dough has a better ability to brown in the oven due to the presence of residual sugars on the dough’s surface. Additionally, the carbon dioxide gas produced during fermentation contributes to the oven spring, which is the rapid expansion of the dough during baking. This helps create a desirable rise and texture in the baked crust.
Skipping or shortening the proofing process can lead to a dense, tough, and less flavorful pizza crust. Therefore, it is essential to allow sufficient time for the dough to proof and develop its structure and flavor before baking.
You want your crust to taste good, but you also want it to look good.
Pizza dough proofing allows the dough to develop its gluten strains giving the crust structure so your pizza can stay level when you grab a slice and it doesn’t bow down to you.
When you check the crust, it should have a visible hole structure that will make your crust lighter and tender.
Pro Tip
Use proofing containers that allow the dough space to rise. The container should be at least two or three times the size of the dough ball.
Variables You Need to Control for Optimal Pizza Dough Proofing
There are three factors or variables that you need to control to get the best result when proofing your dough. They are presented in order of importance.
Time
Pizza dough proofing should be no less than 8 hrs., but not more than 72 hrs.
- Over-proofing – results in a crust with a pale crust color, coarse grain, poor texture, and a flavor with acid overtones.
- Under-proofing – yields flat crust volume, no flavor, inadequate structure, and bursting.
Temperature
- A range of (36–38°F) is recommended for proofing pizza dough.
Humidity
A relative humidity (rh) of 85–95% is recommended. This one is a little more difficult for the average home baker. But, with a simple Temperature/Humidity gauge, you can easily find the humidity in your refrigerator.
- If humidity is too high, moisture condensation could form on the dough, resulting in a tough crust and surface blisters in the finished crust.
- If the humidity is too low, dry skin will form on the dough, restricting expansion and causing crust discoloration.
Pizza Dough Cold Fermentation
(Retarding Dough) Proofing Process
When Do You Proof Pizza Dough?
Proofing pizza dough typically occurs at two main stages during the pizza-making process:
- First proofing (bulk fermentation): After mixing the dough ingredients (flour, water, yeast, salt, and sometimes sugar and oil), you should let the dough rest and rise. This initial proofing, also known as bulk fermentation, usually takes place at room temperature or in a warm environment for 1 to 2 hours or until the dough has doubled in size. The first proofing allows the yeast to ferment sugars, producing carbon dioxide gas that makes the dough expand and helps develop the dough’s flavor.
- Second proofing (final fermentation): After the first proofing, you’ll divide the dough into smaller portions and shape them into balls or discs, depending on your desired pizza shape. Then, you’ll allow the shaped dough to rest and rise again. This second proofing, or final fermentation, usually takes about 30 minutes to an hour, though times can vary depending on the recipe or desired texture. The second proofing further develops the dough’s structure, flavor, and texture and allows the gluten to relax, making it easier to shape the dough without tearing.
There are variations in proofing methods, depending on the type of yeast used, the dough recipe, and desired crust characteristics. For instance, some pizza dough recipes call for a cold fermentation process, which involves a longer proofing period in the refrigerator (typically 24-72 hours). Cold fermentation allows for a slower fermentation process, resulting in more complex flavor development in the dough.
Proofing pizza dough occurs after mixing the dough ingredients and dividing and shaping the dough. Allowing sufficient time for proofing is crucial for achieving a light, airy, and flavorful pizza crust.
How Does Pizza Dough Proofing Work?
During the final proofing stage, starch is converted into sugars. The sugars feed the yeast, which utilizes carbohydrates without oxygen to produce carbon dioxide and alcohol.
The carbon dioxide is retained in the cells formed in the protein or gluten network, causing the cells to grow and the dough to expand.
Retarding Dough or “Cold Fermentation”
Retarding dough, or “cold fermentation,” reduces the dough’s temperature to delay or prolong the fermentation process rate.
The temperature has a direct effect on yeast as heat accelerates the rate of fermentation. If the dough is placed in a warm place, the dough will rise faster.
Why Do We Retard Dough?
Retarding the dough at the correct time and consistent temperature allows the dough to develop more complex flavors over time without the risk of over-proofing.
Also, retarding the dough allows you to make the dough ahead of time. You can ferment the dough, save it, and use it at a later date.
Why Proof Pizza Dough at Cold Temperature Instead of Room Temperature?
If you were to proof the dough at a warm temperature, like for the first rise at 80°F, the dough would double in size in about 1 – 1 /2 hours, which is not enough time for the dough to develop flavor and the structure of a good crust.
Temperatures from 33°F to 40°F are ideal for slowing down the yeast’s fermentation process rate for a slow and prolonged fermentation process.
Pizza Pun
One of our co-workers says he can bake 20 pizzas in one hour with one small oven…
We said proof it!
How to Proof Pizza Dough
Commercial pizza bakers use sophisticated equipment like dough proofers to ensure consistent results and manipulate the speed and qualities of fermentation.
But for home use, there are simple things you can get or use that you already have.
The typical home refrigerator is the best place to accomplish this fermentation.
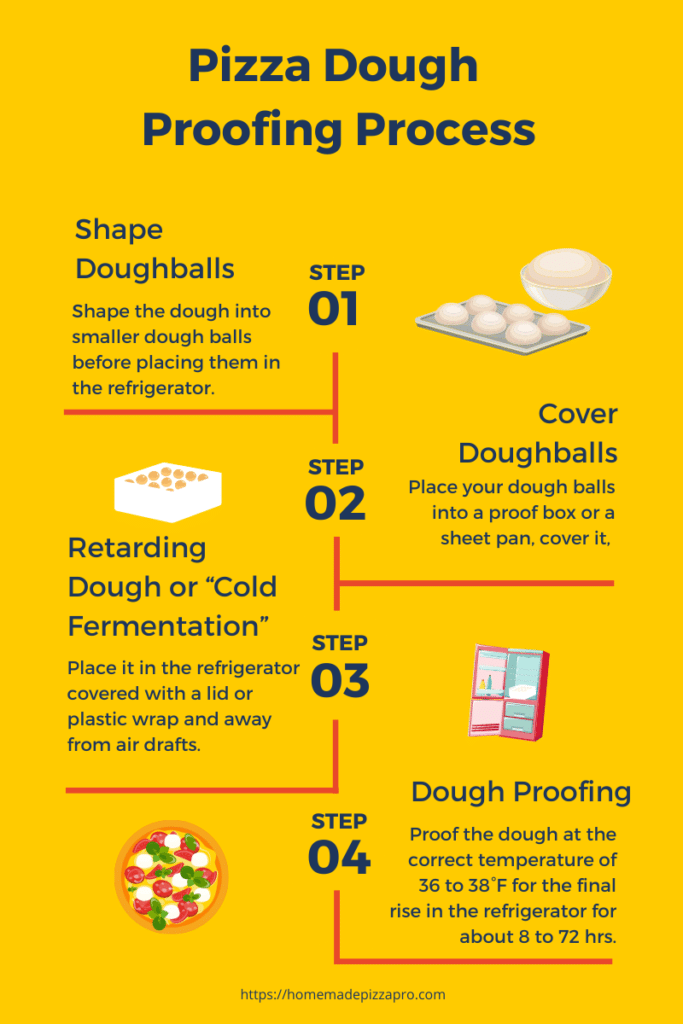
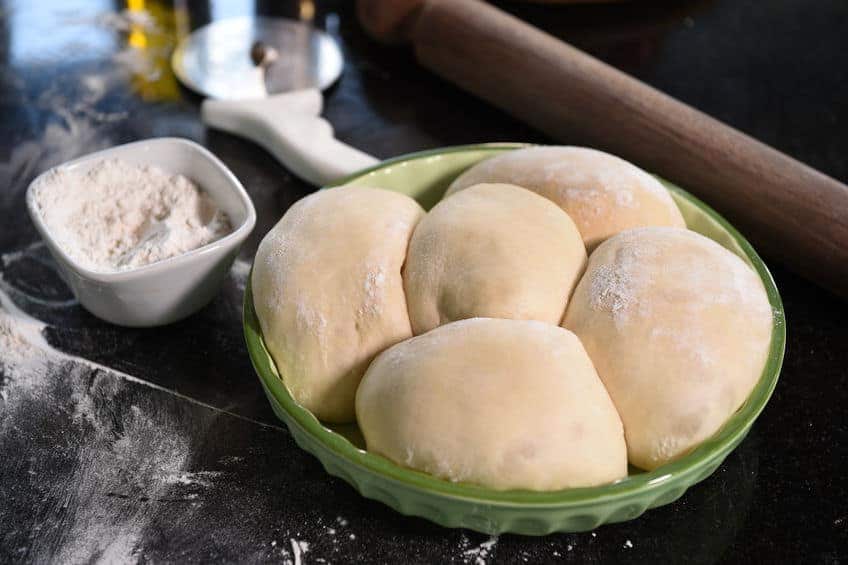
Shape pizza dough into small dough balls
It is best practice to shape the dough into smaller dough balls before placing them in the refrigerator so they will be ready for future use and are already portioned.

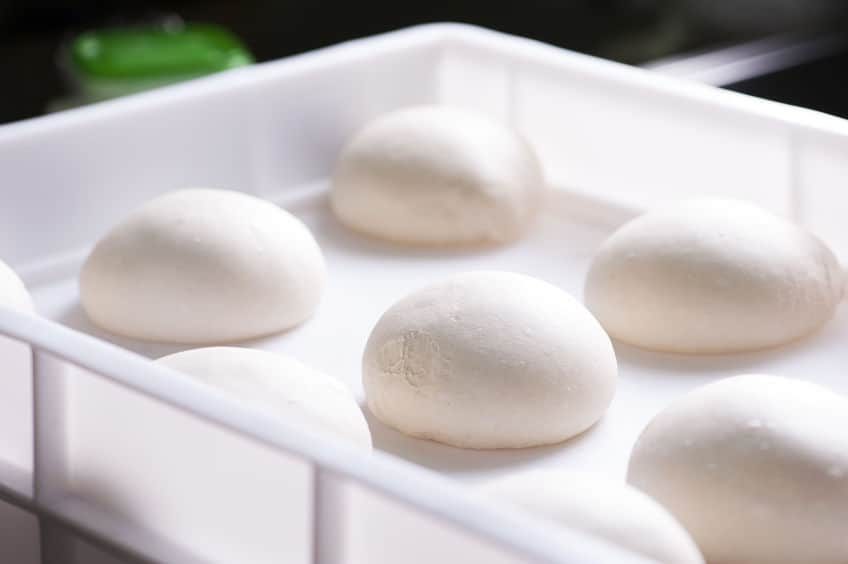
To proof the dough at home, you need a big container to hold all the dough balls so that they don’t touch each other.
We are absolutely in love with this dough proofer. Why?
You can control temperature and time, set it, and forget it. And when you are not using it, fold it and put it away.
We think this is the best pizza dough-proofing box. Check it out!
Here’s What the PROs at Homemade Pizza Pro Use and Recommend to Proof Pizza Dough.
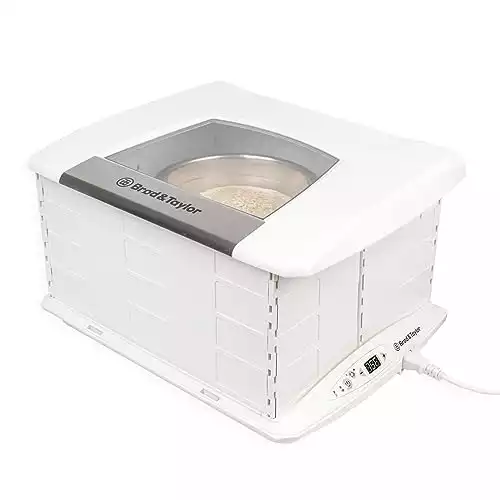
Enjoy accurate temperature control and consistent humidity. The Brod & Taylor Folding Dough Proofer creates an environment of consistent low-temperature warmth that is vital for many kitchen processes.
Ideal for pizza dough and yeast bread. Whether you’re a novice bread maker or an experienced enthusiast, this is the tool that helps ensure a flavorful, open-textured bread that is ready when you want it to be.
What not to do When Proofing Pizza Dough
If you place the pizza dough balls in a small container, the dough balls grow and stick to each other.
So, bigger is better; your dough will need space and confined air to rise appropriately.
Place your dough balls into a proof box, airtight container, or a sheet pan, cover it, and place it in the refrigerator with a lid or plastic wrap and away from air drafts for about 8 to 72 hrs.
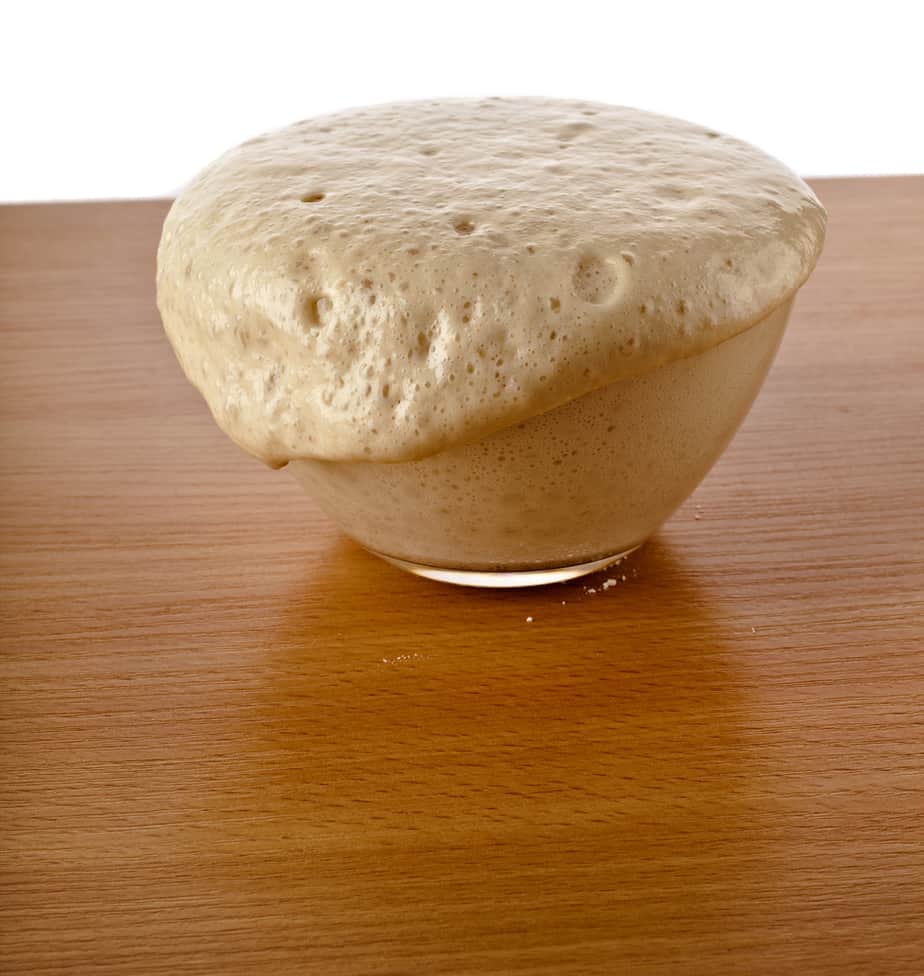
At the end of the pizza dough proofing period, the dough will rise about twice its original size and have developed rich yeasty flavors.
An extended proofing period will result in a better flavor, crust, crumb, and overall appearance; however, it’s also essential to ensure that over-proofing doesn’t occur.
If the fermented dough has rested for too long, the surplus of carbon dioxide in the dough will lead to large air bubbles that can pop and deflate the dough.
Here’s What to do to Proof Pizza Dough
The process of proofing pizza dough consists of a two-step process, bulk fermentation (rising), followed by proofing each individual pizza dough ball. But of course, you still need to knead the dough and make dough balls.
Developing gluten properly is important to create strong enough walls to hold the CO2. This is done by kneading the dough. The more you knead the dough, the stronger the gluten walls will get.
Dough kneading is one of the most important steps, but often a step that’s overlooked. Many people make the mistake of not kneading their dough enough, leading to problems when you start raising the dough. When you knead the pizza dough, the flour’s gluten will develop, strengthening the elasticity.
It is best to place the pizza dough in a proof box for a better rise, as these containers are air-tight and specially made for this purpose.
The secret to making well-proofed pizza dough is using the right proofing box.
Pizza dough-proofing boxes come in multiple sizes. From large commercials to small ones intended for home use.
However, if you don’t have or want to get a pizza dough proofing box, any container with a tight seal will do.
Benefits of Using a Pizza Dough Box
The following are the benefits of dough boxes:
- Proof boxes offer a clean and convenient place for your pizza dough or bread dough to cool, rest, and rise before baking. They stick less and are more space efficient for easier and better handling for a consistent round pizza.
- Proof boxes help control temperature and humidity and create an ideal environment for the yeast to leaven the dough.
Why Do You Need a Lid for Your Proofing Container?
You don’t necessarily need to buy a dough proofing box, but having a container with a lid is a must! Cling film or a towel does not always do the best job.
A container with a sealed lid:
- Protects the dough from contamination while it rises.
- Helps maintain an appropriate humidity for the dough to proof.
- It helps contain moisture, keeping the dough from crusting and prompting the yeast to grow better.
- Before adding the dough balls to the container, it is also best practice to spray your bowl with non-stick cooking spray for easy cleanup.
- Proof box substitutes
The main benefit of using a pizza proofing dough box, compared to storing dough in a Tupperware container or baking bowls with plastic wrap, is the number of dough balls you can fit. Most proofing boxes also stack. Which means you can place multiple boxes on top of each other.
If you don’t want to invest in a dough proofing box, use a sealed container with a lid instead of cling film.
The refrigerator’s humidity may unseal the container allowing air to come in, and the dough balls will dry up; they will develop a crust and adhere to any smells in the refrigerator.
You can also get taller proofing boxes for other pizza styles requiring larger dough balls.
Here are some proof box substitutes you can get
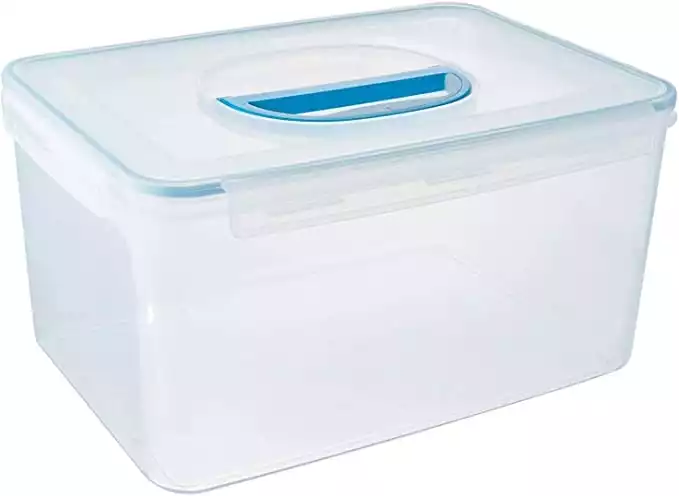
Biokips large storage container is by far the largest dry food storage container with an ergonomic handle and lid on Amazon. This large container came in handy for many customers who purchase dry food in bulk and use it daily to store flour, rice, sugar, bread, and other baking supplies.
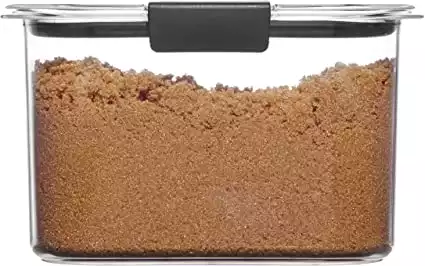
Stack and store pantry items while keeping them fresh with the Rubbermaid Brilliance Pantry Airtight Food Storage Containers. These BPA-free plastic containers are guaranteed not to leak and are built with an airtight leak-proof seal with secure latches. Bases and lids are crystal-clear so it’s easy to see what’s stored inside. The modular design helps save space in your pantry or kitchen cabinet. Perfect for storing pasta, cereal, sugar, dried fruit, and more.
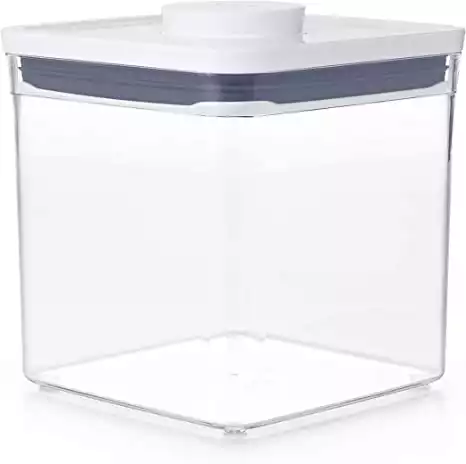
Airtight, stackable, space-efficient, and now completely dishwasher safe, OXO Good Grips POP Containers keep dry foods fresh and kitchens organized. New shapes and sizes provide new possibilities for storing everyday must-haves like flour, sugar, coffee, cereal, oats, coffee, grains, pasta, and spices. With a handy fill line to guide you, curved corners for smooth dispensing, and sturdy, BPA-free construction, these canisters take tidying to the next level. POP Containers aren’t just for kitchens: use them any place you want more organization.
How long do you proof pizza dough?
The recommended amount of time pizza dough should be proof in the refrigerator is 6 to 8 hrs. So, if you wake up early, you can probably have pizza that same day.
A couple of days, proofing in the refrigerator is excellent, from 24 to 72 hrs., enhancing the crust’s taste.
However, in more than three days, the yeast will start eating up all the sugar in the dough and converting it into alcohol.
The excess alcohol production will adversely affect crust flavor.
How to Know When Pizza Dough is Fully Fermented
So, how do you guarantee your dough gets the right proofing time?
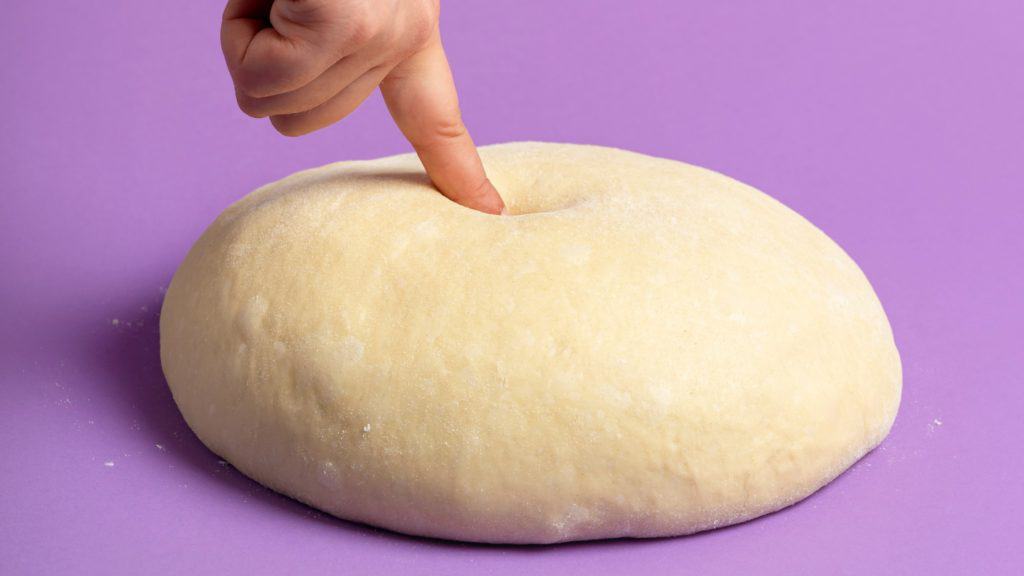
Throughout the rising process, occasionally gently press the dough; if the dough rises back into place slowly or remains in place, the dough has been fully proofed.
However, if the indent immediately rebounds back into place, the dough still needs more time to rise. This is called the poke test.
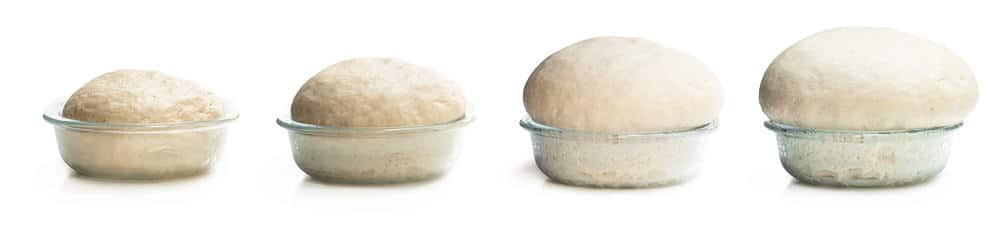
Measurement of the height of the dough is often used to determine when the dough is sufficiently proofed. To achieve its final volume, the dough expands by a factor of three or four during proofing.
Pizza Dough Proofing Resting Period
After the dough is fermented, before you shape it into a pizza crust, take them out of the refrigerator for at least 1 hr. This resting period will make the dough easier to shape.
How to Proof Pizza Dough Faster
Speeding up the fermentation process is not always recommended, as it could adversely affect your final pizza crust.
However, sometimes, you might need to boost things slightly due to unexpected circumstances. Here are some alternatives you can do to accelerate the pizza dough proofing process.
You can control the following factors to reduce the fermentation rate and proof your dough faster:
Yeast
- Use instant yeast instead of active dry. Instant yeast will give you similar results in a little less time.
- Use rapid-rise yeast. If you need to speed things up, a rapid rise will significantly decrease your proofing time, but the results will also be affected. Thus, this is not a method we would recommend.
- Add more yeast to your flour. You can safely add yeast to your flour up to 5% of your total flour.
- Add sugar or honey to the yeast mixture – Sugar is a food source for the yeast, so the more sugar the yeast consumes, the more carbon dioxide it will produce. Don’t go too far with the sugar; a pinch of sugar will do the job.
- Add a bit of vinegar to your dough mixture – Vinegar creates the same reaction as sugar, a food source.
Add ¼ teaspoon per cup of flour. However, this will change the flavor of your crust. We do not recommend this method.
Here’s the Instant Yeast the PRO’s at Homemade PIzza Pro Use and Recommend
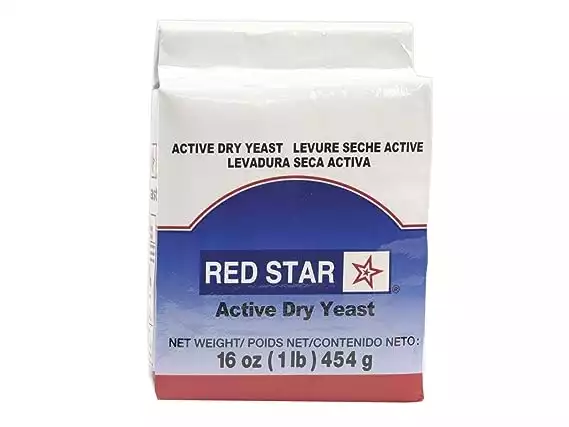
Red Star Active Dry Yeast is a trusted choice among bakers. It's known for its consistent performance, balanced fermentation speed, and subtly nuanced flavors it brings to pizza dough, contributing to a well-rounded and delicious crust.
Temperature
- Set the dough in a warmer place in your kitchen. This could be inside your turned-off oven; you can use your oven light as a heating element or near a window. The best temperature to proof the dough is 80F. We keep an infrared thermometer to track the dough’s temperature.
Humidity
- Moisture will accelerate the pizza dough proofing process – you can place your dough over a pan of warm water in the oven. Note the oven must be turned off. The humidity created by the water will get things going.
Dough Handling
- Lightly coat your dough with vegetable oil so it won’t create a crust due to heat exposure.
- Tightly cover the bowl or container with a lid or cling film. You need to restrict the amount of air surrounding your dough.
What Happens If You Don’t Proof Pizza Dough?
Not proofing pizza dough will produce a flat crust with little structure and flavor.
However, this is not necessarily a bad thing. It could be that this wants you to want to achieve; depending on what kind of pizza you want to make, this could be your desired effect.
For example, let’s say you want to make a cracker-style pizza base that looks more like a flatbread. In this instance, you avoid the proofing process.
It will probably still be a delicious pizza, but it will be quite different from the traditional pizza.
Here’s The best pizza dough container for perfect fermentation.
Here’s What the PROs at Homemade Pizza Pro Use and Recommend
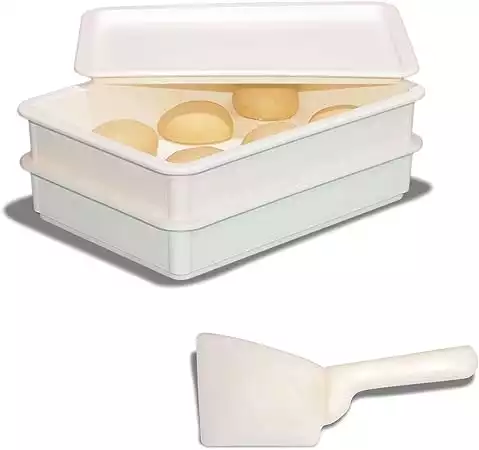
The DoughMate Artisan Dough Tray Kit is a professional-quality tool that revolutionizes handling and storing dough. This kit includes two dough trays, each capable of holding five to six dough balls for 14-16" thin-crust pizzas.
The trays are durable and have a lid for easy and hygienic storage. The included DoughMate Putty Scraper-style dough cutter/scraper allows for precise portioning and shaping of your dough. Whether you're a seasoned pizzaiolo or a home baker, the DoughMate Artisan Dough Tray Kit is an essential companion that ensures your dough is always ready to deliver perfect pizzas.
Pizza Dough Proofing Best Practices
- Rise the dough in the correct bowl or container. For the best results, containers should be the right size and material, metal or glass, and have an airtight seal.
- Spray your bowl with non-stick cooking spray before adding the dough to the container for easy cleanup.
- Shape the dough into smaller dough balls before placing them in the refrigerator.
- Proof the dough at the correct temperature of 36 to 38°F for the final rise in the refrigerator.
- Proof the dough for the recommended period of time from 8 to 72 hrs. for the final rise.
- Check the humidity of your refrigerator; the best is 85–95% (rh).
The Last Slice
We hope this guide will help you learn more about pizza dough proofing and the steps to make an amazing pizza crust.
Now, we want you to do something. When making your pizza, check your crust and ask yourself the following questions:
- Does it have a nice flavor?
- Does it have a well-balanced structure?
- What about the texture? is it soft and chewy?
If your answer is YES! to the above questions, and we have not to doubt that it will, look no more; that is proof that you are the best pizza baker!
With your newly proofing skills, take your pizza game to the next level by investing in the best pizza proofing box for your and an Ooni pizza oven and enjoy perfectly proofed and cooked pizzas right in your backyard.
If you have any questions, don’t hesitate to contact us; we will gladly help.
Additional Resources on Pizza Dough

How to Mix Pizza Dough
the PROs
Do you want to learn how to mix pizza dough? Pizza dough is a staple in most households, but it …

Best Water for Pizza Dough: Temperature, Quality, and Hydration
the PROs
In this article, we are going to dive deep into the mysterious ways of water. In conjunction with flour, yeast, and salt, it can make the most spectacular pizza dough.

Salt in Pizza Dough: The Secret to a Perfectly Seasoned Crust
the PROs
Making homemade pizza is not complicated; see how with just a few ingredients like flour, water, yeast, and salt you can do wonders. In this article, we will discuss the role of salt in homemade pizza and discover four (4) basic rules applicable to salt, that are easy to remember that will make you a better homemade pizza baker.
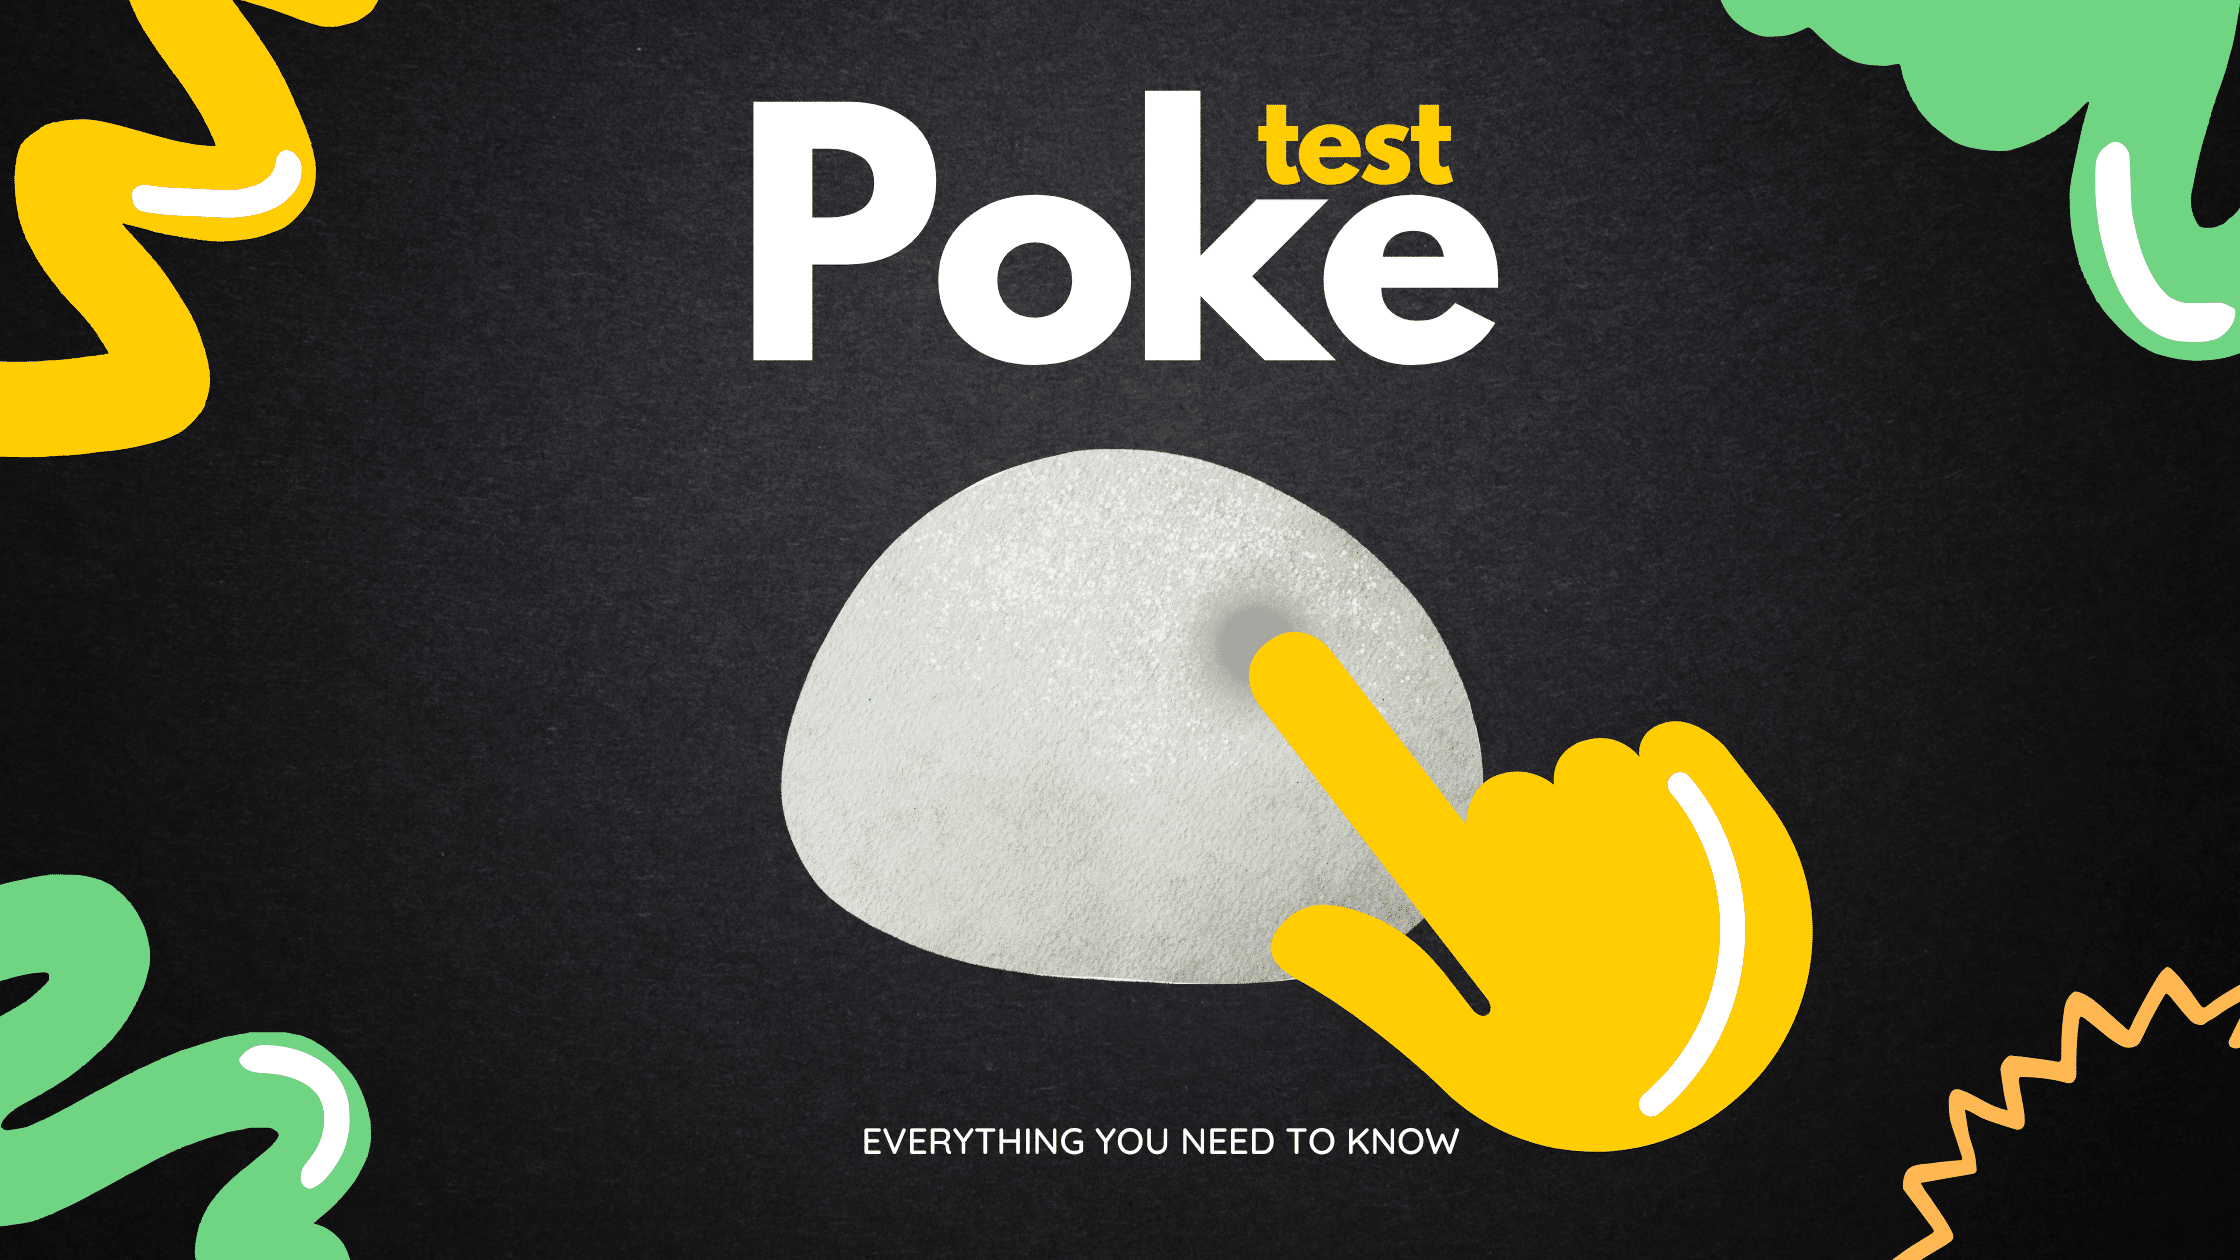
Poke Test Demystified: Master the Technique for Perfect Pizza Every Time
the PROs
Are you tired of ending up with a pizza crust that’s either too thick or still raw in some parts, …
How to Stretch Pizza Dough Like a PRO: Tips and Tricks to Elevate Your Homemade Pizza Game!
the PROs
So you’ve decided to make your pizza but are unsure how to stretch pizza dough to perfection. Well, fear not! …
How to Proof Pizza Dough Fast
the PROs
How to Proof Pizza Dough Fast Behind every tasty pizza dough is a secret. Secrets behind its fantastic flavor and …
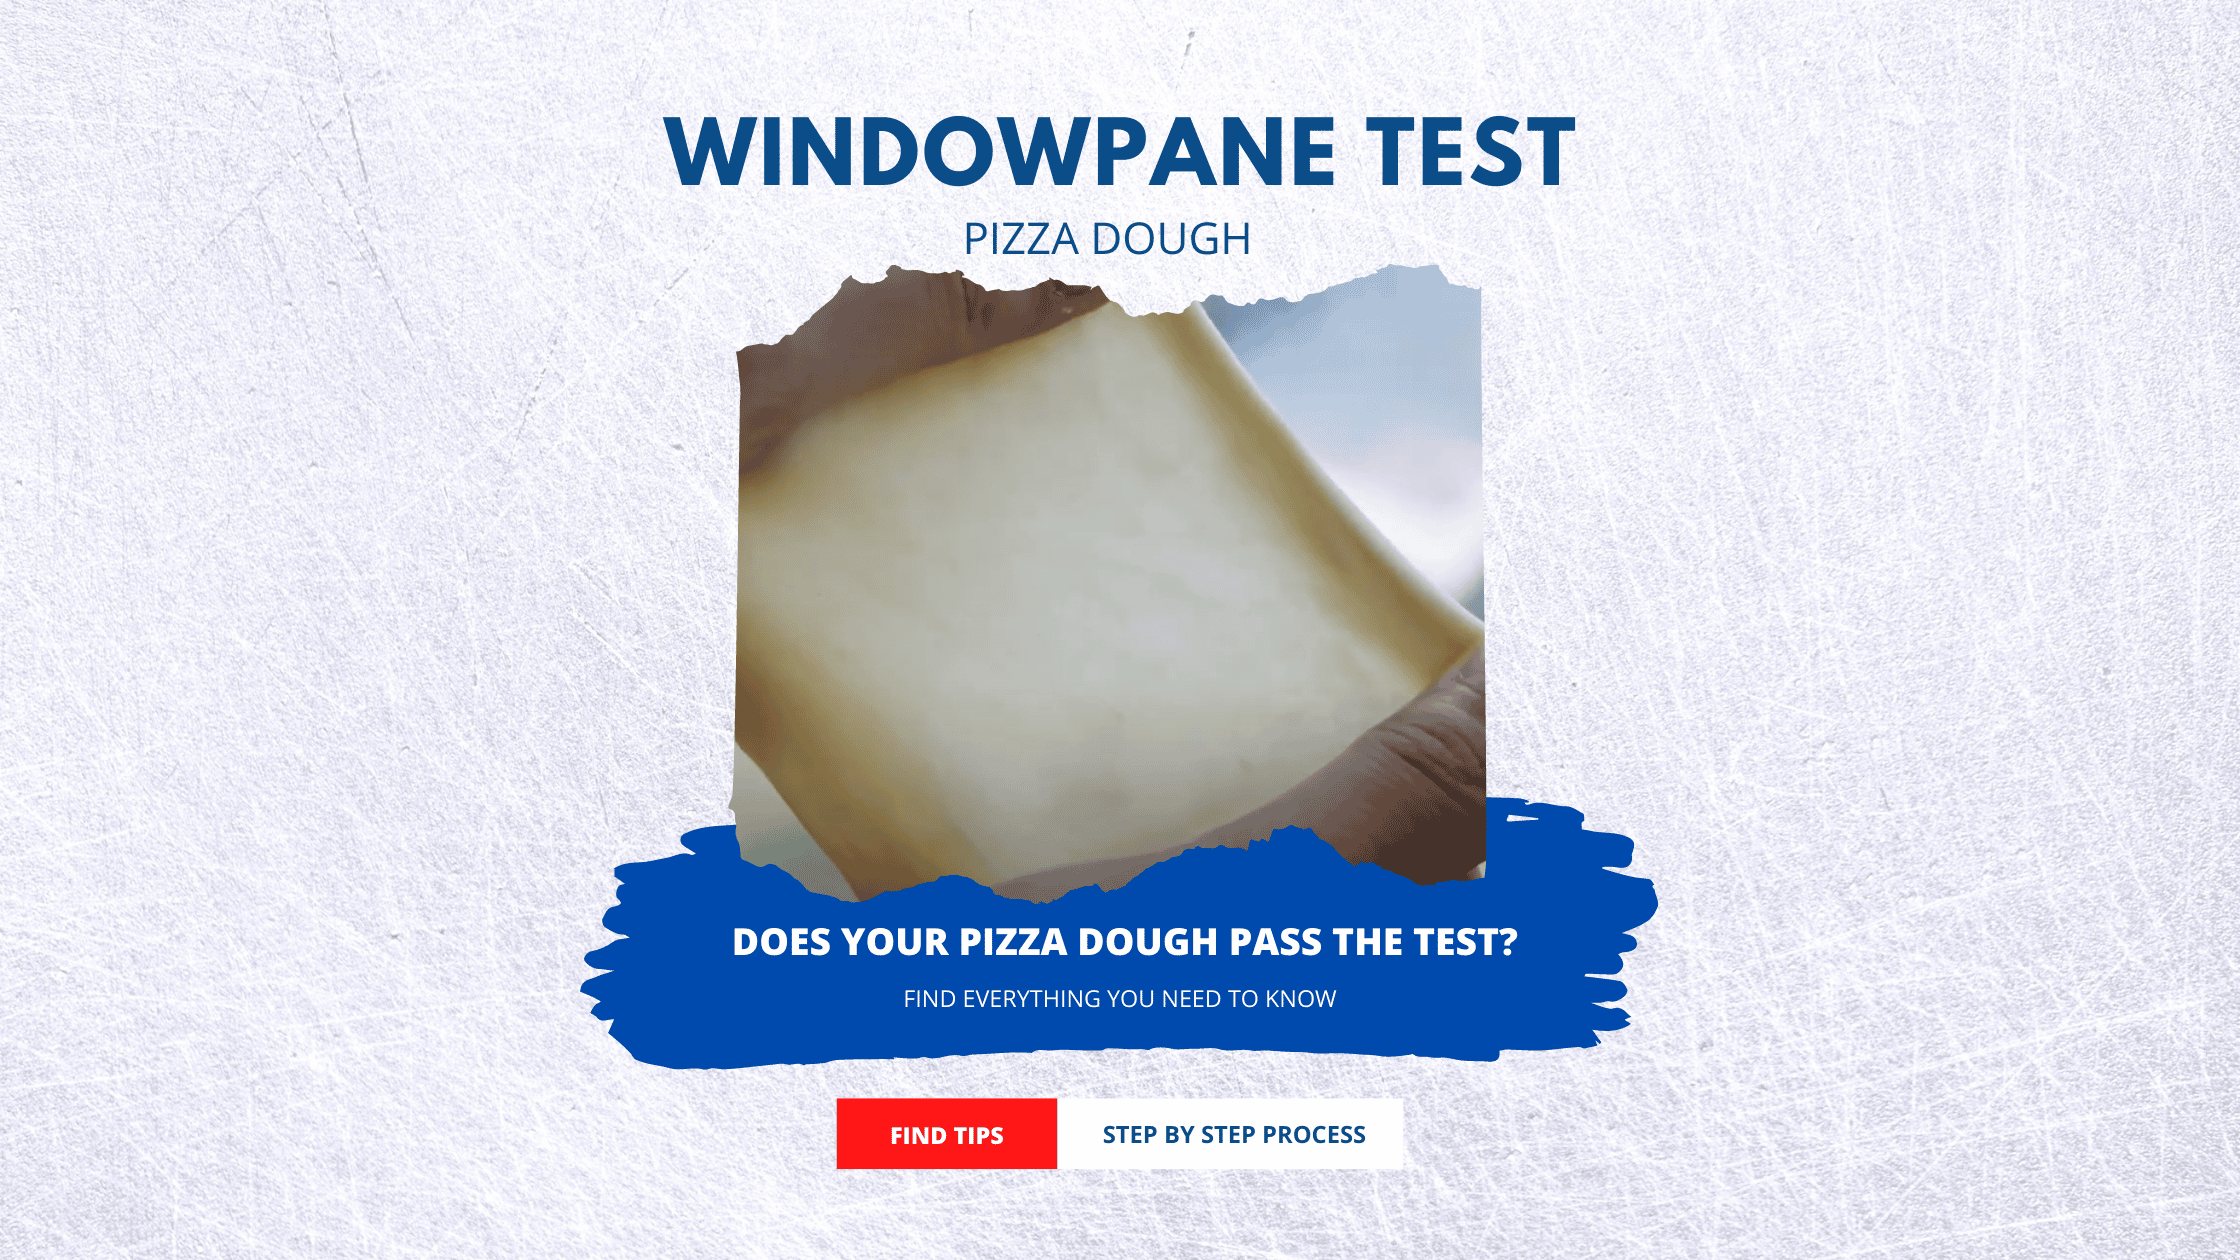
Windowpane Test: (Tips, How-to, and Everything You Need to Know)
the PROs
Pizza Dough Windowpane Test Kneading the dough is probably one of the most complex parts of baking a pizza. You …
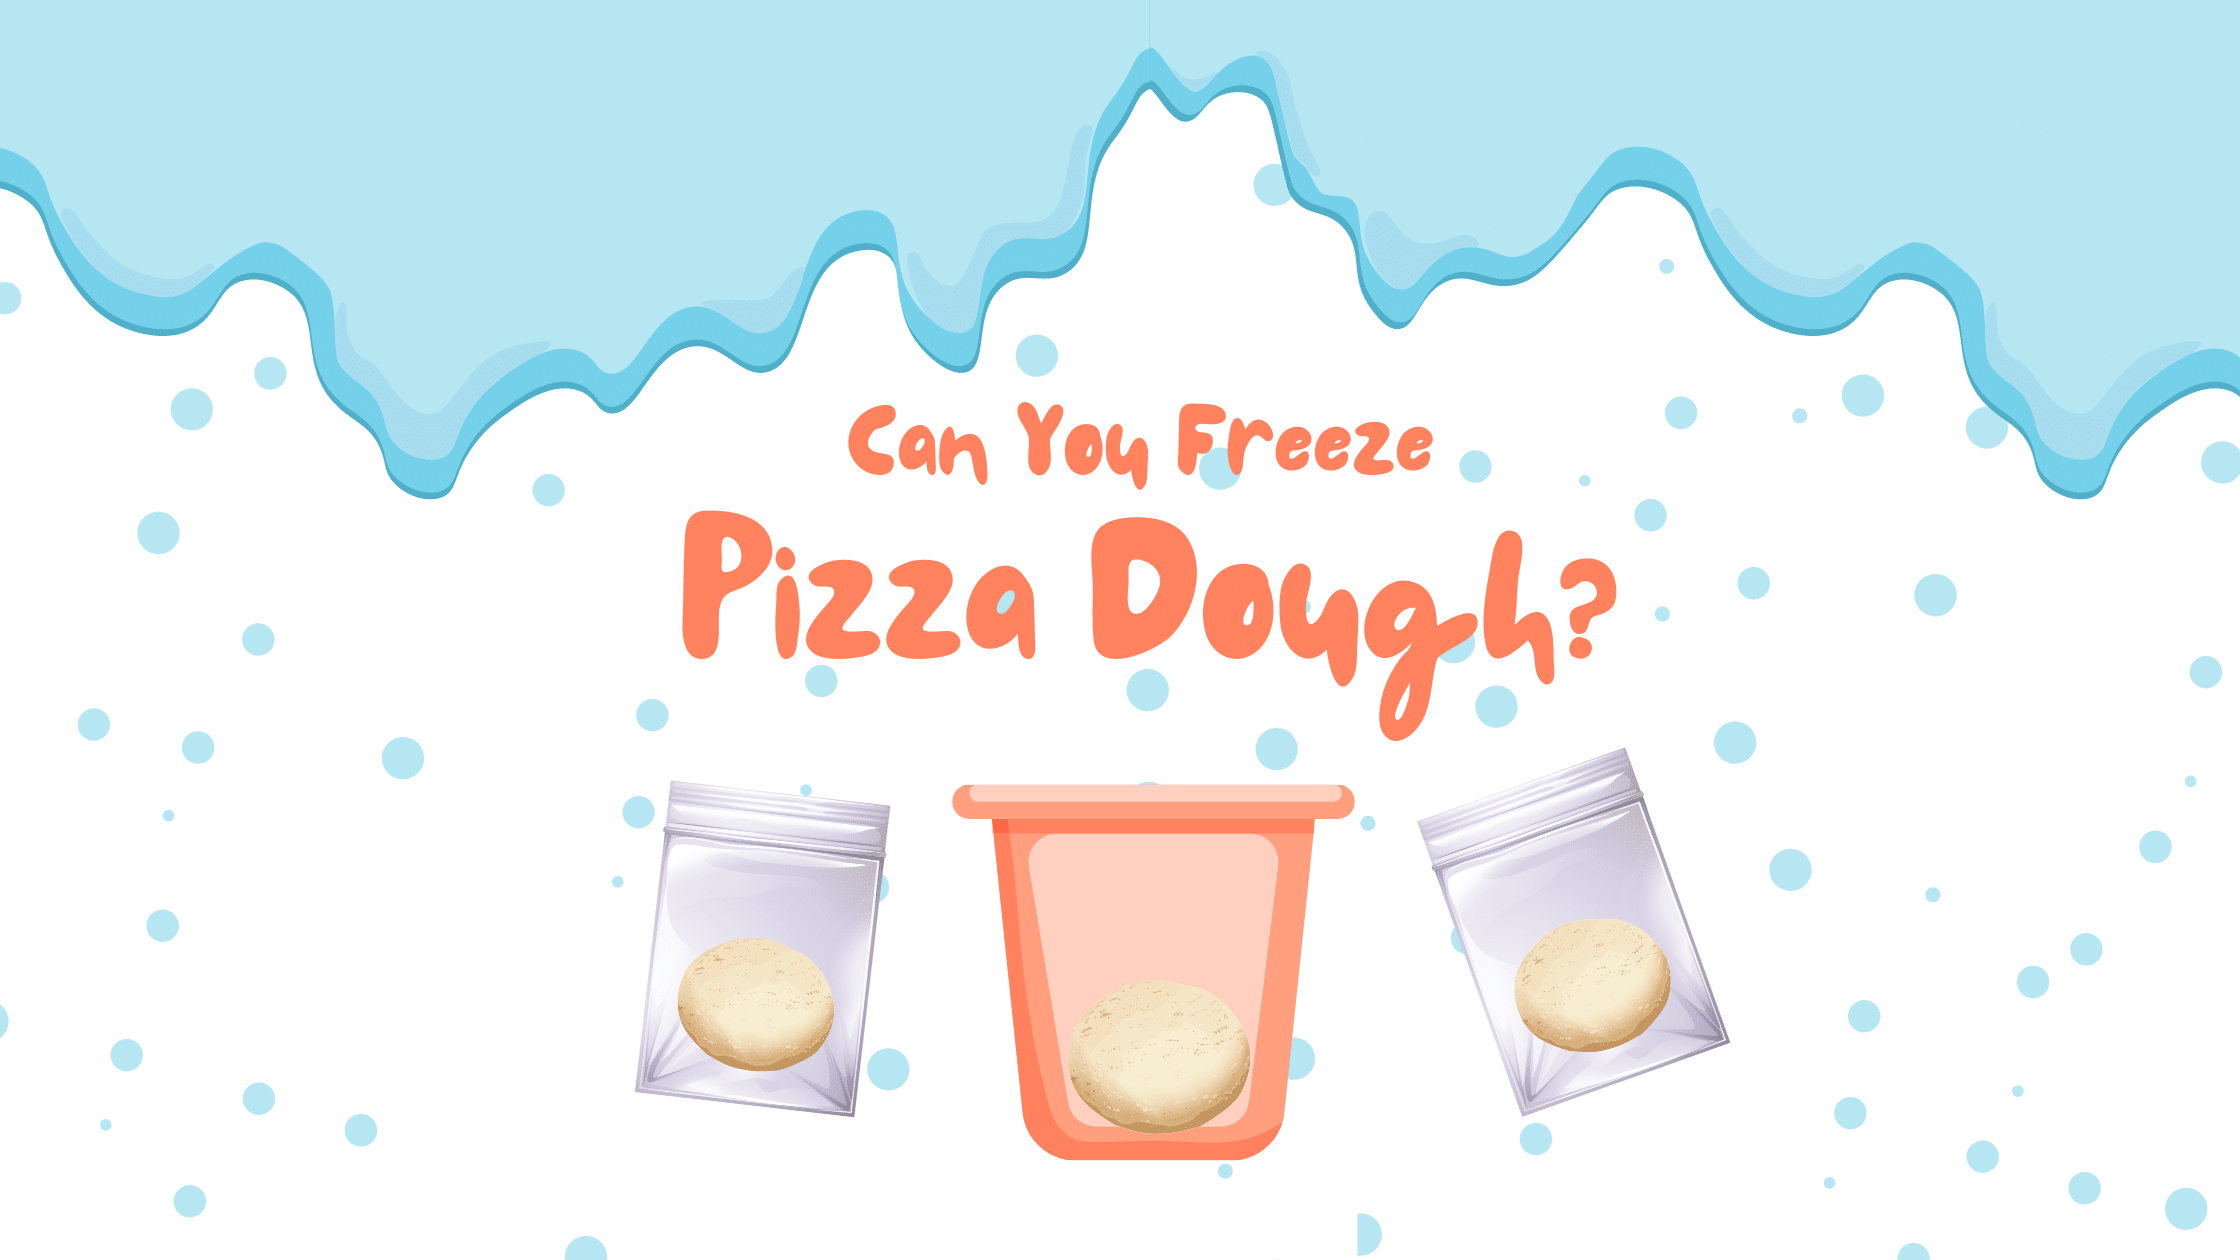
Can You Freeze Pizza Dough? (Everything You Need to Know)
the PROs
How to Freeze Pizza Dough Are you wondering how to freeze pizza dough? Most of us know that putting things …
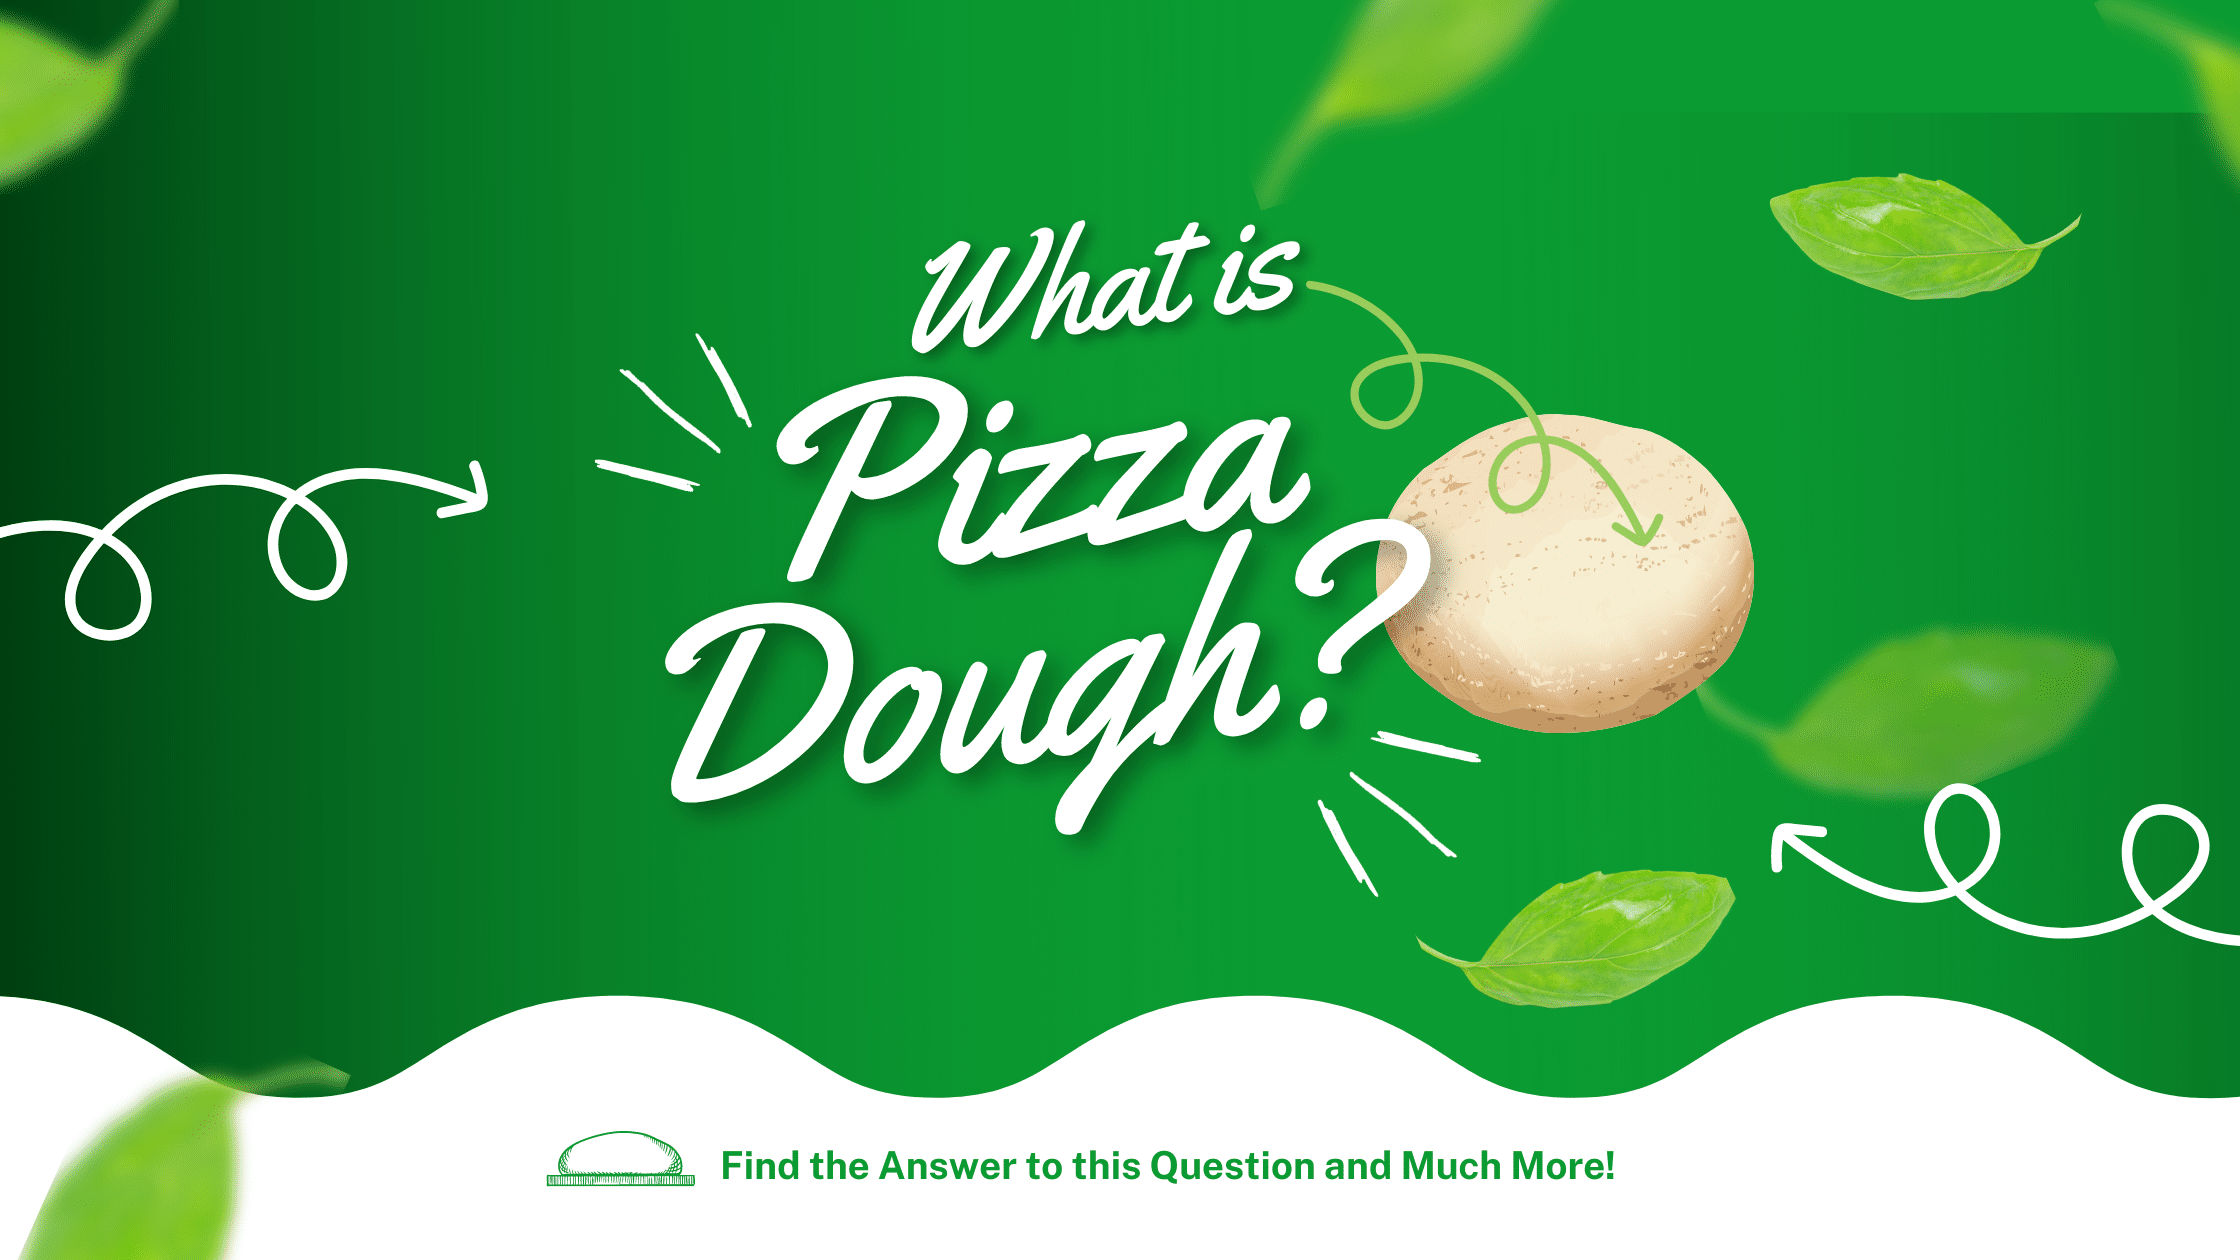
What is Pizza Dough? Here’s What You Need to Know and How to Make It
the PROs
Pretty much everyone likes pizza. But when you first start making pizza at home, you can feel a little overwhelmed. …
Here are our favorite products related to this post
Check Amazon’s Pizza-Making Must-Haves
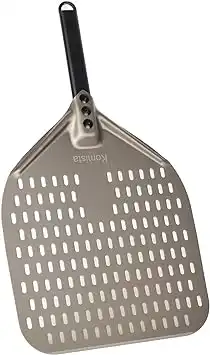
Why have two pizza peels when you can only have one. This pizza peel surpasses the benefits of wood peels with the convenience of a metal peel. It's made entirely from anodized aluminum for a lightweight design that's incredibly durable, too. It's designed to be used frequently in high-heat pizza ovens.

The Etekcity Lasergrip 800 Digital Infrared Thermometer is a versatile and reliable tool for accurate temperature measurements. Its non-contact design allows you to measure temperatures from a distance, making it safe and hygienic for various applications. With a wide temperature range of -58°F to 1382°F (-50°C to 750°C), this infrared thermometer is perfect for both everyday cooking needs and professional uses.
The built-in laser pointer helps you target the specific area you want to measure, ensuring precision and consistency. Whether you're grilling, cooking, or performing household maintenance, the Etekcity Lasergrip 800 provides fast and accurate temperature readings with ease.
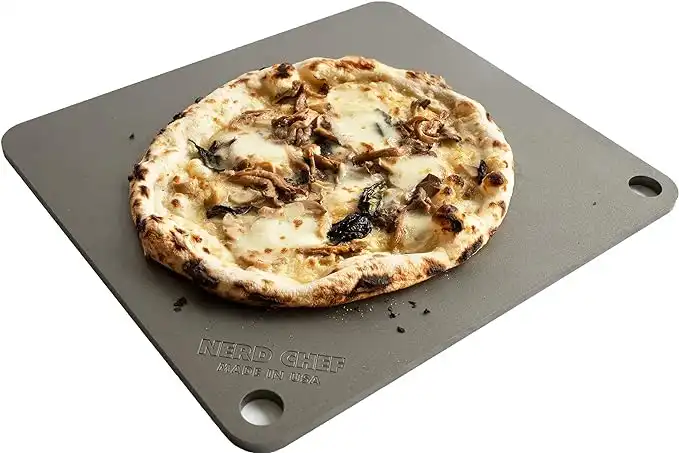 NerdChef Steel Stone
Making great crusts traditionally requires a 700-1000F wood-fired oven. Nerdchef Steel Stone replicates that performance in a home oven with its super-high heat transfer ability - transferring heat energy 20 times faster than ceramic. It creates beautiful and crispier crusts, gorgeous blistering throughout, and it cooks faster.
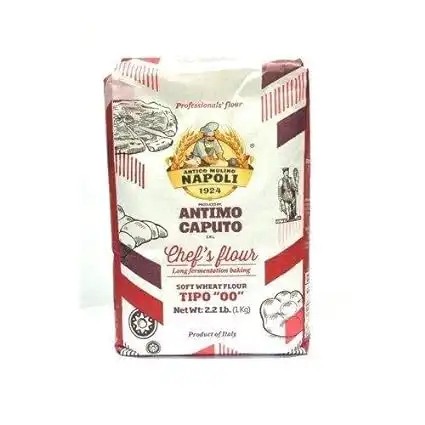
The Chef's flour is a general-purpose, high gluten flour that works well for many recipes. "Tipo 00" refers to how refined the flour is. Chef's Flour is best for those who want to bake in their traditional home oven up to 500 degrees Fahrenheit!
Enjoy!
Not a PRO? Not a Problem!
Take a pizza class to bring your pizza skills to the next level,
so you can be a PRO!
Related Posts

Costco Pizza Delivery: Find How You Can Get It Now!
the PROs
People go to Costco’s food court for many different reasons, but the cheesy slice of pizza they serve is among …
Pizza for Beginners: Don’t Buy Pizza, Make It! Here’s How to Get Started!
the PROs
You have this idea that you want to make pizza at home as opposed to ordering it, but where do you start? Don’t worry! Here you will find answers and directions to all your questions.

Pizza Toppings Under Cheese or Over Cheese? [Why the Order Matters]
the PROs
Is Pizza Cheese on Top or Bottom? Hey pizza lovers, are you wondering if you should layer pizza toppings under …

Newsletter
Subscribe to our Recipe of the Week newsletter and receive our partners’ latest recipes, tips, and discount offers.
Keep in Touch!