
Are your pizza dough balls not smooth?
If you’ve ever found yourself kneading away at your pizza dough, only to be met with a texture that’s far from the smooth, elastic consistency you were aiming for, then this post is for you. The uneven, lumpy, or excessively sticky dough can truly be a puzzle, but don’t worry – we’re here to help.
Whether it’s understanding the role of hydration, the type of flour used, kneading techniques, or even the timing of adding salt, we’ll delve into the potential reasons behind your dough’s lack of smoothness.
Stay tuned as we explore these issues and offer practical solutions to ensure you can achieve that perfect pizza dough, every time!
Let’s check them out!
Here’s What You Will Find:
Why is My Pizza Dough Not Smooth After Kneading?
If your pizza dough isn’t smooth after kneading, there could be a few reasons:
Insufficient kneading
Developing the gluten in the dough, which provides elasticity and helps create a smooth texture, requires enough kneading. The dough might not be smooth if you haven’t kneaded it enough.
Too much or too little hydration
Both too much and too little water can affect the texture of your dough. A dough that is too dry may feel lumpy and tough, while a dough that is too wet can be sticky and hard to work with. The right amount of water will depend on the type of flour you’re using and the specific recipe.
Incorrect flour type
Different flours have different protein contents, which can affect the gluten development in your dough. Bread flour, which is high in protein, is often recommended for pizza dough. Using low-protein flour like cake flour can result in a dough that doesn’t develop enough gluten, making it harder to get a smooth texture.
Dough temperature
If the dough is too cold, it can be harder to knead and might not become smooth. Make sure your dough is at room temperature before you start kneading.
Adding salt early
Salt can tighten the gluten structure and make the dough harder to knead if it’s added too early in the process. Try adding the salt after you’ve mixed the other ingredients and kneaded the dough a bit.
Remember, practice makes perfect. The more you make pizza dough, the more familiar you will become with how it should feel at each stage of the process.
It’s discouraging when you mix a new batch of pizza dough only to find some big problems with how it feels.
It ends up having a texture that isn’t elastic and rigid spots that are falling apart. Here is what to look for right away.
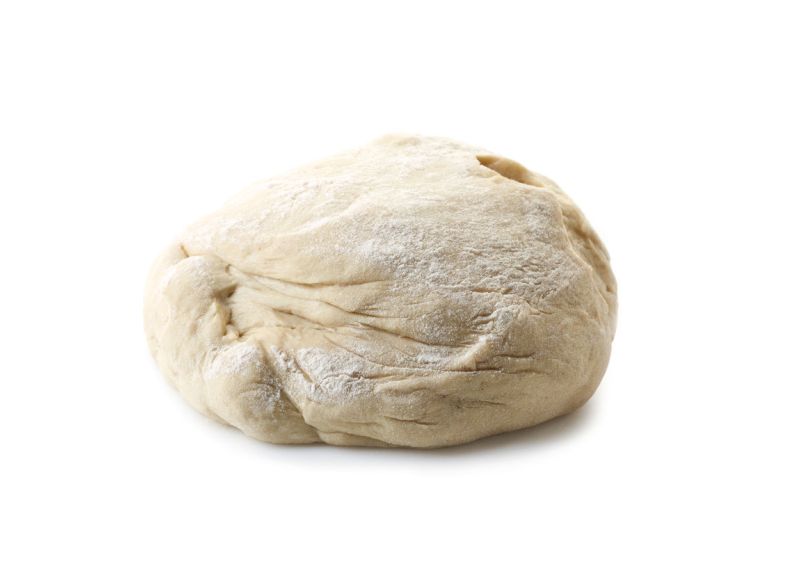
Here’s What to Do if Your Pizza Dough is Not Smooth
If your pizza dough is not smooth, here are some steps you can take:
- Check Your Flour: Different types of flour have different amounts of protein, which affects the dough’s texture. High-protein bread flour is often used for pizza dough because it creates a strong gluten network, leading to a smoother dough.
- Adjust Hydration: If the dough is too dry, it may become tough and won’t smooth out when kneading. It may be sticky and hard to work with if it’s too wet. Try adjusting the amount of water in your recipe. Start with small increments until you achieve the right consistency.
- Knead More: Lack of adequate kneading often results in a dough that’s not smooth. Kneading helps to develop the gluten, giving the dough its elastic and smooth texture. If your dough is lumpy or uneven, try kneading it a bit more.
- Let It Rest: Sometimes, the dough needs a little rest. This allows the gluten to relax, making the dough easier to work with. If you’ve been kneading for a while and the dough is still not smooth, cover it and let it rest for 15-20 minutes, then try kneading it again.
- Check Your Technique: How you knead can also impact the dough’s texture. Make sure you’re using the heel of your hand to push the dough away from you, then fold it back onto itself. This should be done in a rhythmic, consistent motion.
Remember, making pizza dough can take a bit of practice to get right. Keep trying different things and eventually find what works best for you.
Find Why Your Pizza Dough is Not Smooth
A little investigation will help you figure out what could have gone wrong. Reviewing your recipe and mixing ingredients into your dough are the first pieces of the puzzle you must solve.
Learn to be a pizza dough detective!
Check Your Ingredients
Aside from what your recipe calls, you might have made a simple mistake if you mismeasured your ingredients.
Even the slightest percentages that are off could be causing pizza dough to have a weird texture and poor dough fermentation. These are the leading root causes:
Check Your Flour
It’s better to use flour that contains high-protein content of 12% or more. Most of the better quality flour will say on the package listed in the nutrient section.
Problems with your flour will inhibit the right amount of gluten formed, making dough tear apart easily if you try to stretch it.
You can’t just use any flour to make pizza dough; you’ll need to use flour that helps create gluten, providing the necessary structure to hold your toppings. Caputo Flours is our top choice.
This is the Flour the PROs Use and Recommend
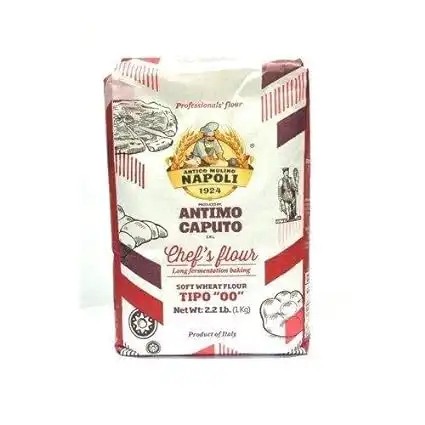
The Chef's flour is a general-purpose, high gluten flour that works well for many recipes. "Tipo 00" refers to how refined the flour is. Chef's Flour is best for those who want to bake in their traditional home oven up to 500 degrees Fahrenheit!
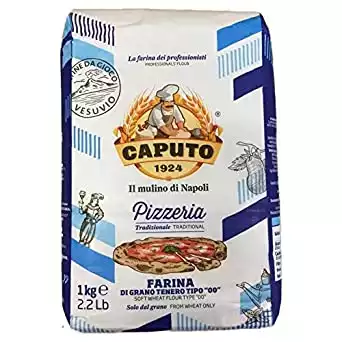
A flour with elastic, resistant gluten and protein resulting in a long-rise dough. Ideal for classic Neapolitan pizza made in high heat wood fired, gas or electric ovens in high temperatures over 700 degrees F.
If you used all-purpose flour, chances are, you wouldn’t have a thick crust since there isn’t very much gluten in this flour mixture.
This flour is excellent for thin-crust pizza but terrible for a fluffy crust. You can counter this by adding more flour with higher gluten. Better yet, just next time, use high-protein flour or bread flour with over 12% gluten.
If you used the wrong flour or some other flour like cake or all-purpose flour, you could add vital wheat gluten to increase your gluten content. However, if you add vital wheat gluten, remember that you also need to add more water to compensate for the hydration percentage.
For example, you used 500g of cake flour and added 325g of water(65% hydration). To bring the cake flour to higher protein content, you add 50g of vital wheat gluten.
Accordingly, you now have 550g to account for flour, so the total water should now be 357.50g; so you need to add 32.5g of water to your mix.
In the end, you will only end up with more pizza dough, which you can freeze.
To learn more about vital wheat gluten, check our article Vital Wheat Gluten: The Magic Touch for Pizza Dough.
If you’re using gluten-free flour, note that the texture and elasticity will differ. Because gluten-free flour is less stretchy than standard pizza flour, it’s vital to press your dough instead of rolling it to expand it out.
To make gluten-free flour more elastic and better texture, you can prove it in the fridge for over 24-48 hours before adding your yeast. This way, you can get stretchy, smooth flour without forming gluten.
Check Your Flour for Lumps
Did you think that flour would always be nice and fluffy? If you use clumpy flour, these must be broken up with a mixing whisk before mixing it. You’ll have unevenly mixed dough if you don’t break the flour clumps.

Check Your Water Content
Adding water is essential to the overall hydration of your flour; the ratio can range from 65 to 70% water added. For example, if you have 1000 grams of flour, you must add 650-700 grams of water to reach the desired hydration percentage.
Typically, 65% is considered the average hydration level.
Check Your Yeast
If you find that your dough is not fermenting fast enough or has expired yeast, you can still save your dough. Add more yeast to your dough mixture using the same amount you used in the recipe.
Knead it thoroughly, and it will ferment correctly after that. If you have questions about yeast for pizza dough, check our article Yeast: Here is What You Need to Know
Did You Add Some Oil to Your Homemade Pizza Dough?
Adding oil to your mixture helps with the smoothness, but the oil can’t be more than 5% of your flour ratio.
Oil is added to all hydrated dough and helps lubricate your dough, further adding smoother flexibility and plasticity.
The rest of the smoothness comes from proper fermentation. If you have any questions about oil in pizza dough, check our article Here’s Everything You Need to Know About Oil in Pizza Dough
Check your Mixing Process
Get a good mix during hydration. Once you mix all of your ingredients, you’ll notice how the mixture will be harder to mix.
This process is the most crucial part of mixing to prepare you for kneading. Scrape out all partially mixed dough onto a silicone mat or a lighted floured surface so you can knead it by hand or knead in a stand mixer, always with the dough hook, to avoid the dough from tearing.
After mixing, let the dough rest for 30-45 minutes.
If you have already allowed your dough to proof for an hour to 90 minutes and it still isn’t soft enough, let it rest for 30-45 minutes in a warm spot.
This process can allow further fermentation and more gluten to form. As a result, you will have a softer dough.
Check the Kneading Process
The importance of kneading cannot be stressed enough in the initial stage of kneading your dough after its first mix. If you missed all of the other steps, such as breaking up clumps or adding water and oil, you might end up with poorly-made dough.
But that’s not the only cause.
Kneading by Hand vs. Kneading with a Stand Mixer
Some pizza experts will not admit that hand kneading is an excellent method because they are experienced.
But you can’t beat a decent stand mixer if you’re unsure about mixing pizza dough. A mixer will create the best results because the dough has less chance of under-mixing mistakes caused by being mixed by hand.
Check the Gluten Development
Gluten will start to form with the introduction of water and flour mixed, which are particular proteins that take time to develop and add incredible flavor to your dough mixture.
Without proper gluten formation, you’ll have pizza dough that tastes bitter and not very appealing.
What is gluten?
Gluten is a complex combination of proteins found naturally occurring in flour mixed with water. It’s a chemical reaction that can happen with or without yeast and creates special bonded proteins to form within the dough and have the ability to become elastic and stretchy.
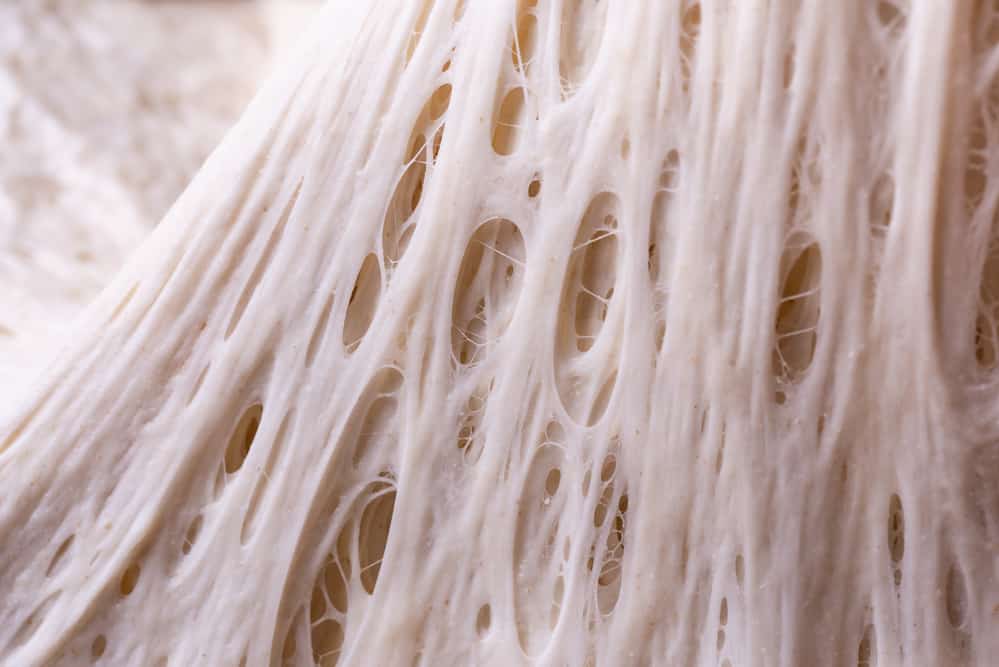
Why is gluten vital for smooth pizza dough?
Gluten is the overall texture of your dough, but it creates smoother dough when fermentation gives incredible fluffiness.
You can allow water and flour to proof without yeast, but this will take a whole day. Most people don’t like waiting long to eat a pizza at night.
Checking Dough Management
The mixed dough goes through a metamorphosis of sorts but, more importantly, the fermentation within the dough itself.
When the dough is proofed, it will have had enough time to form gluten and rising dough caused by microscopic gas pockets. These are created from the yeast developing inside the dough.
Find a warm fermentation area.
The well-mixed dough will be proof faster when put into a warmer part of your kitchen. Colder kitchens yield poor results and take longer for a smooth dough to rise.
You can set the dough inside the oven when turned off or use your oven’s “Proof” mode if it has one.
Your towel covering the bowl should be slightly damp to aid in humidity and make your dough rise faster.
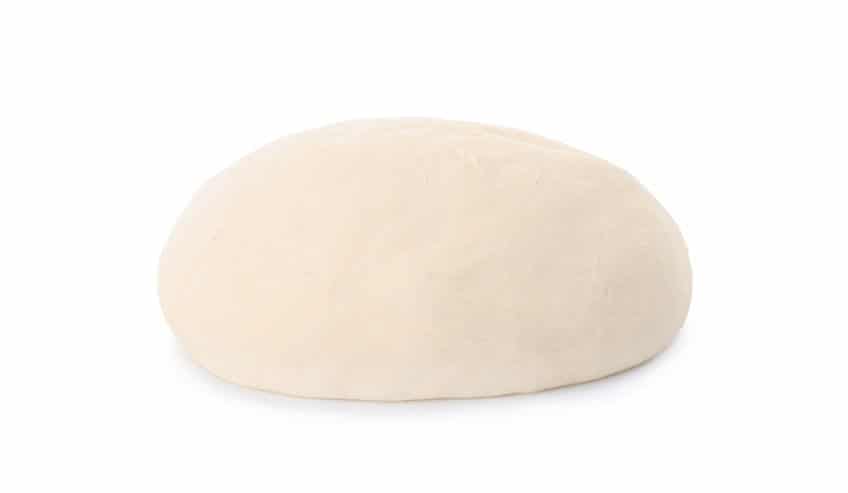
Proofed pizza dough will not be overly springy and leaves a slight dent when you poke it with your finger. You can do this test, but the real test is stretching a small piece between your fingers.
If it creates a thin bubble gum-like film called the windowpane test, your dough is smooth enough.
Check your Kneading Process
Mixing dough with your hands is essential to learning how to make great smooth pizza dough. Sometimes you don’t have access to a stand mixer, so using your hands is a real virtue.
This process also gives you personal contact with your dough to get a thorough mix.
How to properly knead pizza dough with a stand mixer
If you have a stand mixer, always use the dough hook attachment with your stand mixer for the best results.
Dough hooks are unlike regular liquid mixers and will shred your mixed dough into small pieces as it blends further into pizza dough.
We always recommend a sound stand mixer since it will have the proper distance between the bowl and each mixing hook.
Here’s What the PROS at Homemadepizzapro.com Use and Recommend
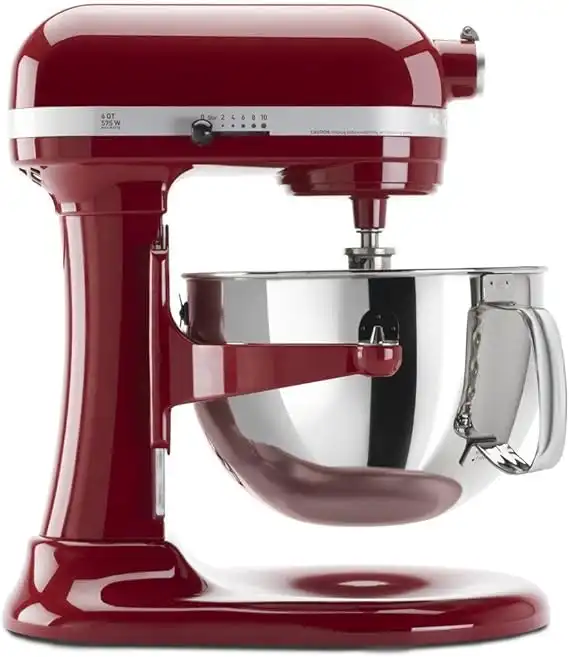
The KitchenAid Professional 600 Stand Mixer is a powerful and versatile kitchen appliance with a 575-watt motor, 6-quart stainless steel bowl, and 10-speed settings for precise mixing. Its planetary mixing action ensures even results and comes with various attachments for culinary creativity—a must-have for any chef or pizza baker.
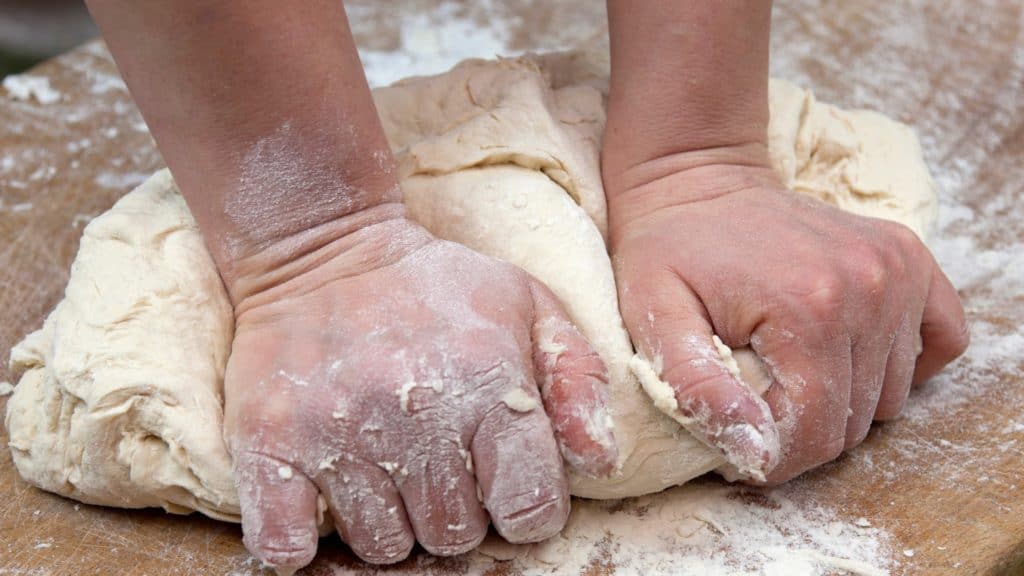
How to properly knead pizza dough by hand
You can use the lower portion of your palms to get enough force to push the dough together at first.
This process will take longer if you do this by hand, but you will immediately feel the uneven lumps within your dough lump as you squash it out.
Are You Having Trouble Making Pizza Doughballs?
Here’s What You Can Do
We love that you can now buy fresh pizza dough balls straight from New York City. The perfect size for a medium pizza. They will ship frozen, just thaw and make the most wonderful pizza in minutes.
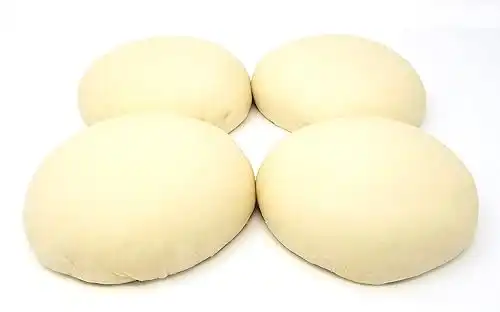
New York Pizza is different. The crust is completely unique. Airy, Crispy, and a taste that can’t be duplicated. Dairy-Free - Soy Free. Pizza Dough is made fresh and frozen only for transportation. All-Natural ingredients - Flour, Water, Olive Oil, Salt, Sugar and Yeast
Price includes Express Shipping. 1 Doughball creates a 12 to 14-inch pie depending on how thick you like the crust.
Complete instructions with each order. Taste the difference New York Water makes!
If you still don’t have a smooth pizza dough that is soft enough, start to knead it further for another 8 to 10 minutes.
This process will break up any gluten that isn’t rising with your dough mixture. Roll this into a ball and put it into a covered bowl until it rises again.
The Last Slice
Although it can be frustrating to make smooth pizza dough, these elements come down to temperature, mixing ratios, and mixing methods.
Our best effort is to help you understand how you can fix little problems like these on the fly, and this will give you the correct info to fix these problems as they appear.
Additional Resources on Pizza Dough
How to Mix Pizza Dough
the PROs
Do you want to learn how to mix pizza dough? Pizza dough is a staple in most households, but it …

Best Water for Pizza Dough: Temperature, Quality, and Hydration
the PROs
In this article, we are going to dive deep into the mysterious ways of water. In conjunction with flour, yeast, and salt, it can make the most spectacular pizza dough.
Salt in Pizza Dough: The Secret to a Perfectly Seasoned Crust
the PROs
Making homemade pizza is not complicated; see how with just a few ingredients like flour, water, yeast, and salt you can do wonders. In this article, we will discuss the role of salt in homemade pizza and discover four (4) basic rules applicable to salt, that are easy to remember that will make you a better homemade pizza baker.
When in Doubt, Check Our Resources
To help you become a better homemade pizza baker, we developed these reference sources you can use when making any of our recipes.
Enjoy!
Not a PRO? Not a Problem!
Take a pizza class to bring your pizza skills to the next level,
so you can be a PRO!
Related Posts

Costco Pizza Delivery: Find How You Can Get It Now!
the PROs
People go to Costco’s food court for many different reasons, but the cheesy slice of pizza they serve is among …
Pizza for Beginners: Don’t Buy Pizza, Make It! Here’s How to Get Started!
the PROs
You have this idea that you want to make pizza at home as opposed to ordering it, but where do you start? Don’t worry! Here you will find answers and directions to all your questions.

Pizza Toppings Under Cheese or Over Cheese? [Why the Order Matters]
the PROs
Is Pizza Cheese on Top or Bottom? Hey pizza lovers, are you wondering if you should layer pizza toppings under …

Newsletter
Subscribe to our Recipe of the Week newsletter and receive our partners’ latest recipes, tips, and discount offers.
Keep in Touch!