
Ever found yourself kneading your way through an endless world of pizza dough, only to wonder if there’s a better way to master the art of pizza baking?
Welcome to the ultimate dough showdown: Dough Hook vs Paddle! In the ring, we have two mighty contenders, each boasting its own unique strengths and potential weaknesses.
Are you curious to know which one will rise to the occasion and become the true champion of your kitchen? Then keep reading, dear baker, as we explore this culinary battle royale and reveal the secrets behind these two iconic mixer attachments.
Your pizza-baking game is about to reach new heights, and we’re here to help you make an informed decision on the perfect tool for your next mouthwatering masterpiece.
Let the dough wars begin!
Here’s What You Will Find:
Key Takeaways
Dough Hook vs Paddle
For pizza dough, a dough hook is an ideal choice, as it expertly kneads and combines the ingredients to create a smooth, elastic dough with well-developed gluten, crucial for a perfect crust.
Using a paddle attachment for pizza dough may result in an underdeveloped and uneven dough, making it challenging to achieve the desired texture and consistency for a delicious pizza base.
Incorporating a dough hook when making pizza dough can save you time and energy compared to hand-kneading, ensuring a uniform mixture and reducing the risk of overworking the dough.
While the dough hook is the clear winner for pizza dough, the paddle attachment can still play a role in the initial mixing of dry ingredients before adding wet components, promoting an even distribution and a smoother dough formation process.
Dough Hook vs Paddle? – That is the Question!
The foundation of pizza is the dough. It is where it all starts, and whether you are a beginner or an experienced baker, you undoubtedly have come across the question of dough paddle vs. dough hook.
In this article, we will explain the process of making pizza dough and answer that question.
While more experienced bakers probably have a preference already, beginners will find this useful to guide them through one of the essential steps in the pizza-making process.
We will also explore a dough hook alternative because there isn’t always an electric mixer around. The art of making bread and dough has been around for many years, and it is only fair to go back to basics.
Finally, while we will answer this challenge with a particular set of tasks, the purpose is to explore all the options.
We will educate you on how all the methods work and allow you to experiment to see what works best for you to be the best baker you can be.
Dough Hook vs. Paddle
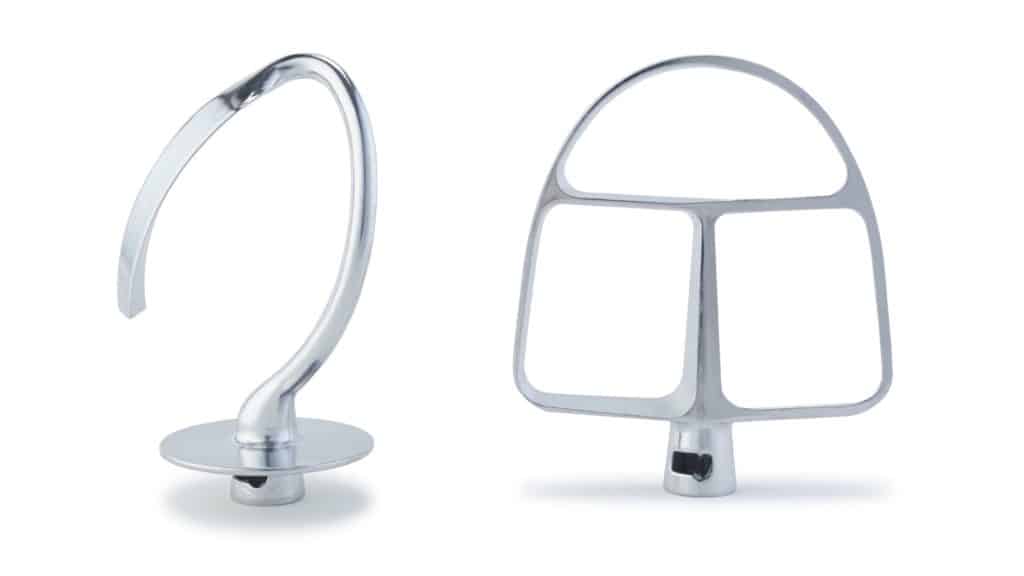
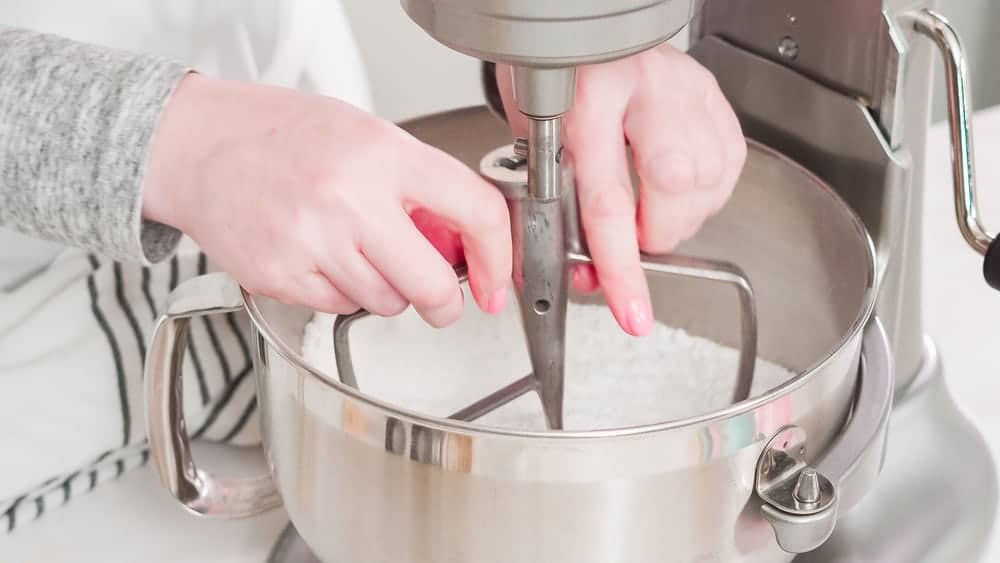
What is a Dough Hook?
A dough hook is a mixer attachment that is only used for kneading. It looks like a helix (corkscrew form) or a “C” shape. Foods that require a lot of power to combine are mixed using a dough hook.
Dough hooks are typically used for:
- Pizza dough kneading
- Bread kneading
- Combining tough doughs, like cookie dough
What is a Dough Paddle?
A dough paddle is a mixer attachment that is used for mixing dough. Unlike the dough hook attachment, the paddle hook has multiple uses. Including but not limited to mixing cake batter, beating eggs, and mixing frosting.
Dough Hook vs Paddle
What is the Difference between a Dough Hook and a Paddle?
The dough hook is only used for kneading while the paddle is for mixing.
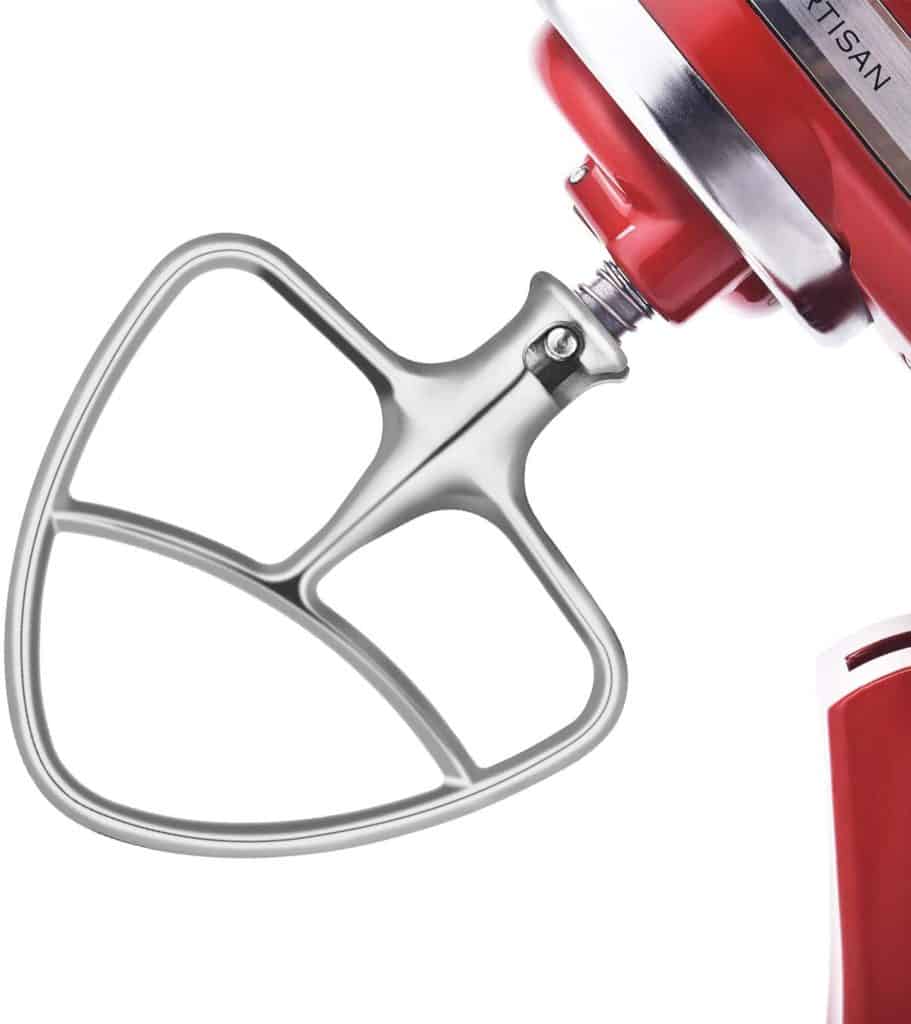
The primary difference between a dough hook and a paddle lies in its design and functionality. A dough hook is a spiral or C-shaped attachment designed to gently knead and mix the dough, mimicking the action of hand-kneading. It’s ideal for working with heavier, denser doughs like bread, pizza, or pasta, as it efficiently develops gluten and elasticity.
On the other hand, a paddle attachment, also known as a flat beater, has a wide, flat surface perfect for creaming, mixing, and beating ingredients together. It’s best suited for lighter batters and mixtures, such as cakes, cookies, and frostings.
Knowing the unique capabilities of each attachment will help you choose the right tool for your baking endeavors, ensuring the perfect texture and consistency in your culinary creations.
Three Ways to Make Pizza Dough Using Dough Hook vs. Paddle
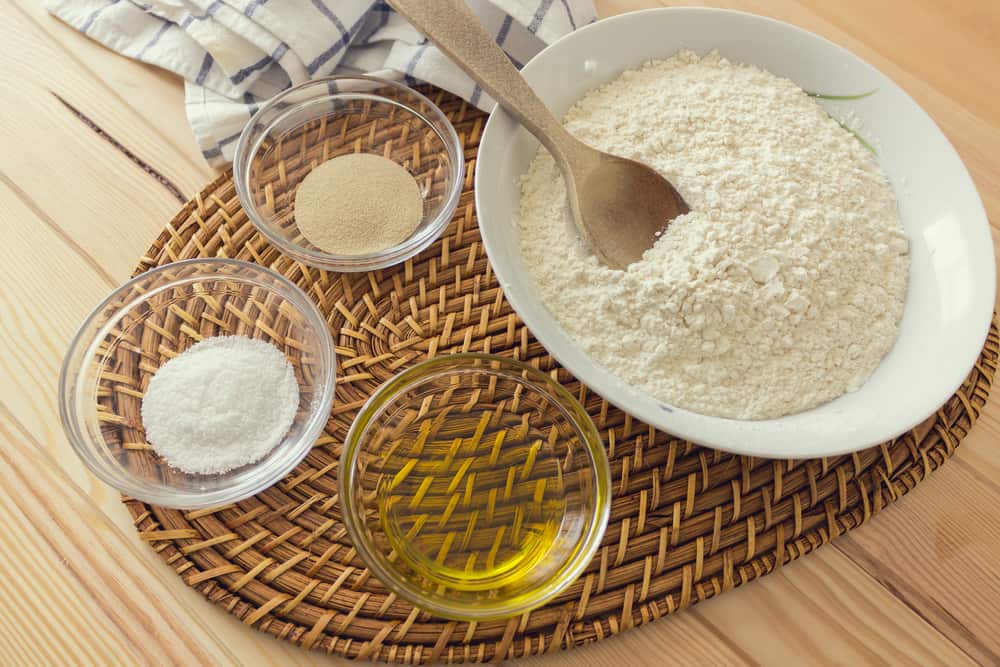
The dough-making process is quite simple when you break it down. We have the ingredients: flour, water, salt, yeast, and olive oil. Our goal is to combine them to produce dough we can use to make our signature pizzas.
How to Mix Pizza Dough
There are three methods that we will be discussing:
- Using the dough paddle
- Using the dough hook
- Using your hands
Pro Tip
When over mixing or kneading the dough with a paddle or hood, the dough can become stiff. To fix it, add 1 tsp of water, mix, and let it sit for 10 minutes.
Dough Hook vs Paddle
Let’s examine how to use each of them to make pizza dough.
Using the Dough Paddle to Mix Pizza Dough
First off, let’s look at what the dough paddle does. From Kitchenaid’s help manual, we can see the paddle’s primary purpose is to blend heavy mixtures such as cake, frostings, cookies, meatloaf, and mashed potatoes.
Using the Dough Paddle for Pizza Dough
Although the dough paddle, or flat beater, is not the ideal choice for pizza dough, it can still play a supporting role in the initial stages of dough preparation. With its wide, flat surface, the paddle attachment is excellent at combining and blending dry ingredients, such as flour, salt, and sugar, before adding any wet components. This ensures an even distribution of these ingredients, laying the foundation for a smoother dough formation process.
However, once it’s time to introduce the wet ingredients and begin the kneading process, it’s crucial to switch to the dough hook. The dough hook’s unique design is better suited for developing the gluten structure and elasticity essential for a perfect pizza crust, whereas the paddle may struggle to achieve the desired texture and consistency. In short, while the dough paddle can assist in prepping your pizza dough, the dough hook remains the star player in achieving that flawless crust.
It is recommended that you start with the paddle regarding your pizza dough, especially if you are a beginner. The significant advantage of this will not only incorporate the ingredients better right from the beginning, but it will also get the job done faster.
Using the Dough Hook for Pizza Dough
Going back to the Kitchenaid help manual, the dough hook does the kneading, whereas your paddle is more of a mixer. It is used for yeast doughs, like our pizza, bread, coffeecake, buns, and pasta.
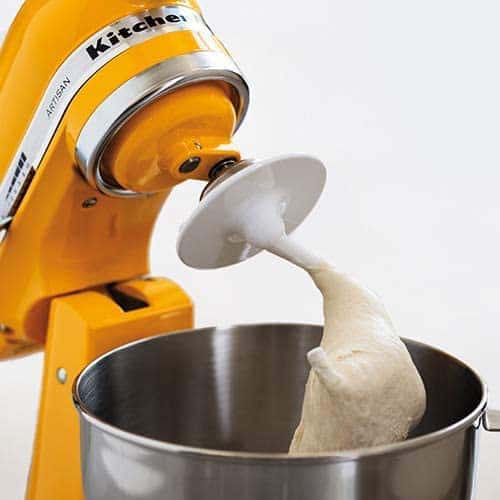
When it comes to crafting the perfect pizza dough, the dough hook is your trusty companion. This attachment is specifically designed to replicate the gentle kneading action of hand-kneading, ensuring a well-mixed, smooth, and elastic dough.
As the dough hook works its magic, it develops the gluten structure that is vital for a pizza crust’s chewy texture and airy pockets. By efficiently combining the ingredients, it saves you time and effort compared to manual kneading, while also reducing the risk of overworking the dough.
In addition, using a dough hook can lead to a more consistent and even distribution of ingredients, resulting in a uniform pizza crust that cooks evenly and tastes scrumptious. Embrace the dough hook for your pizza dough, and get ready to elevate your homemade pizza game to new heights!
If you are using the dough hook, you should begin by slightly mixing your dry ingredients with the water by spoon or hand or using the paddle, then move to the hook. The hook is a slower process, as we will discuss ahead.
We recommend using the dough hook after the initial mixing of the dough. Putting in a little more time with the hook will show the care you had for your dough, and in return, you will see the love back when they bite into a slice.
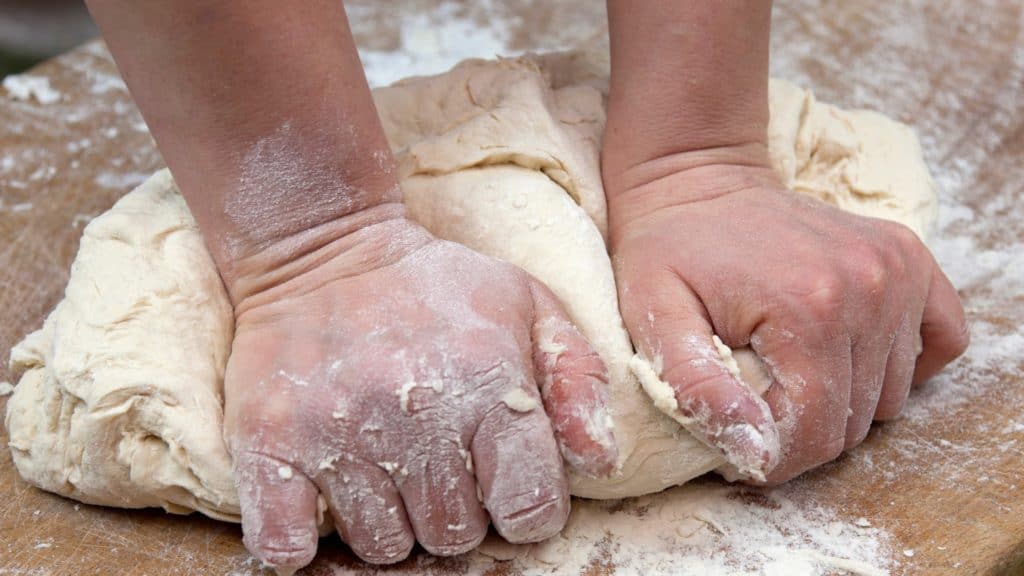
Using Your Hands for Pizza Dough
Before there were electric mixers, there were just people. Baking goes back 100s of years, and the real pioneers had their bodies to do all the work.
Using your hands to knead pizza dough is a traditional and rewarding method that connects you to the age-old art of baking. Hand-kneading allows you to feel the dough’s texture and elasticity, giving you a more intimate understanding of when it has reached the desired consistency.
As you work the dough, you’re developing the gluten structure required for a chewy, airy pizza crust. While this technique can be time-consuming and labor-intensive compared to using a dough hook, it offers a sense of satisfaction and control over the dough-making process. Additionally, hand-kneading is a great option for those who do not have a stand mixer or prefer a more hands-on approach to baking.
Just remember to be patient and gentle with your dough, as over-kneading can result in a tough, dense crust. Embrace the tactile experience of hand-kneading, and revel in the homemade goodness of your pizza dough creation.
Using Your Hands for Kneading Pizza Dough
This method is the only dough hook alternative to consider. The process is the same as the above two. Once again, it just takes a little more time and effort.
As discussed in the next section, you will start with a spoon to mix the ingredients and then work your way into the kneading.
The Dough-Making Process
There are three things we are looking for when we are making pizza dough:
- Even distribution
- Activated yeast
- Development of the gluten
Dough Hook vs Paddle for Even Distribution
To achieve an even distribution of the ingredients, follow the steps below:
- Place your dough in the mixer with the paddle, add your liquid, and turn it in at the slowest speed. For the other methods, you can start the process off by using a spoon to mix.
- After a minute with the paddle, stop the mixture and let it sit for five minutes.
If you are hand mixing or beginning with the hook, perhaps it will take a bit longer, around 3 to 5 minutes.
- When you see that the mixture is evenly distributed, stop and wait five minutes, just like the paddle method.
As a side note, keep a little extra water nearby, as you may have to add some if it is too stiff.
Activated Yeast
The yeast begins to activate when the water mixes with it. The yeast will take time to work its magic, mostly in the later stages of the dough process. More importantly, is the last key factor to look out for when making your dough.
Dough Hook vs Paddle for Development of the Gluten
The key to pizza dough has a large part of doing with gluten. The two proteins need to mix to form a strong bond, and we begin to see that in the first mixing step of the process and the five minutes, the dough sits.
To make sure the gluten develops, follow the steps below:
- After five minutes, turn the mixer on one speed above the last. About 30 seconds to a minute is all that is needed with the paddle. If you have moved over to the hook or started with the hook, another 3 or 4 minutes should be good, also at a higher speed.
If you started with your hands, it would be a bit longer, 5 to 6 min, but feel free to speed up if you like. During this process, you will use a standard dough kneading pattern of pushing the palm of your hand into the dough, folding once, turning 90 degrees, and repeating the process.
- When you finish this step, your dough should look well-mixed and sticky. Put a little olive oil down on your work area, dab your hands in some water so the dough doesn’t stick, and proceed to gather the dough up in your hands.

Give it the window test, stretching it out thin so the dough is still in one piece but thin enough to let light through. You will notice it’s not quite there yet.

The Pizza Dough Kneading Process
At this point, no matter what method you use, you should have your dough on the olive oil surface for the stretch and fold process. Our goal is to get a nice firm and bouncy dough.
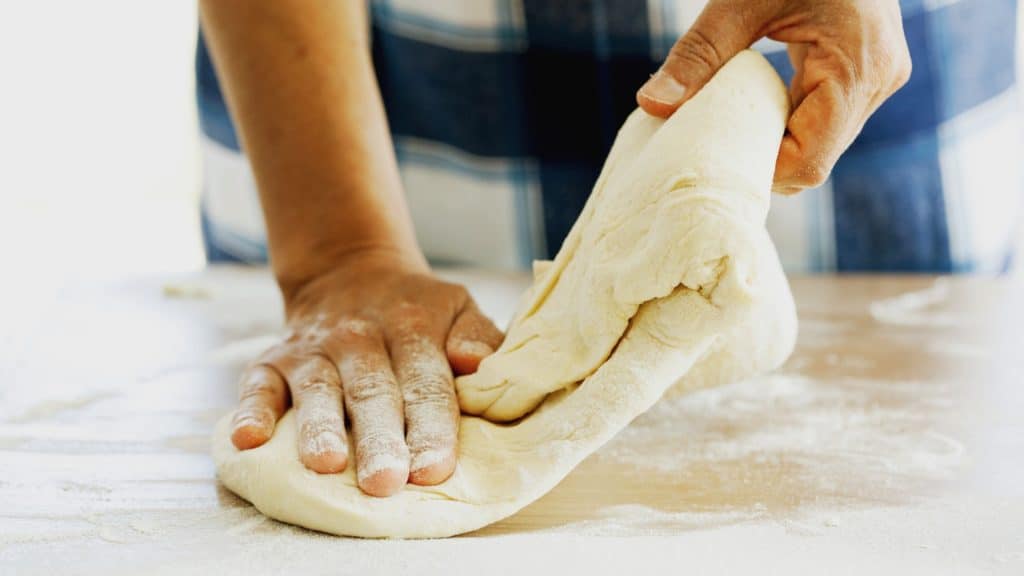
To do this, we will use the kneading method, where you will barely stretch the dough out on each side, followed by folding each side up.
You will then proceed to turn it over and do the same again. You should see your dough looking a little firmer.
Place a glass bowl over the dough and wait five minutes. If it’s longer, don’t worry.
After five minutes, we will take the bowl off the dough and repeat the process (stretch, fold and fold, turn over, stretch, and fold and fold again). Place the bowl back over it.
We will do this four times, waiting for five minutes between each time. In the end, your dough should be ready to place in the refrigerator or freezer to be used for pizza when you are ready.
Pizza Pun
I knew I shouldn’t steal a mixer from work
But it was a whisk I was willing to take.
Important Points to Remember
By now, you should have an excellent firm and smooth pizza dough. I’m sure it looks great, but if you had an issue with your dough or want to be prepared only in case, here are some tips and rules to remember.
- The paddle will get the job done quicker. You will mix for only one minute at a time.
- The hook speeds the kneading process and is much nicer for your arms. You will mix for about three minutes each time.
- If nothing is available, use the dough hook alternative; your hands, and the basic dough kneading pattern described above.
Remember, no matter what method you use, you will want to knead the dough by stretching and folding as described at the end of the process.
The hook doesn’t altogether remove the kneading process, but it takes care of most of it.
Issues with the Dough
If your dough is too sticky, add a little flour, one tablespoon at a time. If your dough is too stiff, you can add water, a little at a time.
If your dough isn’t forming into a ball, see if it is too dry or too wet, and adjust accordingly with water or flour.
In the end, you will know your dough is done when it is smooth and firm. The yeast will continue in the refrigerator, and you’ll be all set by morning.
Check our troubleshooting section for more on pizza problems.
Additional Resources on Pizza Accessories
Essential Pizza Accessories You Need to Be a PRO!
the PROs
Pizza Accessories Making pizzas at home is a fun and exciting activity suitable for anybody. Mind you: we are not …

Cool Pizza Cutters: The Best of 2024!
the PROs
Are you looking for cool pizza cutters? Awesome! Here’s what we’ve found, the best for 2024. We have conducted several …
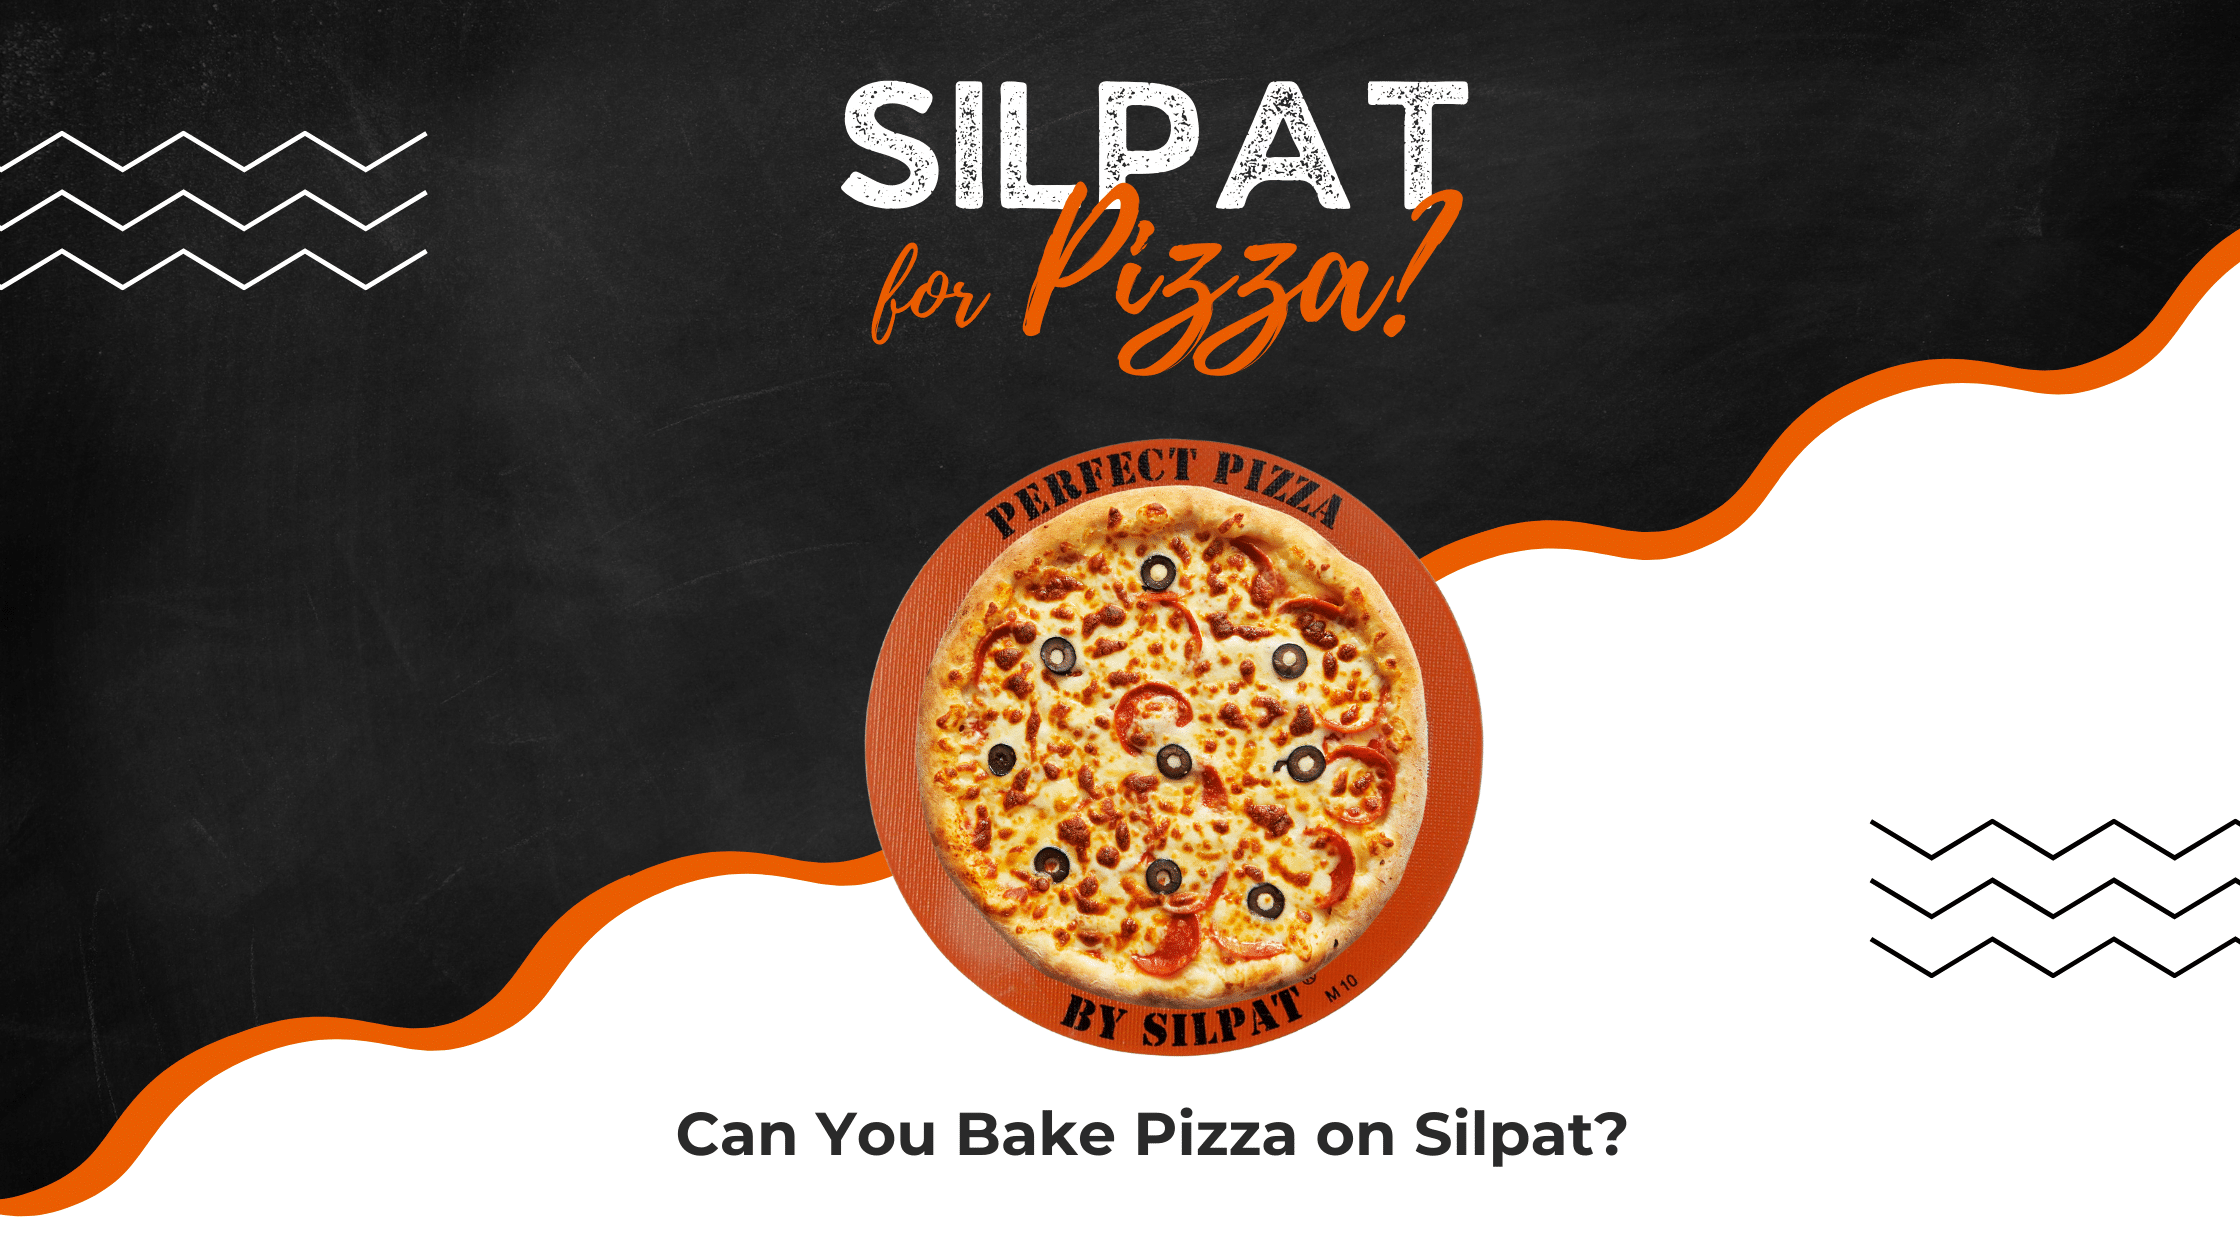
Can You Bake Pizza on Silpat? Yes, You Can! Here’s What You Need to Know
the PROs
Good news! You can use plenty of methods to get the best pizza results from the comfort of your home. …
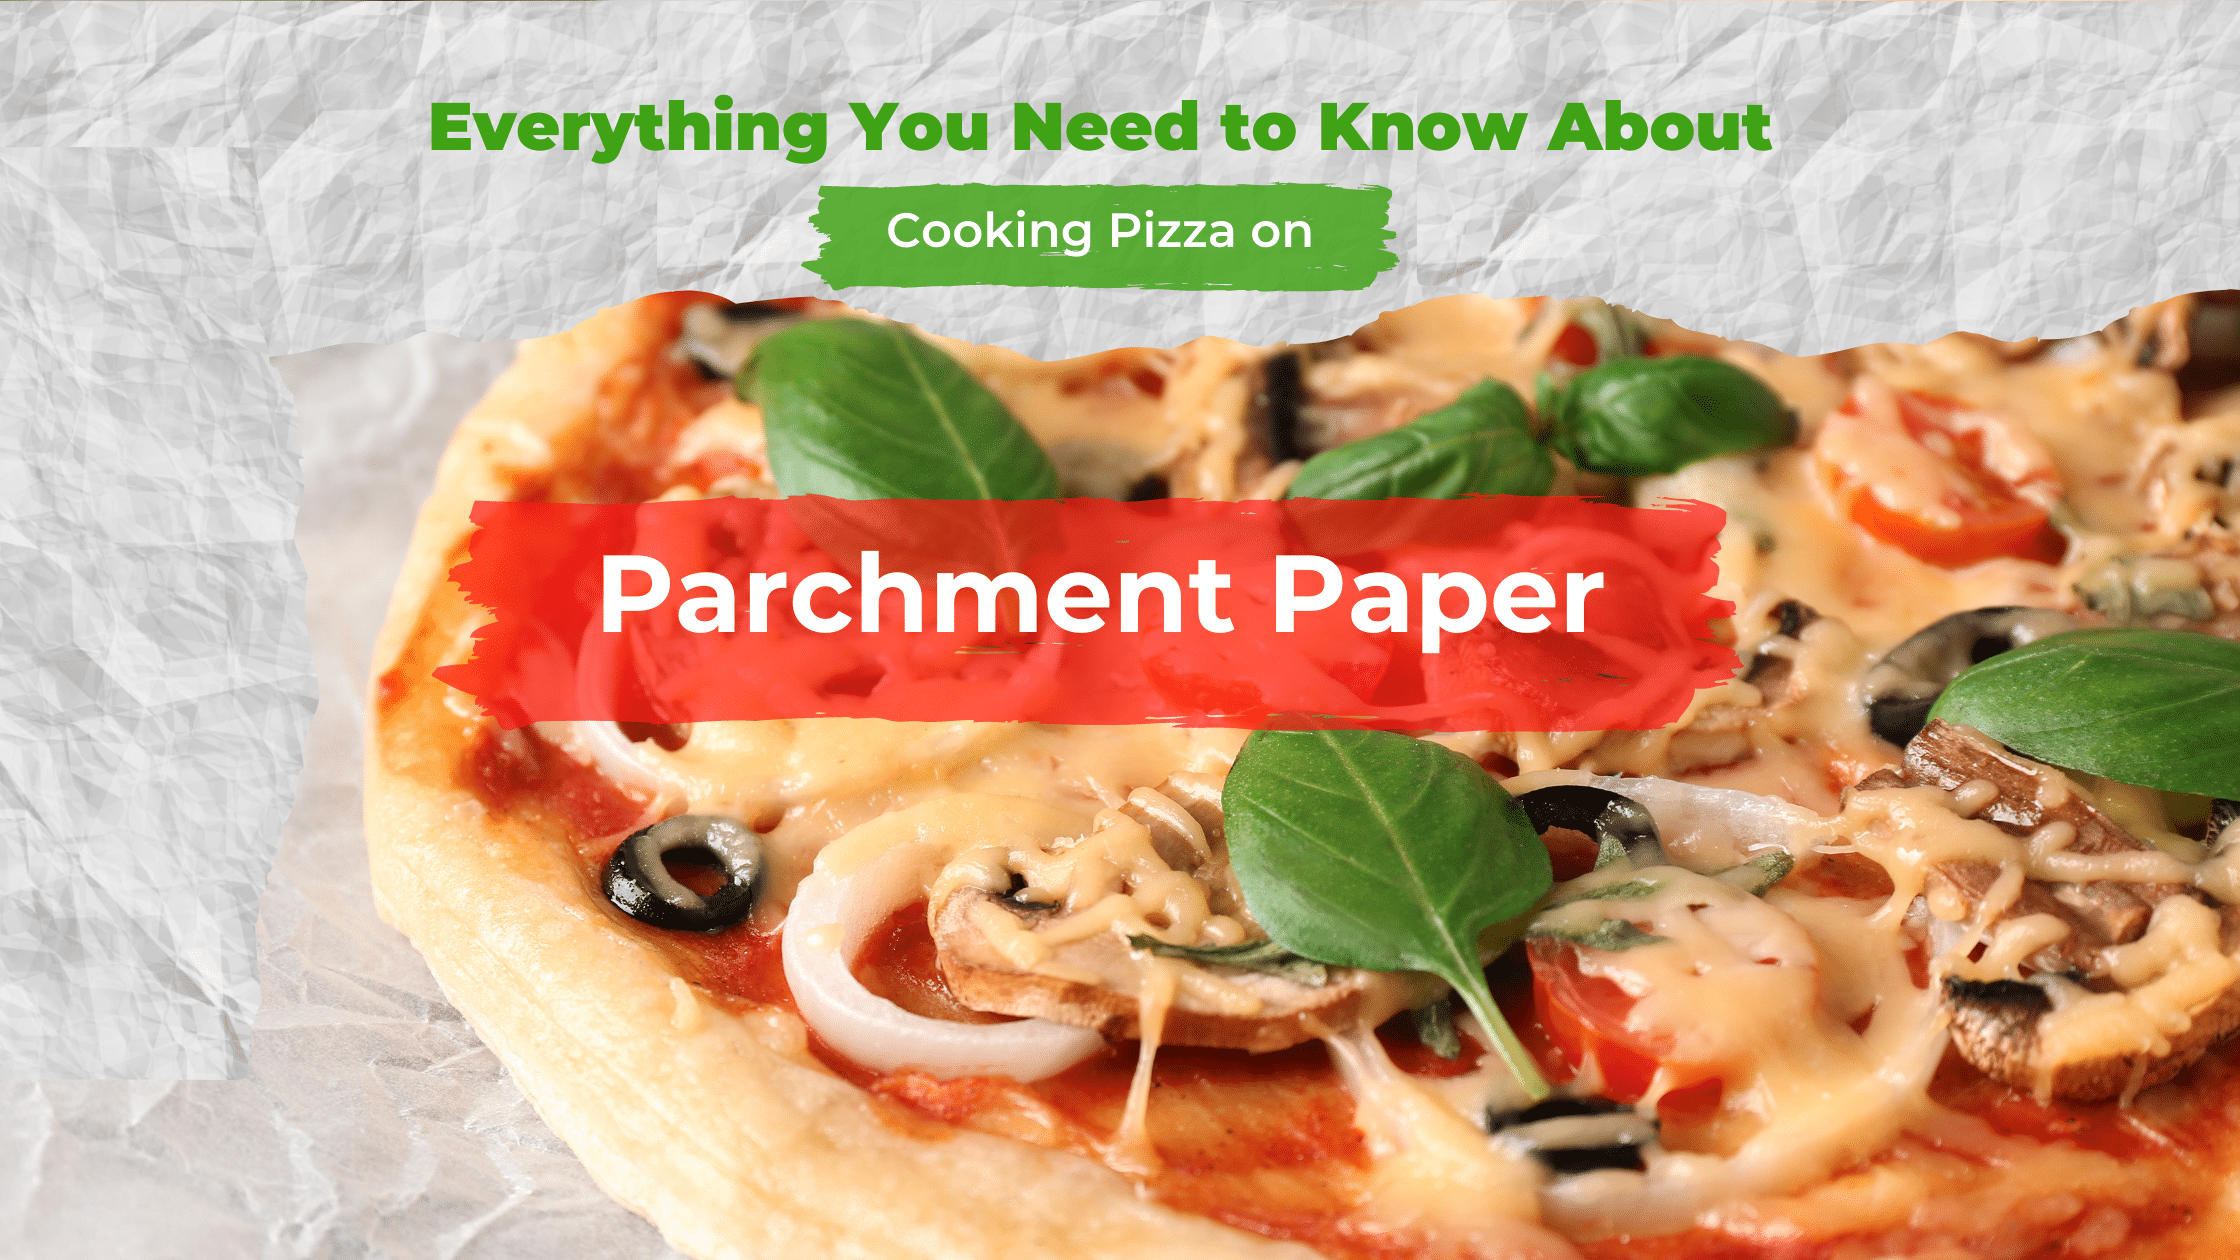
Ditch the Pizza Stone and Cook Your Pizza on Parchment Paper
the PROs
Can You Cook Pizza on Parchment Paper? Baking Pizza on Parchment Paper As pizza enthusiasts with countless pies under our …
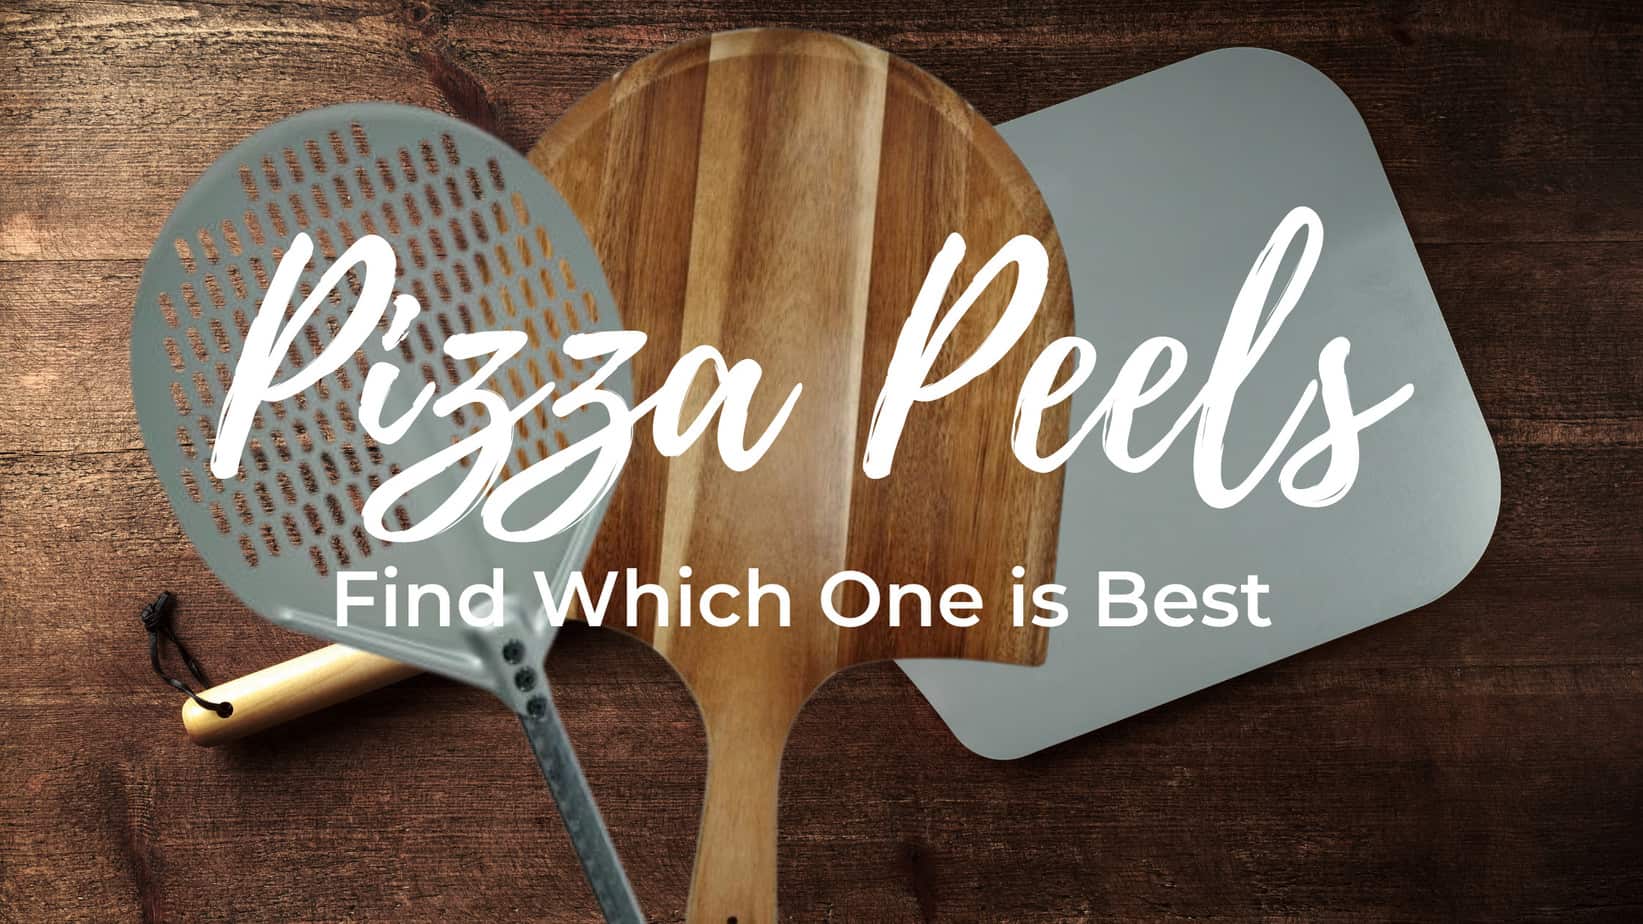
Pizza Peel Wood vs Metal: Unfold the Real Difference and an Astonishing Solution for Both
the PROs
Are trying to decide which pizza peel to get? Well no need to look further, find which is the best, how to use it and a surprising solution.
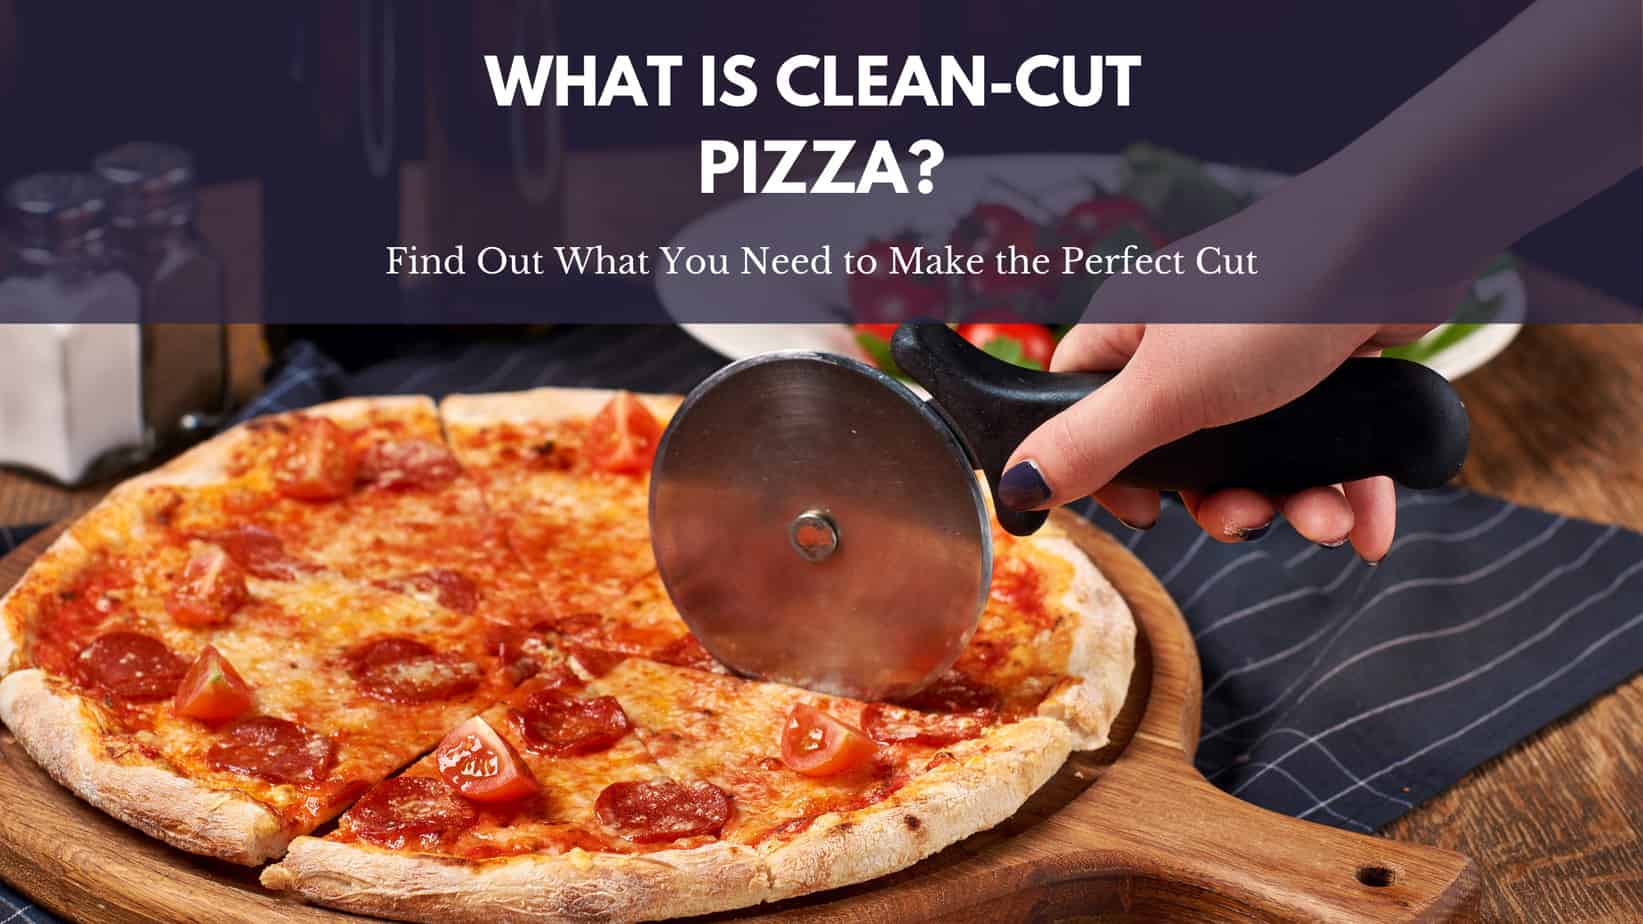
Master the Art of Clean Cut Pizza: [+Tips and Tricks for Perfect Slices]
the PROs
What is Clean Cut Pizza? We know you take your pizza game seriously, and we’re here to help elevate it …
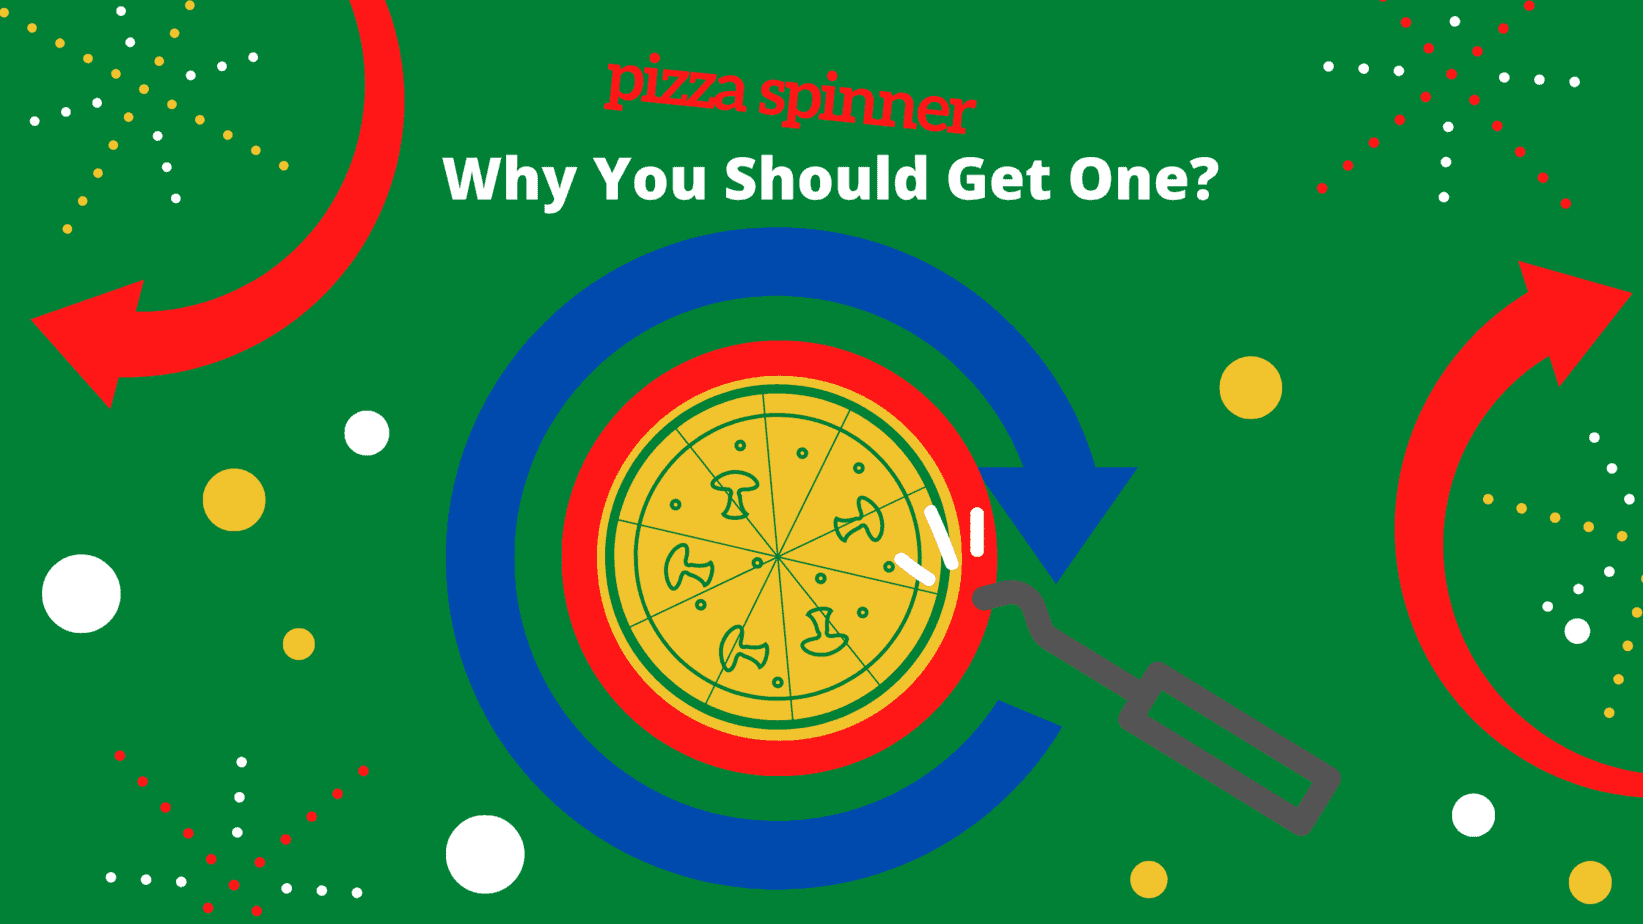
Pizza Spinner: A Game-Changer Tool You Need to Try Today!
the PROs
If you love your pizza and like to bake your pizza, most often than not, you might be already knowing how important it is to have a perfect and evenly baked pizza. You might have often seen your pizza unevenly made, nice and crispy in some areas, whereas soggy and uncooked dough in other areas. To overcome this, we recommend a lot of techniques and tools. Among all the tools and techniques, the one tool that stands out and apart is the Pizza Spinner. But what is it? Let’s find out!
The Last Slice
We hope that you know now how to compare the use of a dough hook vs paddle in your pizza-making process.
Try all three and see which works best for you.
Did you prefer your pizza with the paddle or hook?
Did you find another method that’s even better than these?
Just keep on baking either way. As long as you put your heart into it, you are well on your way to being the best!
Check Amazon’s Pizza-Making Must-Haves
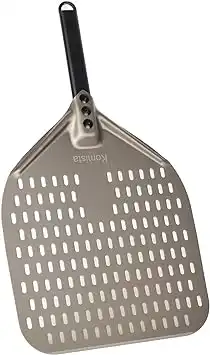
Why have two pizza peels when you can only have one. This pizza peel surpasses the benefits of wood peels with the convenience of a metal peel. It's made entirely from anodized aluminum for a lightweight design that's incredibly durable, too. It's designed to be used frequently in high-heat pizza ovens.
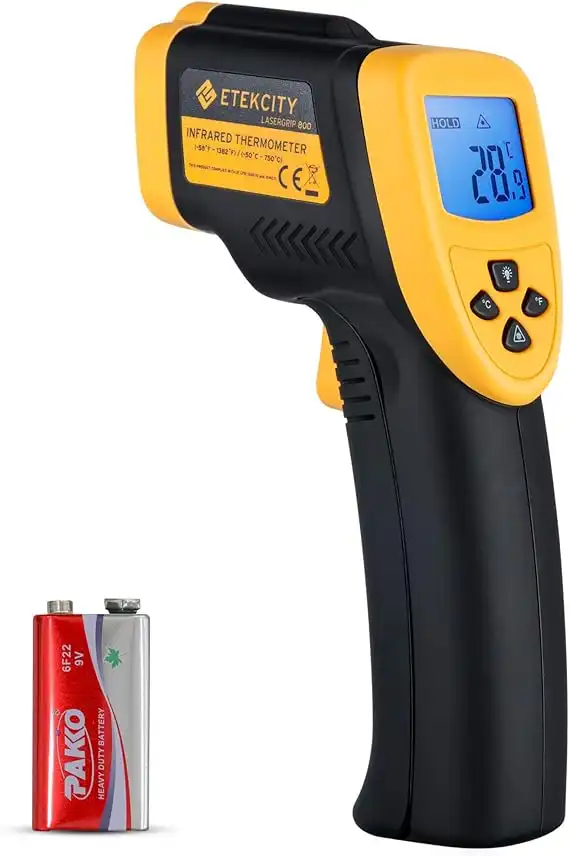
The Etekcity Lasergrip 800 Digital Infrared Thermometer is a versatile and reliable tool for accurate temperature measurements. Its non-contact design allows you to measure temperatures from a distance, making it safe and hygienic for various applications. With a wide temperature range of -58°F to 1382°F (-50°C to 750°C), this infrared thermometer is perfect for both everyday cooking needs and professional uses.
The built-in laser pointer helps you target the specific area you want to measure, ensuring precision and consistency. Whether you're grilling, cooking, or performing household maintenance, the Etekcity Lasergrip 800 provides fast and accurate temperature readings with ease.
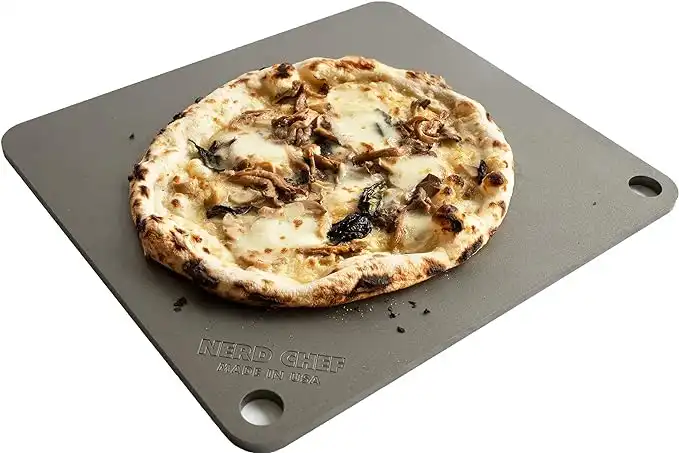 NerdChef Steel Stone
Making great crusts traditionally requires a 700-1000F wood-fired oven. Nerdchef Steel Stone replicates that performance in a home oven with its super-high heat transfer ability - transferring heat energy 20 times faster than ceramic. It creates beautiful and crispier crusts, gorgeous blistering throughout, and it cooks faster.
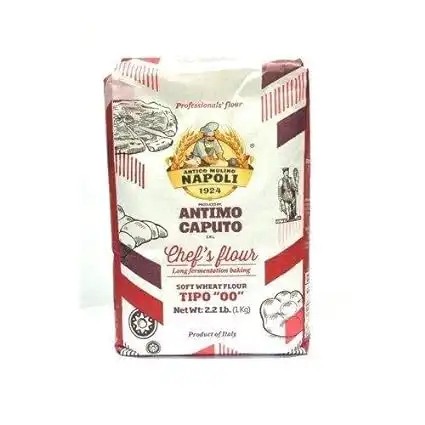
The Chef's flour is a general-purpose, high gluten flour that works well for many recipes. "Tipo 00" refers to how refined the flour is. Chef's Flour is best for those who want to bake in their traditional home oven up to 500 degrees Fahrenheit!
Enjoy!
Not a PRO? Not a Problem!
Take a pizza class to bring your pizza skills to the next level,
so you can be a PRO!
Related Posts
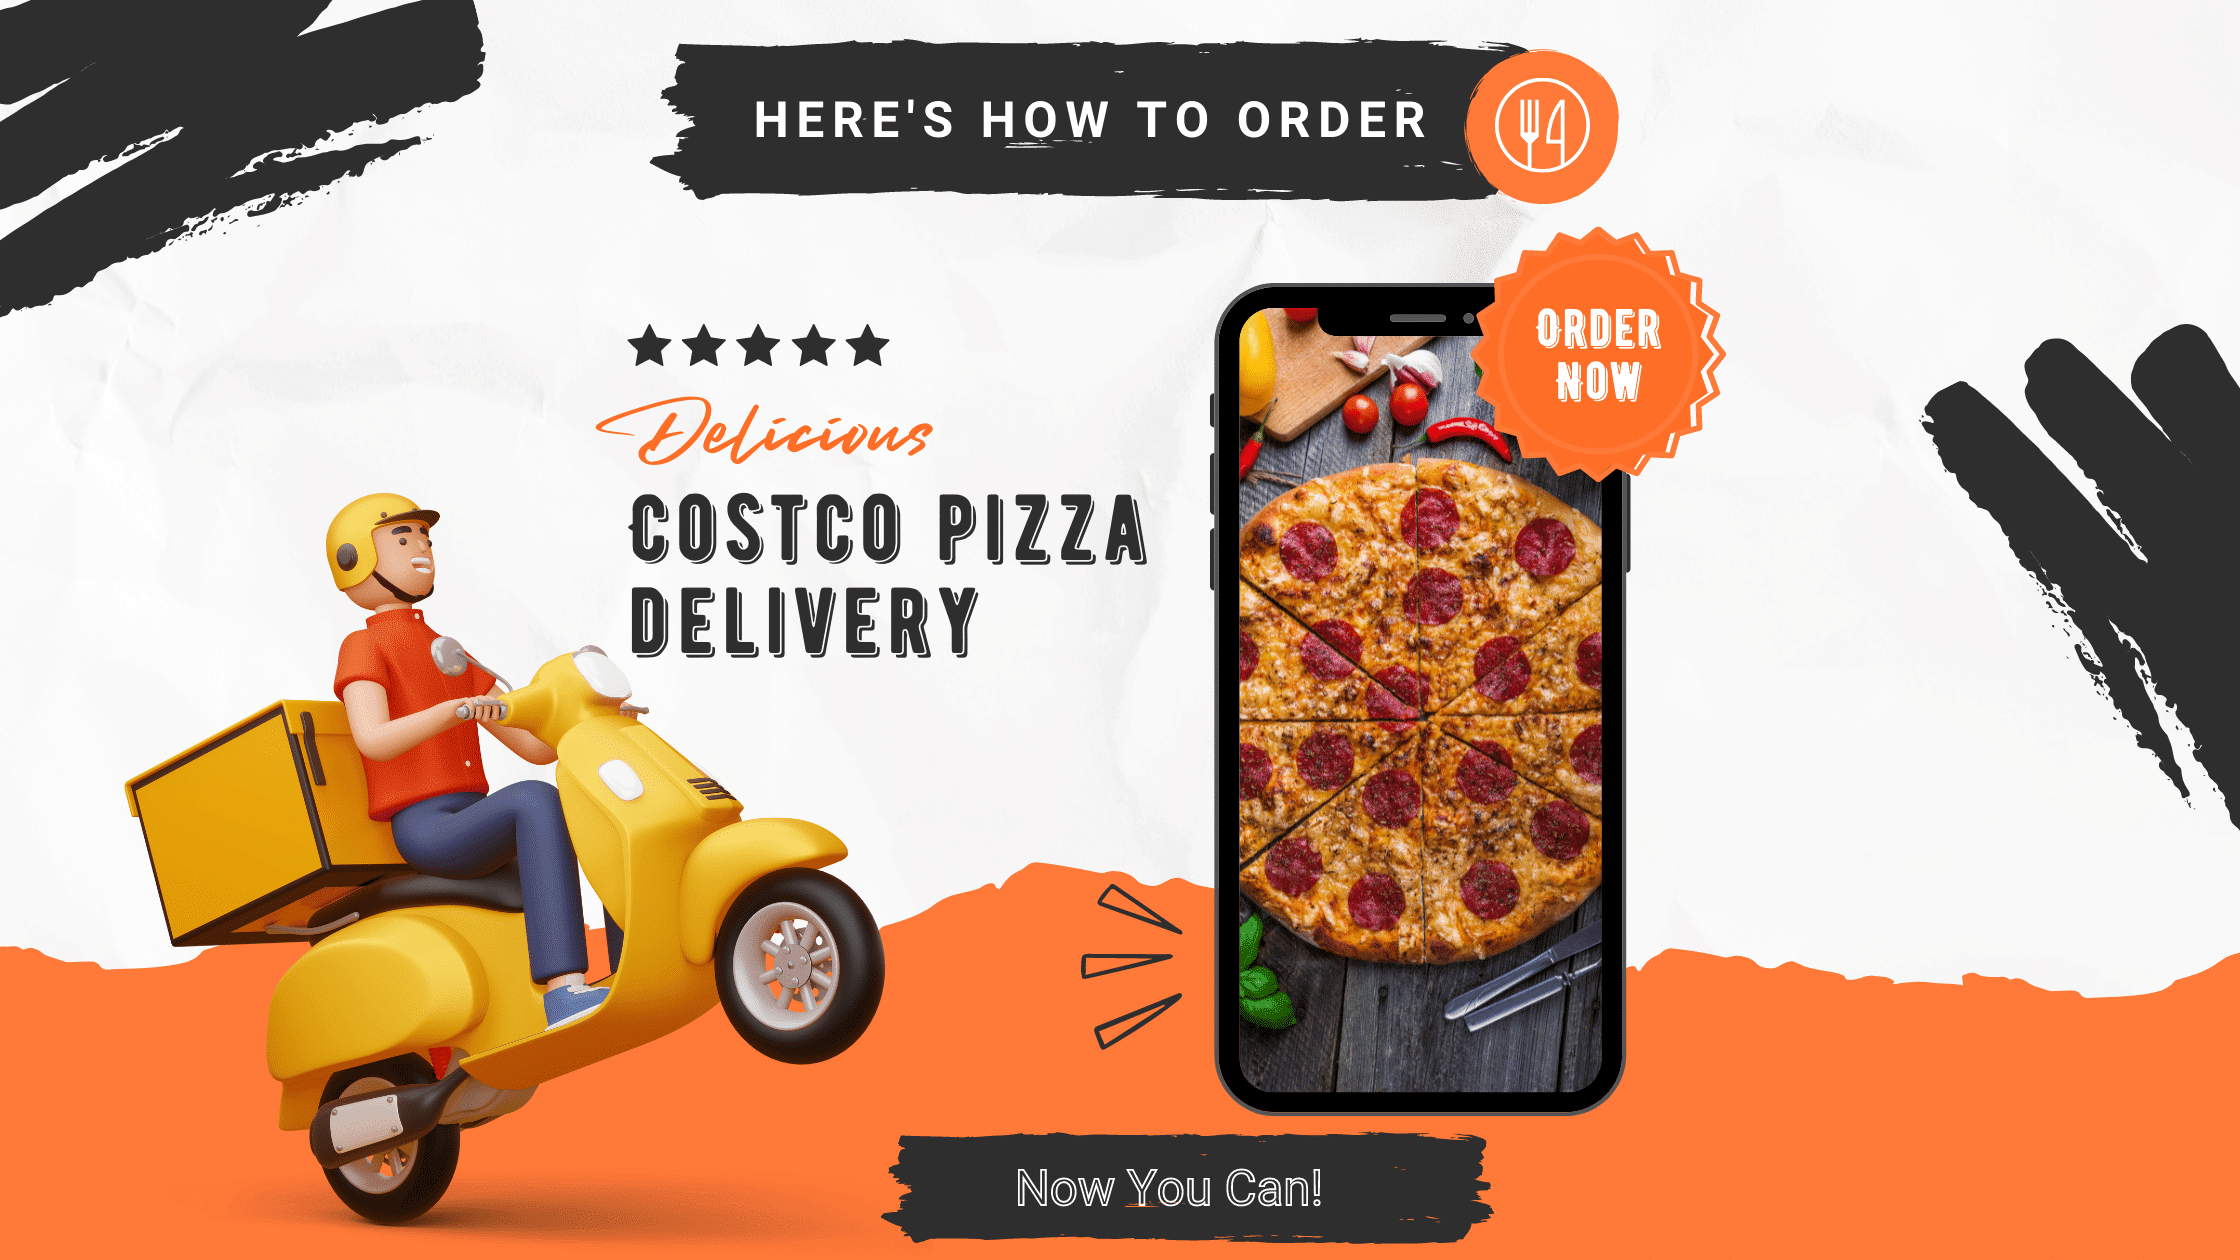
Costco Pizza Delivery: Find How You Can Get It Now!
the PROs
People go to Costco’s food court for many different reasons, but the cheesy slice of pizza they serve is among …
Pizza for Beginners: Don’t Buy Pizza, Make It! Here’s How to Get Started!
the PROs
You have this idea that you want to make pizza at home as opposed to ordering it, but where do you start? Don’t worry! Here you will find answers and directions to all your questions.

Pizza Toppings Under Cheese or Over Cheese? [Why the Order Matters]
the PROs
Is Pizza Cheese on Top or Bottom? Hey pizza lovers, are you wondering if you should layer pizza toppings under …

Newsletter
Subscribe to our Recipe of the Week newsletter and receive our partners’ latest recipes, tips, and discount offers.
Keep in Touch!