
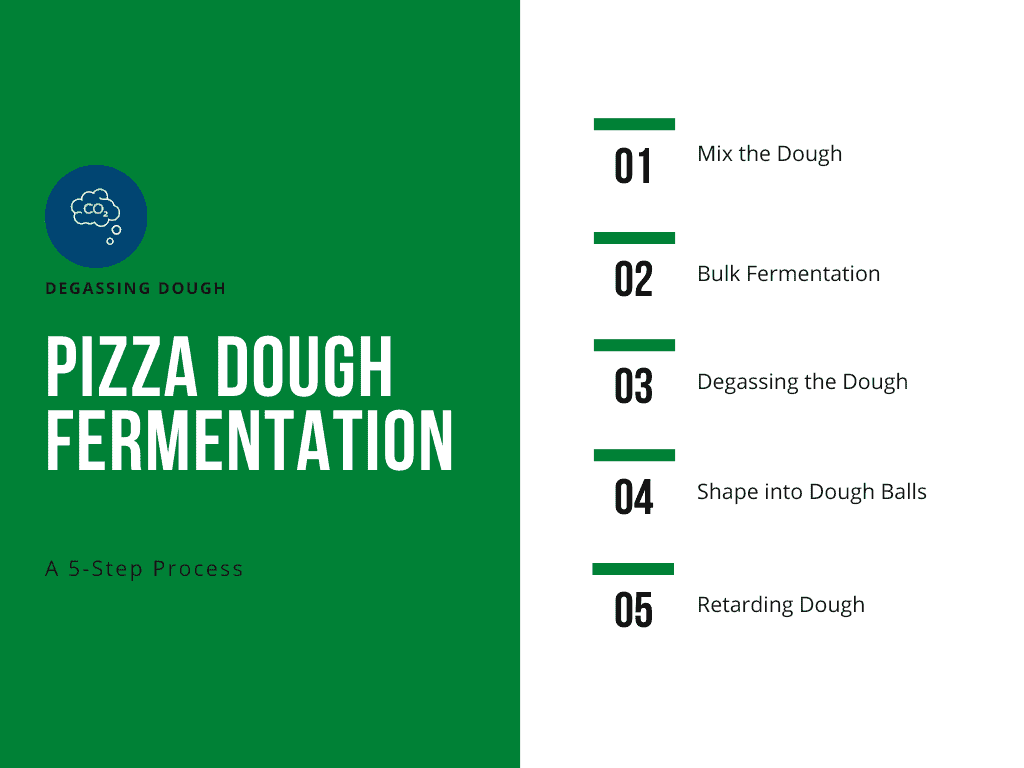
Pizza Dough Degassing
Have you ever noticed how sometimes your pizza crust ends up denser than you’d like, or your toppings don’t sit evenly? If you’ve ever been puzzled by the consistency of your pizza dough, you may not be familiar with the all-important process of pizza dough degassing.
Intrigued? You should be!
Degassing pizza dough could be the secret ingredient you’ve been missing in your homemade pizza endeavors. Understanding the nuances of degassing can transform your homemade pizzas from good to outright fantastic. Your crust will be lighter, your toppings more evenly distributed, and your taste buds more satisfied.
In this post, we’re going to plunge into the science of pizza dough, exploring the role of yeast, the nature of gluten, and the beauty of bubbles—all in pursuit of perfecting our pizzas. So get ready to put on your apron and your thinking cap because we’re about to delve into the delicious world of pizza dough degassing. If you’re keen on enhancing your pizza-making skills, read on—you’re in for a treat!
Let’s get started!
Here’s What You Will Find:
Pizza Dough Degassing
Pizza—arguably one of the greatest culinary gifts from Italy, is a delightful treat enjoyed by millions worldwide. But there’s a world of science and skill behind that simple slice of heavenly goodness, particularly when it comes to the dough. One of the most crucial, yet often overlooked, parts of crafting the perfect pizza is the process known as ‘degassing.’
In the realm of pizza making, degassing refers to the removal of excess air from the dough following its fermentation. But why is it so important, you might wonder? The answer lies in the crust. The right amount of degassing can lead to a crust that’s airy yet substantial, providing the perfect balance to the rich toppings.
Understanding degassing can make a considerable difference to your homemade pizzas. It’s a game-changer that could take your pies from being simply delicious to downright extraordinary. It’s time to unravel the mystery behind this crucial culinary process and learn how to apply it to your own pizza-making adventures.
Science Behind Pizza Dough
Before we delve into the mechanics of degassing, let’s talk a little about what’s actually happening inside your pizza dough. It all starts with two vital components: yeast and gluten.
Yeast is a type of fungi that’s used as a leavening agent in dough. As yeast ferments the sugars present in the flour, it releases carbon dioxide gas and ethanol. This gas gets trapped within the elastic network of gluten, creating small pockets or bubbles. These bubbles cause the dough to rise, contributing to its characteristic light and fluffy texture.
Gluten, on the other hand, is a protein complex found in wheat flour. When flour is mixed with water, these proteins hydrate and bond together, forming gluten. As you knead your dough, you’re actually developing this gluten network, which gives the dough its elasticity and strength. It’s this network that holds onto the gas produced during fermentation, allowing your dough to rise.
This combination of yeast and gluten creates a beautiful ballet of biochemical reactions within your dough, giving it life and lightness. But if left unchecked, these gas bubbles can grow too large, resulting in an uneven crust. That’s where degassing comes in.
In the following sections, we’ll explore the art of degassing, demonstrating how to create the perfect crust for your pizza, each and every time.
Understanding the Pizza Dough Degassing Process
Degassing, as the term suggests, is the process of removing excess gas from your dough. While the gas bubbles produced during fermentation are crucial for creating a light, airy dough, an excess can result in oversized bubbles. These, in turn, can cause irregularities in your crust and create a texture that’s too airy, lacking the right amount of substance that makes for a satisfying bite.
What is Degassing?
In essence, degassing is all about controlling the size and distribution of these bubbles. It’s a sort of balancing act, aimed at ensuring your dough has just the right amount of airiness without compromising on the substantial ‘chew’ that a great pizza crust should possess.
Degassing involves ‘punching down’ the dough, using your hands or a dough roller to push out some of the accumulated gas. This might sound counterintuitive if you’ve spent hours waiting for your dough to rise. However, it’s a vital step that contributes to the overall structure and texture of your pizza crust.
Why is Degassing Necessary?
Without degassing, your pizza crust could end up with large, irregular air pockets. This uneven distribution of gas can cause some parts of your crust to rise more than others, leading to a pizza with an inconsistent texture. The toppings might also slide off into the larger pockets, resulting in unevenly distributed toppings—a serious pizza faux pas!
Degassing helps to redistribute the gas more evenly throughout the dough, ensuring a uniform texture and creating a more consistent foundation for your toppings. The result? A pizza that’s a delight to both the eyes and the palate.
How to Tell When It’s Time to Degas
Determining the right time to degas your pizza dough is crucial. The dough should have had enough time to ferment and rise, typically until it has doubled in size. This indicates that the yeast has had enough time to produce gas and that the gluten network has sufficiently developed to hold onto it.
However, timing can depend on several factors, including the type of yeast you’re using, the temperature at which your dough is fermenting, and even the humidity levels in your environment. A good rule of thumb is to allow your dough to ferment until it has doubled in size—usually about 1-2 hours at room temperature. But always remember to follow the specific instructions of your recipe.
The Art of Degassing
Learning to degas pizza dough is more than just a technique—it’s an art that requires a gentle touch and a bit of intuition. But don’t worry, with practice, you’ll soon get the hang of it. Here’s a step-by-step guide to the process.
Step-by-Step Guide to Degassing Pizza Dough
- Check Your Dough:
The first step is to make sure your dough has risen properly and is ready for degassing. It should have roughly doubled in size and look puffy. - Flour Your Hands and Work Surface:
Before you handle the dough, lightly dust your hands and the surface where you’ll be working with flour. This will prevent the dough from sticking. - Remove the Dough:
Gently take the dough out of the bowl it’s been rising in. Be careful not to pull or tear it. - Press and Fold:
Using your fingers, press into the dough to release the gas bubbles, then fold it onto itself. Repeat this a few times across different sections of the dough. - Shape the Dough:
Once you’ve pressed out the larger bubbles, shape the dough into a ball or according to your pizza recipe’s instructions. - Let it Rest:
After degassing, it’s important to let the dough rest for a little while before shaping it for your pizza. This allows the gluten to relax, making it easier to shape without shrinking back.
Best Practices and Tips to Ensure Optimal Degassing Be gentle: Degassing doesn’t mean completely flattening the dough. Aim to reduce the large bubbles, but keep some of the gas in the dough for that nice airy texture. - Use your hands: Some recipes might suggest using a rolling pin, but using your hands allows more control and gentleness. Plus, it’s a more authentic way of preparing pizza dough.
Temperature matters: Warmer dough will be easier to degas and shape. If your dough is too cold, let it rest at room temperature for a bit before you start degassing.
Effects of Degassing on the Final Pizza
Now that you’ve learned how to degas your pizza dough, let’s delve into how this process impacts the final product.
Crust Texture
The most immediate effect of degassing is on the crust’s texture. Correctly degassed dough results in a crust that’s light and airy, yet with a satisfying chewiness. It gives you that perfect balance—neither too dense nor too fluffy.
Distribution of Toppings
A properly degassed pizza dough also provides a more consistent base for your toppings. Without large, irregular bubbles, your toppings can be spread more evenly, ensuring a balanced flavor in every bite.
Enhanced Overall Taste
The impact of degassing extends to the overall taste of your pizza. By creating a more consistent crust, the flavors of your dough and toppings are able to meld together more harmoniously. This means that every bite of your pizza is just as delicious as the last.
Mastering the art of degassing is like discovering a secret pizza-making superpower. Once you’ve got it down, you’ll never look at pizza dough the same way again. But remember—practice makes perfect. So don’t get discouraged if your first few attempts aren’t perfect. Pizza making, after all, is a labor of love. Keep trying, and soon, you’ll be crafting pizzas that would make any Italian grandma proud!
Degassing Dough Benefits
Degassing the dough allows the final crust to have:
- After the dough develops it will be softer with enhanced texture and flavor because of the added moisture (fermentation generates heat, water, and alcohol). The yeast-enhanced fermentation will improve the flavor.
- Increased dough growth – the yeast now has an increased food source to grow.
- Relaxes the gluten strands– the increased growth and improved texture make it easier for the final shaping.
- The warmer, balanced temperature within the dough – so when shaped in the next step, the dough can rise evenly during its final rise.
Pizza Dough Degassing – How it works
If you’re curious about how dough degassing works, here is a simple version: you knock down or degas your dough to weaken the gluten network.
This way, the gluten will not tear, resulting in a weak crust or even one that crumbles as soon as you start to handle it.
Dough degassing also removes any large air pockets that may be found in the dough, resulting in a more even, better-tasting dough.
Maximum Dough Degassing
New York-style pizza is renowned for its thin, crispy, yet foldable crust, a feature largely achieved through maximum degassing. The process begins with a high-gluten dough that’s left to ferment, allowing yeast to produce gas and cause the dough to rise.
Once it has sufficiently risen, the dough is thoroughly degassed, with more emphasis on this step compared to other pizza styles. The pizza maker uses their hands or a rolling pin to press out nearly all the gas bubbles, creating a denser, flatter dough.
The dough is then stretched thin, contributing to its signature thinness. This thorough degassing is key to achieving the New York-style pizza’s distinct crust – thin, slightly chewy, with a crisp exterior that can support a generous layer of toppings without becoming soggy. The result is a slice of pizza you can fold in half and eat on the go, just like a true New Yorker!
Minimum Dough Degassing
Neapolitan pizza, hailing from Naples, Italy, is celebrated for its soft, chewy crust with characteristic charred bubbles, a trait attained through minimal dough degassing. The dough preparation begins with ’00’ flour, yeast, water, and salt, and it’s left to ferment until it has significantly risen.

Unlike the New York-style pizza, the degassing process for Neapolitan pizza is much gentler and more restrained. The pizza maker gently pats the dough, preserving the majority of the gas bubbles. This helps to create the distinctive puffy and charred crust when baked at extremely high temperatures in a wood-fired oven.
The center of the pizza remains quite thin and soft, often requiring a knife and fork to eat. By retaining much of the fermentation gas, the crust of a Neapolitan pizza achieves a light, airy texture with a delightful chew, true to its traditional roots.
Degassing Pizza Dough
Typically, pizza dough is degassed twice because the recipe often calls for you to degas the dough after each rise.
The second time occurs after the second rise, which is crucial because the gluten strength has had time to develop again. You’ll need that second degassing to ensure the gluten fibers have the correct strength.
Of course, what makes pizza dough different from most other doughs is you want your gluten to be strong. So, does this mean that the second degassing isn’t necessary?
Not really. When it comes to pizza dough, when you knock the dough, you’re shaping it more t
Common Mistakes to Avoid While Degassing
As with any technique, degassing has its pitfalls. But don’t worry, armed with the right knowledge, these are easy to avoid. Here are some common mistakes and tips on how to steer clear of them.
Over-Degassing
This happens when you remove too much gas from the dough, leading to a pizza crust that’s too dense and lacking that delightful airiness. Remember, the aim of degassing is not to flatten the dough completely, but rather to remove the larger gas pockets and redistribute the remaining ones evenly.
Under-Degassing
On the flip side, not degassing enough can leave you with large, irregular gas bubbles that create an uneven crust. This also affects the distribution of your toppings. Make sure to press the dough gently yet firmly, and check to see if there are any remaining large bubbles that need to be pressed out.
Not Allowing the Dough to Rest Post-Degassing
This is a crucial step that is often overlooked. After you’ve degassed your dough, give it some time to rest before you start shaping your pizza. This allows the gluten to relax, making it easier to shape the dough without it shrinking back.
Handling the Dough Too Roughly
Remember, your dough is a delicate thing. Tearing or roughly handling it can damage the gluten network, affecting the final texture of your pizza. Always handle your dough gently and with care.
Experimenting with Degassing: Different Techniques
Just as every pizza is unique, so too is every pizza maker’s approach to degassing. It’s always good to experiment and find the method that works best for you. Here are a couple of different degassing techniques you might want to try.
The Fold-and-Turn Method
In this method, instead of just pressing out the gas, you fold the dough onto itself after each press. This not only removes the gas but also helps to strengthen the gluten network, making for a chewier crust.
The Stretch-and-Fold Method
This technique involves gently stretching out the dough, then folding it back onto itself. This method can help create more layers in your dough, leading to a crust that’s both light and chewy.
Using a Rolling Pin
While most traditionalists prefer to use their hands, a rolling pin can be helpful, especially for beginners or those dealing with larger amounts of dough. Roll gently and don’t press too hard—you still want to keep some of those gas bubbles in the dough.
Remember, there’s no one-size-fits-all method when it comes to degassing. What matters most is finding a technique that gives you a crust you love. So go ahead and experiment—pizza making, after all, is as much about the journey as it is about the destination.
Tips to Degas Dough
- Determine the kind of pizza you are making to determine the extent of the dough degassing.
- Place the bulk dough in a lightly greased or oiled container for easy cleanup.
- Be firm but gentle when the dough degasses, and you’ll have a better crust.
The Ins and Outs of Dough Degassing
Many of you wonder if you genuinely need to degas dough and if specific recipes require it. It depends on whether you want large holes in your finished product.
This hole structure is acceptable in some situations, but with other pizza styles, you will want a smooth, thick product without holes, which is where degassing comes in.
Pro Tip
The art of shaping an artisan pizza is breaking down the large bubbles into smaller ones, but not so much as creating a typical cracker crust. Typically this takes a lot of patience and practice.

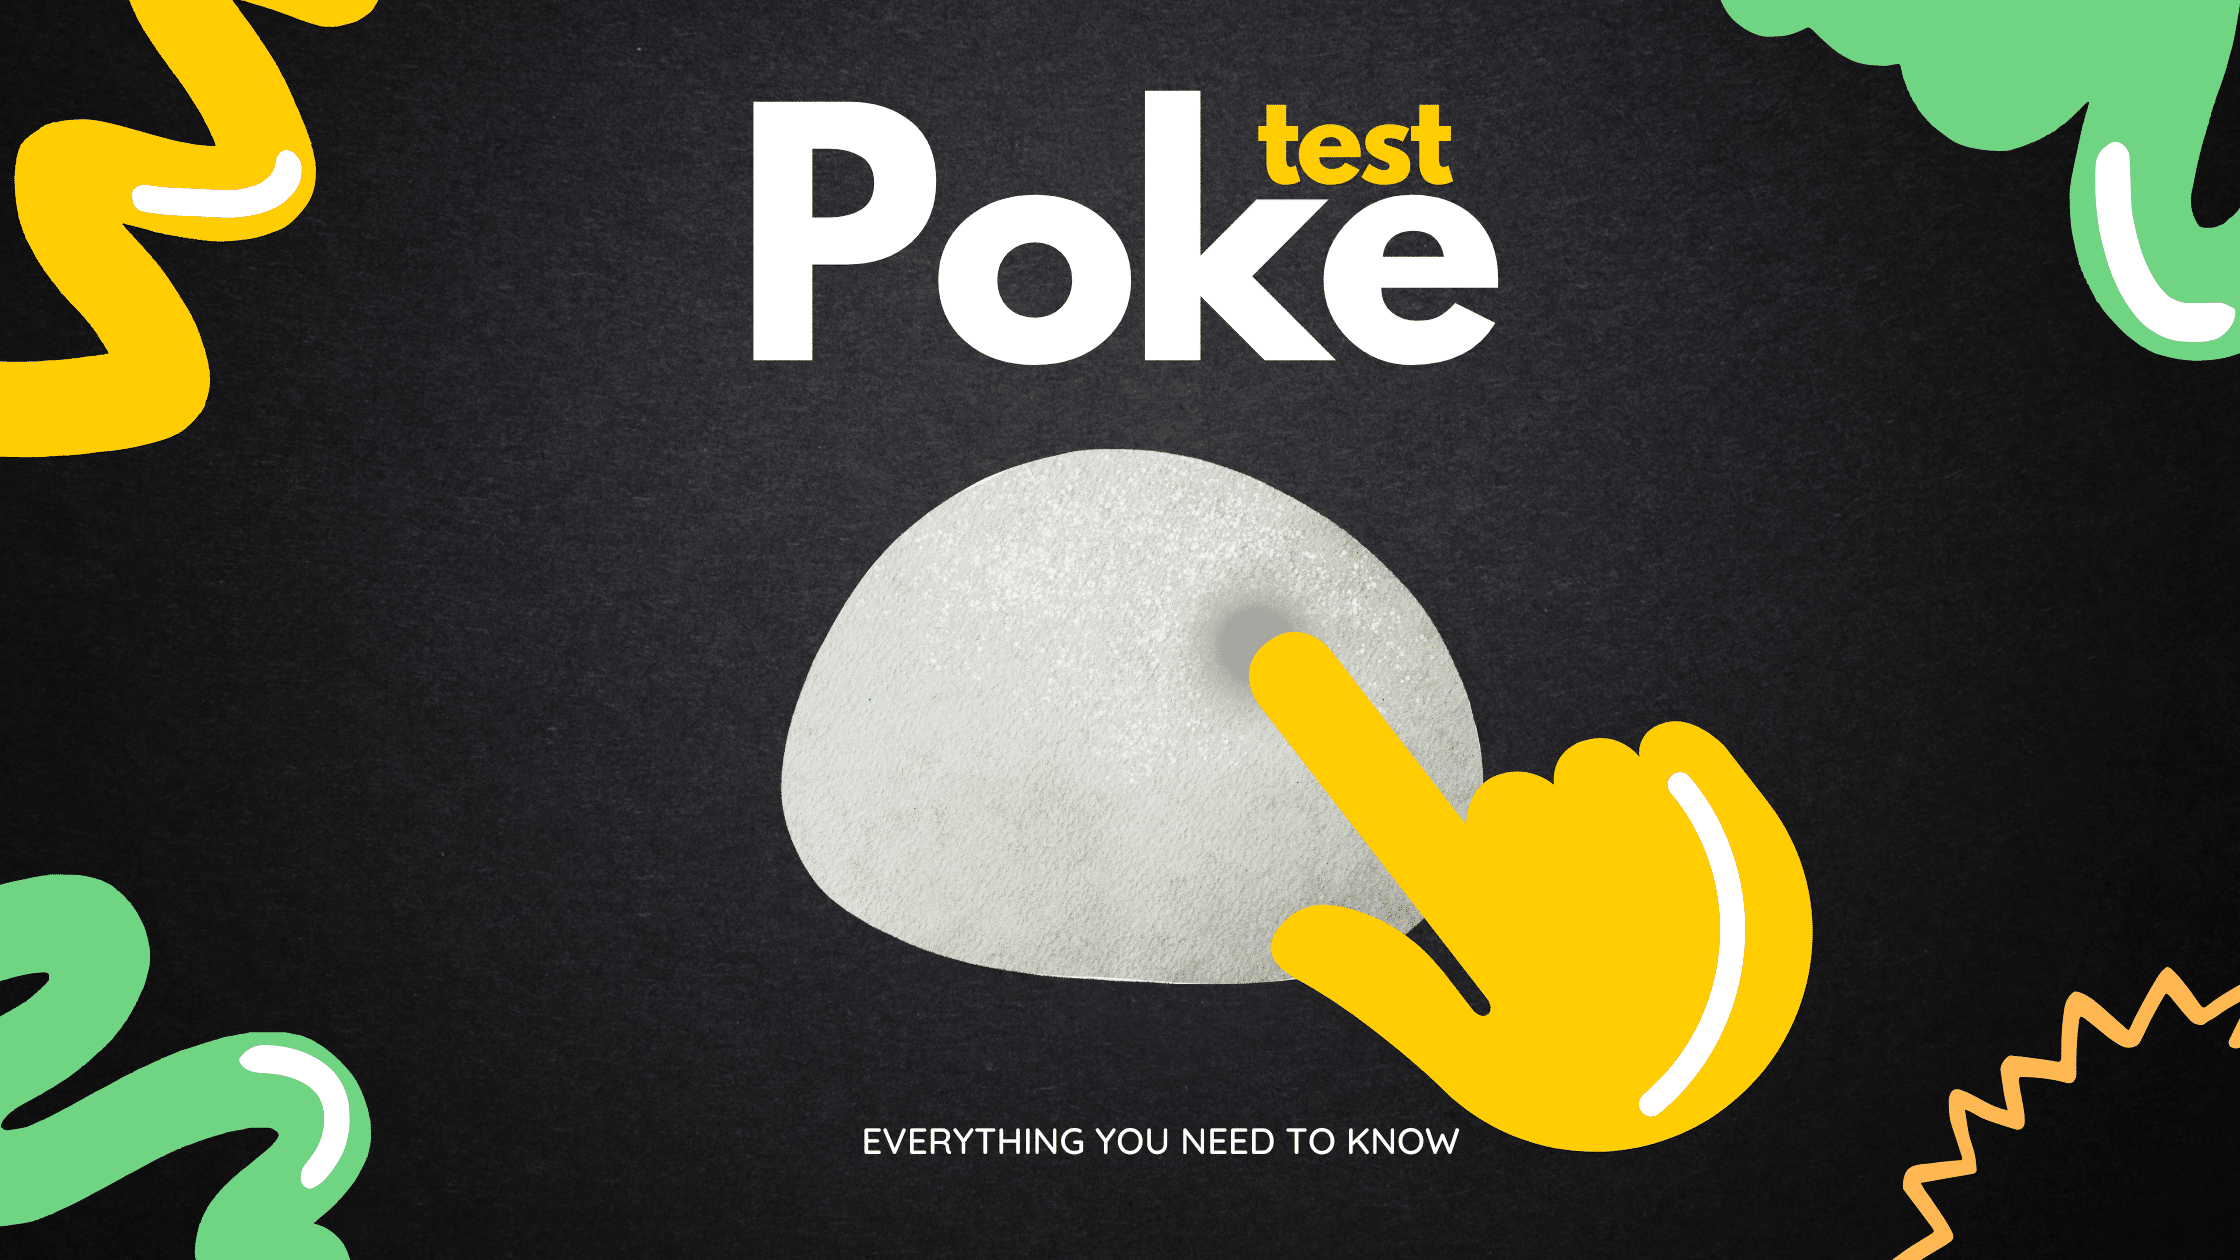
How Do You Know When the Dough is Ready to Degas?
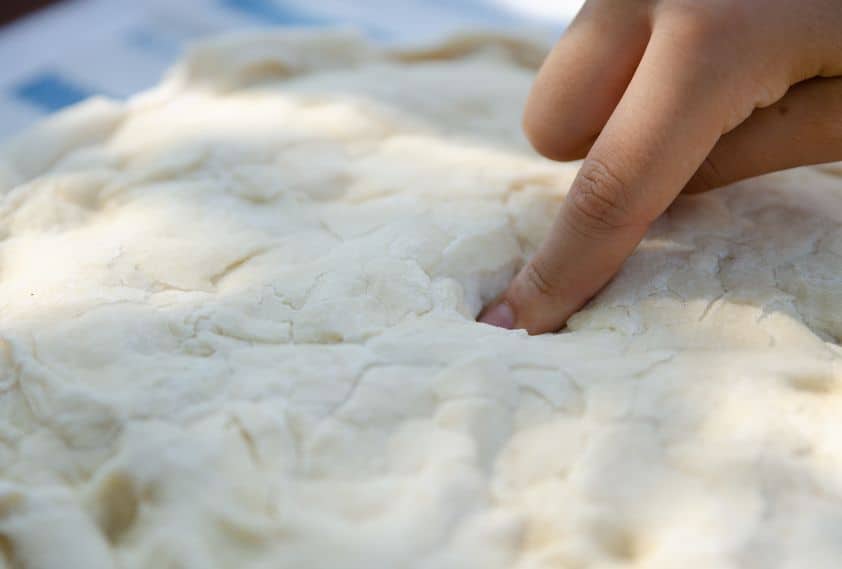
To know if your dough is ready to degas, you must do the “ripe test.” Use this test to determine whether your dough has finished rising.
Gently press two fingers into the mixture; if the indentations remain for a few seconds, the dough is finished rising and is ready to be degassed.
The “ripe test” examines the dough to determine if it is ready to degas. Then you either shape or bake it in the oven. Gently press the dough with your finger; if the dent remains, the dough is ready; it bounces back and needs rest more time.
A mixture of raw, soft, and soft bread, the temptation to touch it with a finger is strong. The surface is pleasant and smells like mother yeast: appetizing!
Dough Degassing After First Rise
Dough Degassing expels all the gas so that the carbon dioxide produced by the yeast has a place to go. It also causes the colder sections of the dough to mix with the warmer sections, affecting the dough’s taste and texture.
Keep in mind degassing can be difficult with cold dough from the fridge, so let it come to room temperature.
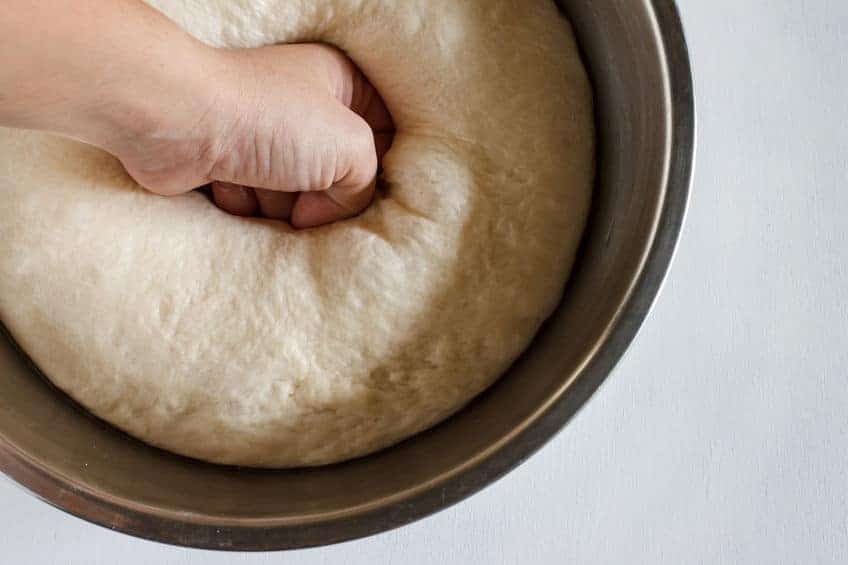
The goal is to deflate it with a couple of pushes with your fist straight down, then straight back up. Don’t twist!
Punching is essential because it releases the built-up CO2 gas, redistributes the yeast to find new food sources, and equalizes the dough temperature.
Once that’s done, the dough is ready to be shaped for baking or its second rise.
When you degas pizza dough for that second time, you won’t be punching it or knocking it down.
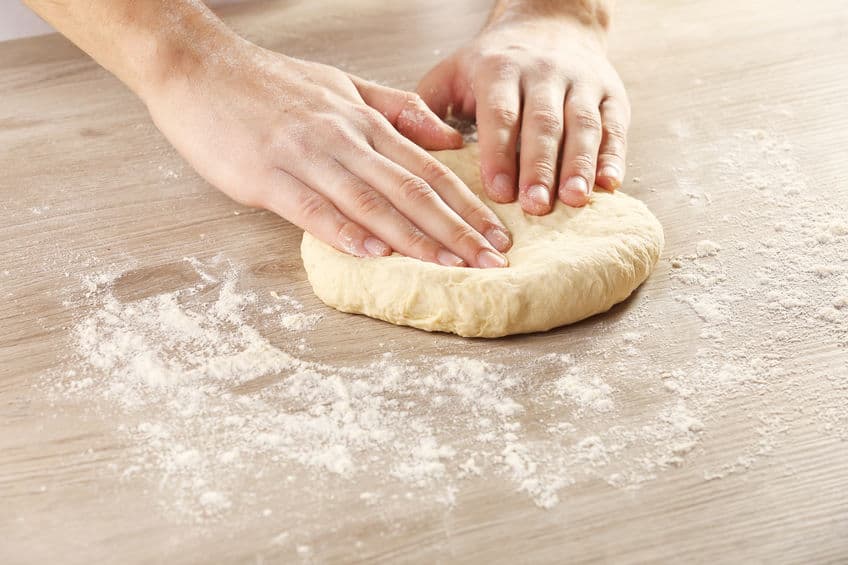
Instead, you should press down in the middle of the dough, pushing the gas toward the outer rim, which gives pizza dough its light, fluffy texture.
Dough Degassing Before Shaping
The carbon dioxide gas accumulates in pockets inside the dough held together by the gluten structure.
As the dough ferments and fills up with gas it expands. You should work slowly so the gas is gently moved out of the dough, much like the waves of a body of water smoothly flow toward the coast.
Pizza Pun
When does pizza dough rise?
When you yeast expect it.
How to Degas Pizza Dough
Most pizza recipes require two stages of rising (also called proofing). Degassing the dough is done after the first rise (or bulk fermentation), and it is a simple but essential step.
Despite the harsh-sounding name of this step, you must be gentle with your dough. Yeast is a living organism susceptible to temperature and energy changes. The main goal is to let it grow without killing it.
Punching down the dough will remove gas bubbles and produce a finer grain.
It also redistributes the yeast cells, sugar, and moisture so they can ferment and rise the dough during the final proof stage.
Follow these steps to degas dough:
How to Degas Pizza Dough

How to Degas the Dough
Total Time: 5 minutes
Step 1.
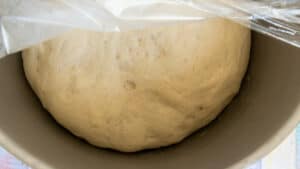
When the dough has doubled in size during the first rising process, leave it in the same bowl where it rose.
Step 2.

Make a fist with your hand and push your fist quickly but gently into the center of the dough. You might even hear a slight “hiss.” Pull the edges of the dough to the center.
Step 3.
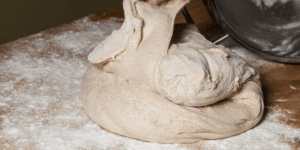
Take the dough out of the bowl and place it on a lightly floured board.
Step 4.
Pat dough gently and remove the extra flour. Knead it two to three times; this will help release additional air bubbles.
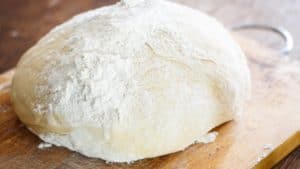
Step 5.
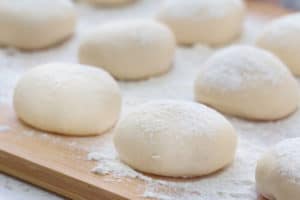
Turnover and shape your dough into smaller dough balls for proofing.
Estimated Cost: 0.00 USD
Supply:
- Pizza Dough
Tools:
- Container
What Happens If You Don’t Degas Dough?
If the yeast is not disrupted during the fermentation process, it will eventually consume all the available sugar in the dough.
The dough would overrise during this first fermentation and eventually collapse, adversely affecting the structure of the crust.
FAQs
What Does Degas Dough Mean?
Degassing dough means releasing the air trapped inside the dough during the rising period. It is also known as “punching down” or “knockdown,” which essentially means punching down the dough with your fist after it rises to eliminate any excess air pockets that may have formed during the fermentation process.
Degas dough helps the dough ferments become more manageable – the yeast cells produce carbon dioxide, which diffuses into the dough’s air pockets, slowly inflating and raising it.
This process is also how you develop most of the flavor.
There are various ways you can degas the dough other than literally punching down the dough.
You will decide how to degas your dough depending on the kind of pizza you want to make. We will address this later on.
Why Do You Need to Degas the Dough?
Degassing the dough is necessary and extremely important because several chemicals naturally present in the dough will eventually break down the gluten network if the fermentation period is not halted.
Punching or degassing the dough reduces and removes the accumulated gasses. It also redistributes the simple sugars and moisture into one cohesive structure.
What Does Dough Degassing Do?
By degassing the dough, you are:
- Expelling the carbon dioxide while retaining some air.
- Redistributing the yeast cells.
- Redistributing the sugars, which are yeast’s food source.
- Reallocating and dividing the air pockets in the dough, making more, smaller air pockets.
How is Degassing Pizza Dough Different?
When degassing pizza dough, you’re just shaping it and moving the excess gas out. Degassing pizza dough is unlike other baked goods like bread or rolls.
In fact, in many recipes for pizza crust, you’ll notice that they explicitly admit that you should not be degassing the dough, at least not the second time.
The different recipes that don’t admit this still imply it with specific instructions on how to rub the center of the dough instead of punching it.
Another advantage of degassing dough is that often, this is just what you need to get an airy textured pizza crust that is light and crispy on the outside and nice and chewy on the inside.
Degassing pizza dough is usually a must, but you do it a little differently than other types of foods because, with pizza dough, you want stronger gluten instead of weaker gluten.
When do you need to degas dough?
Dough degassing step is not something you should do to every single pizza dough.
However, nearly all varieties of pizza dough are degassed in some way. Simply shaping dough, however gentle you are, will result in some loss of gas.
Depending on the outcome you are looking for, you will either degas entirely or try to keep as much gas as possible.
Here is what you need to ask yourself:
Do you want big open holes in your pizza crust?
For example, when making Neapolitan pizza or Sicilian Style pizza.
If the answer is “Yes,” you should not degas entirely.
Do you want a tight crumb without holes?
For example, when making New York Style Pizza or Flatbread Pizza,
Then “Yes”, you should completely degas.
Additional Fermentation Resources
Pizza Dough Fermentation: Unlocking the Secret to the Perfect Crust
the PROs
Learn the correct process of pizza dough fermentation and why this is so important in the pizza-making process.
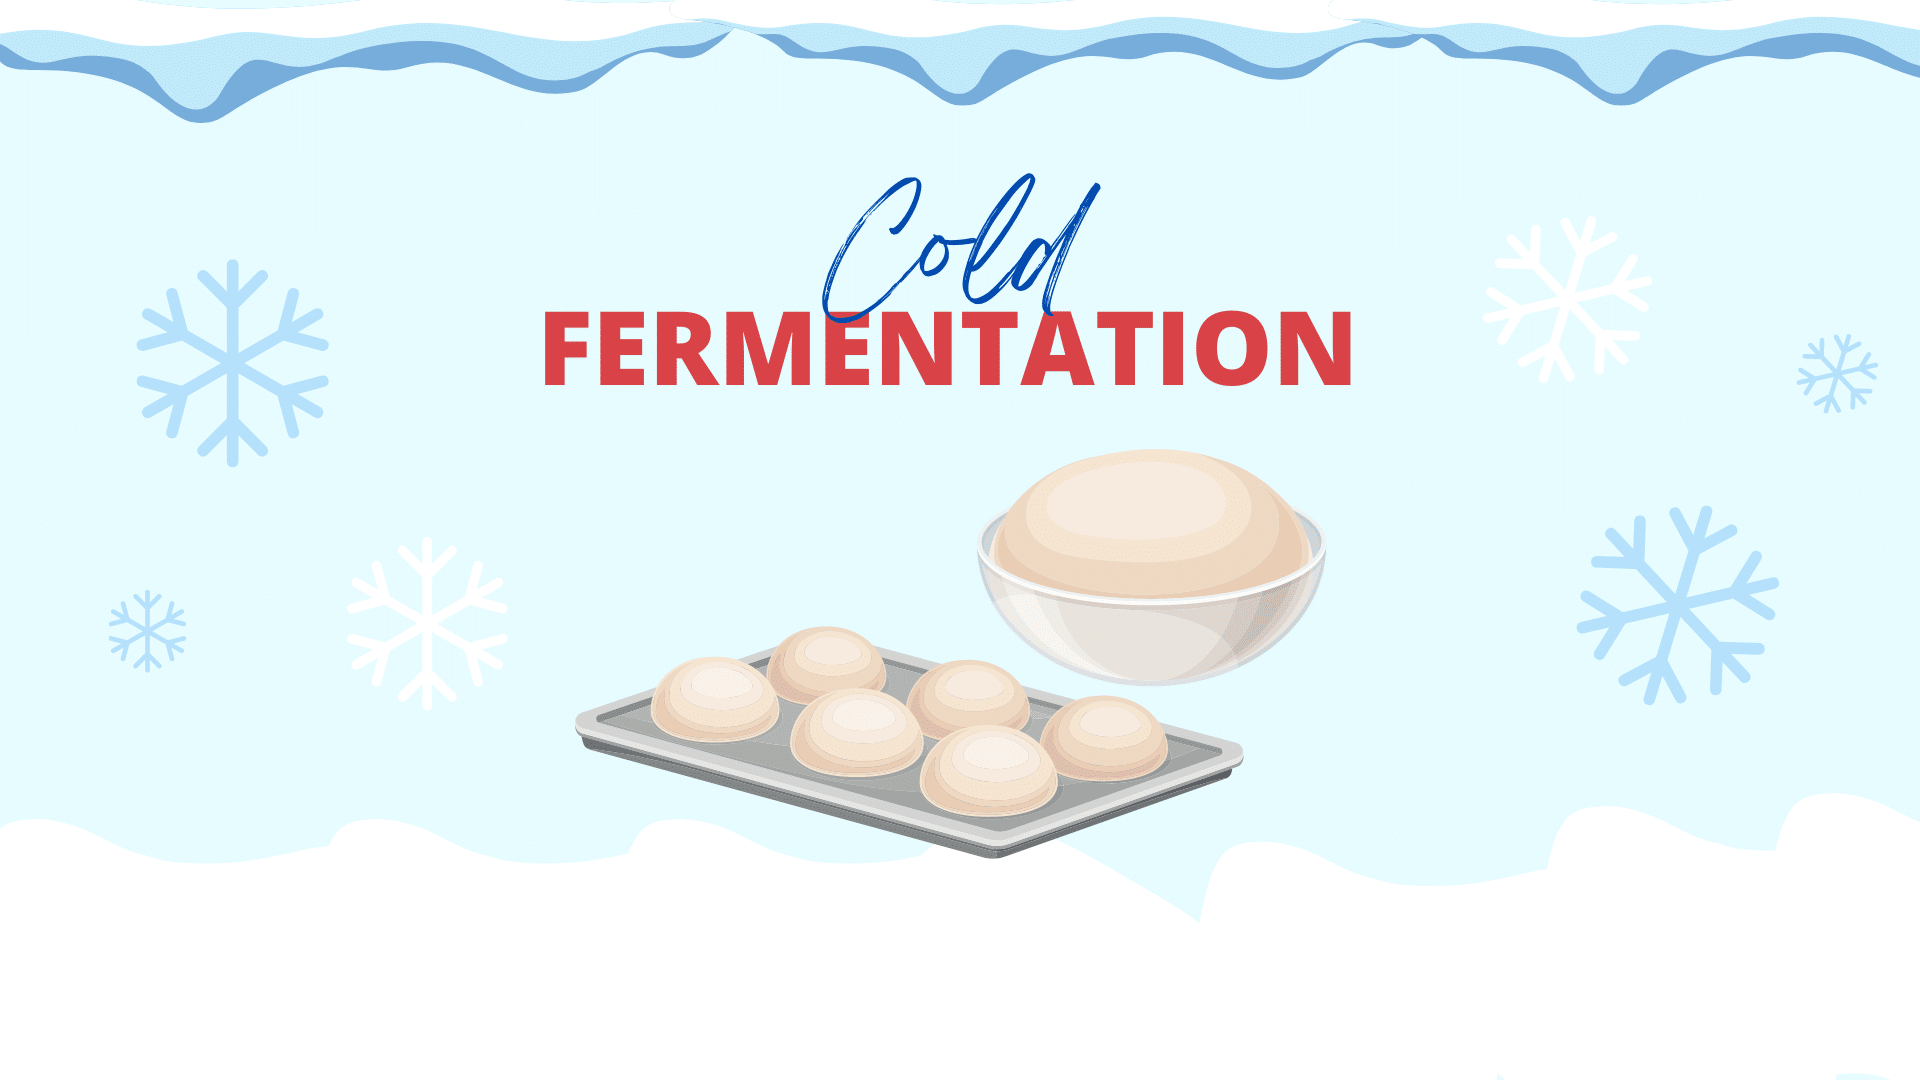
Cold Fermentation: Unlocking the Magic of Slow-Risen Pizza Dough
the PROs
As an ardent pizza lover knows, the journey to creating the perfect pie is a lot more complex than merely …
Poke Test Demystified: Master the Technique for Perfect Pizza Every Time
the PROs
Are you tired of ending up with a pizza crust that’s either too thick or still raw in some parts, …
How to Proof Pizza Dough Fast
the PROs
How to Proof Pizza Dough Fast Behind every tasty pizza dough is a secret. Secrets behind its fantastic flavor and …

How to Control Temperature, Time, and Hydration for Pizza Dough
the PROs
Learn how temperature, time and hydration affect pizza dough and how you can control them.
Retarding Pizza Dough: The Timeless Technique for a Perfect Crust
the PROs
In this article, you will learn what retarding dough is and why it is the key to your homemade pizza success. When you decide to make pizza at home, the most challenging but most important part of the process is making the pizza dough.

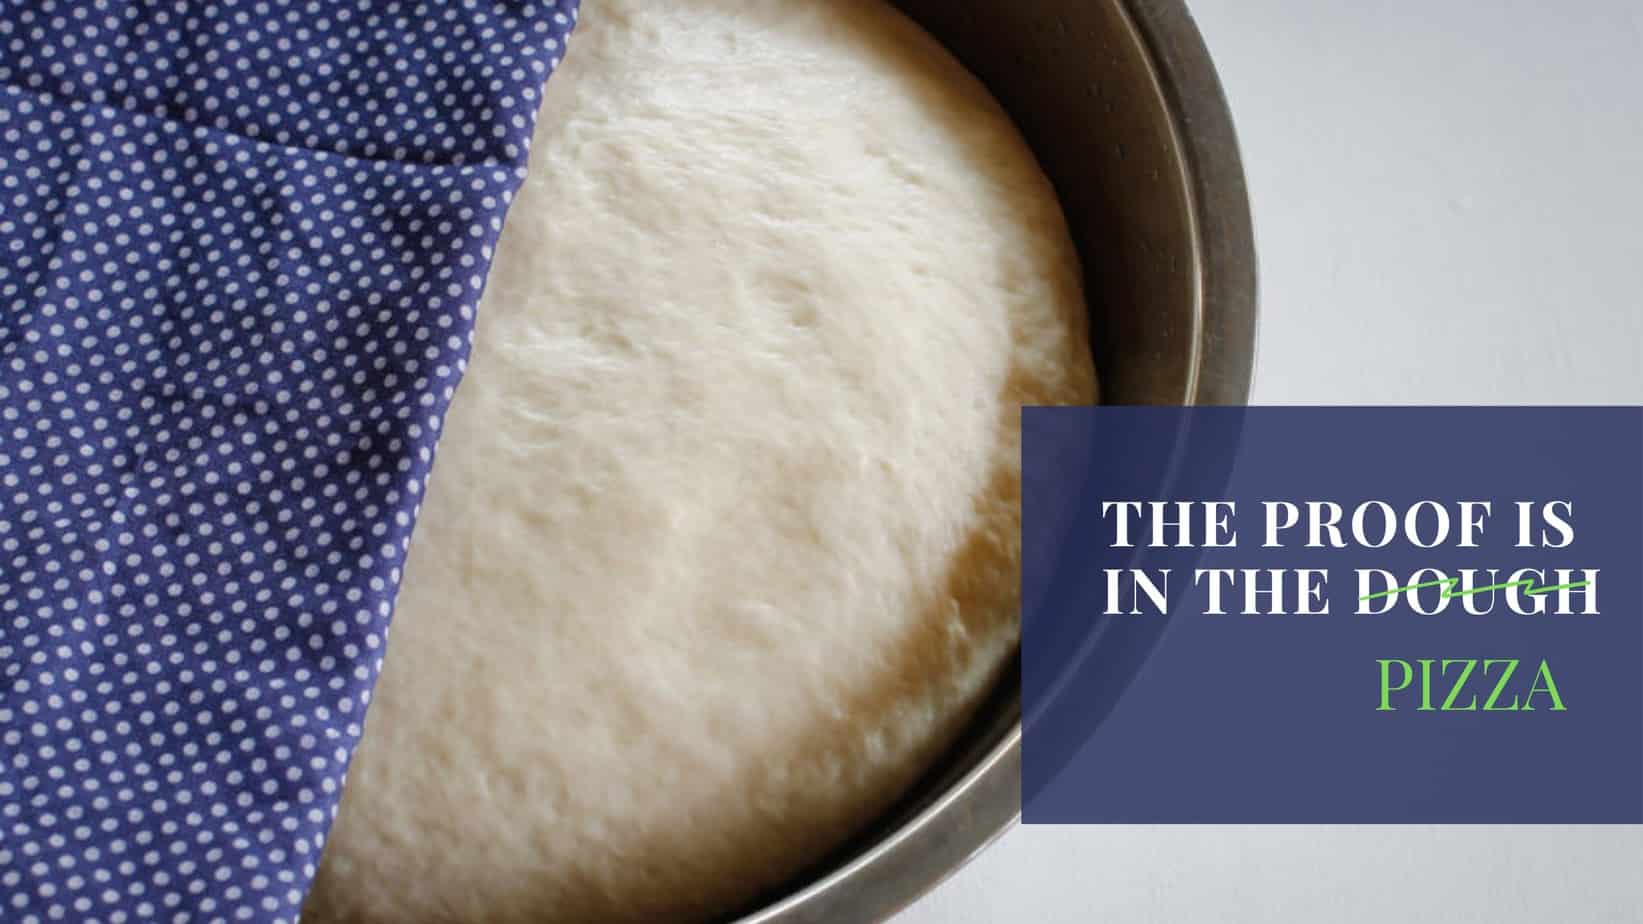
Pizza Dough Proofing Like a Pro! – Get Your Dough Right!
the PROs
Have you ever heard the phrase the proof is in the pudding? In this guide, you will learn that the …
Here’s What the PROs at Homemade Pizza Pro Use and Recommend to Ferment Pizza Dough
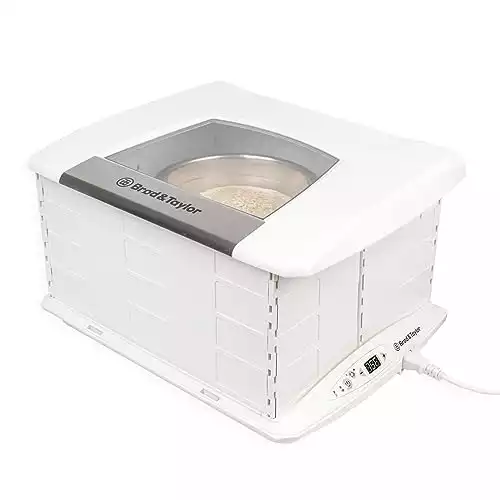
Enjoy accurate temperature control and consistent humidity. The Brod & Taylor Folding Dough Proofer creates an environment of consistent low-temperature warmth that is vital for many kitchen processes.
Ideal for pizza dough and yeast bread. Whether you’re a novice bread maker or an experienced enthusiast, this is the tool that helps ensure a flavorful, open-textured bread that is ready when you want it to be.
The Last Slice
There are three main reasons for pizza dough degassing any type of pizza dough, a better more open crumb, providing the yeast with more nutritional value, and making sure you never over-proof the dough.
Degassing pizza dough is not difficult, yet you still need to know the requirements of the pizza you are making to get the results you are hoping for.
This way, you’ll get a fresh-tasting pizza dough with a perfect texture, density, and taste so that your pizza comes out top-notch and delectable every time you make it.
Check Amazon’s Pizza-Making Must-Haves
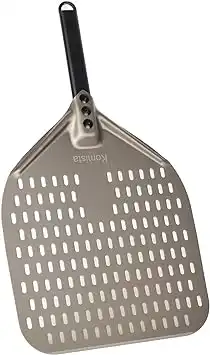
Why have two pizza peels when you can only have one. This pizza peel surpasses the benefits of wood peels with the convenience of a metal peel. It's made entirely from anodized aluminum for a lightweight design that's incredibly durable, too. It's designed to be used frequently in high-heat pizza ovens.
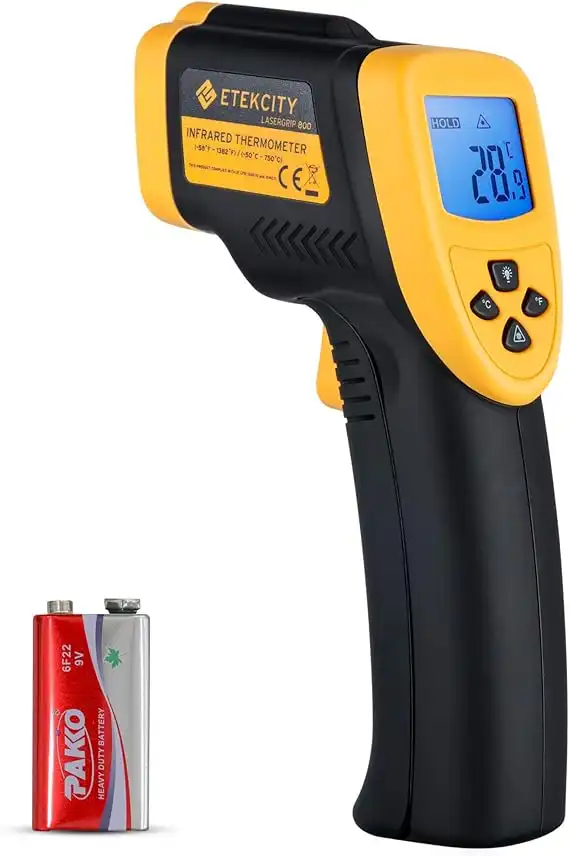
The Etekcity Lasergrip 800 Digital Infrared Thermometer is a versatile and reliable tool for accurate temperature measurements. Its non-contact design allows you to measure temperatures from a distance, making it safe and hygienic for various applications. With a wide temperature range of -58°F to 1382°F (-50°C to 750°C), this infrared thermometer is perfect for both everyday cooking needs and professional uses.
The built-in laser pointer helps you target the specific area you want to measure, ensuring precision and consistency. Whether you're grilling, cooking, or performing household maintenance, the Etekcity Lasergrip 800 provides fast and accurate temperature readings with ease.
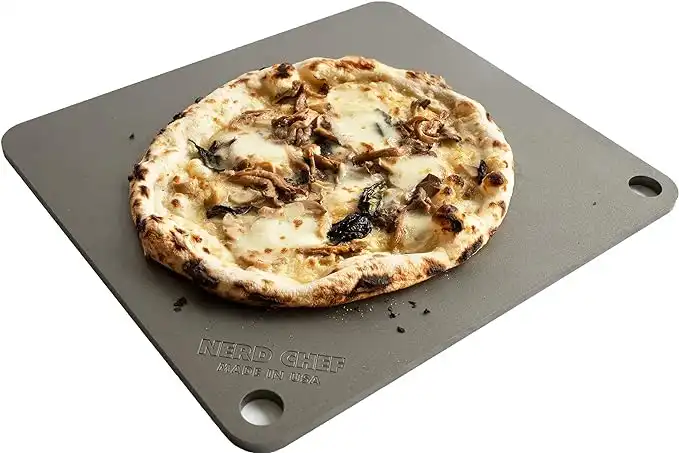 NerdChef Steel Stone
Making great crusts traditionally requires a 700-1000F wood-fired oven. Nerdchef Steel Stone replicates that performance in a home oven with its super-high heat transfer ability - transferring heat energy 20 times faster than ceramic. It creates beautiful and crispier crusts, gorgeous blistering throughout, and it cooks faster.
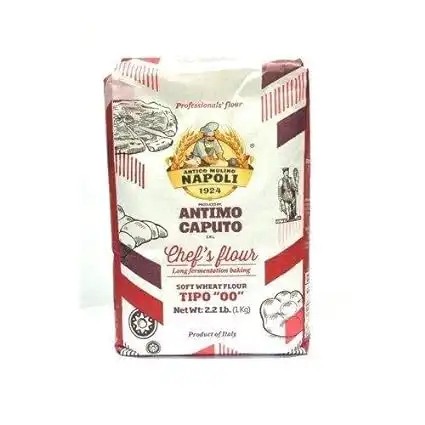
The Chef's flour is a general-purpose, high gluten flour that works well for many recipes. "Tipo 00" refers to how refined the flour is. Chef's Flour is best for those who want to bake in their traditional home oven up to 500 degrees Fahrenheit!
Enjoy!
Not a PRO? Not a Problem!
Take a pizza class to bring your pizza skills to the next level,
so you can be a PRO!
Related Posts

Costco Pizza Delivery: Find How You Can Get It Now!
the PROs
People go to Costco’s food court for many different reasons, but the cheesy slice of pizza they serve is among …
Pizza for Beginners: Don’t Buy Pizza, Make It! Here’s How to Get Started!
the PROs
You have this idea that you want to make pizza at home as opposed to ordering it, but where do you start? Don’t worry! Here you will find answers and directions to all your questions.

Pizza Toppings Under Cheese or Over Cheese? [Why the Order Matters]
the PROs
Is Pizza Cheese on Top or Bottom? Hey pizza lovers, are you wondering if you should layer pizza toppings under …

Newsletter
Subscribe to our Recipe of the Week newsletter and receive our partners’ latest recipes, tips, and discount offers.
Keep in Touch!